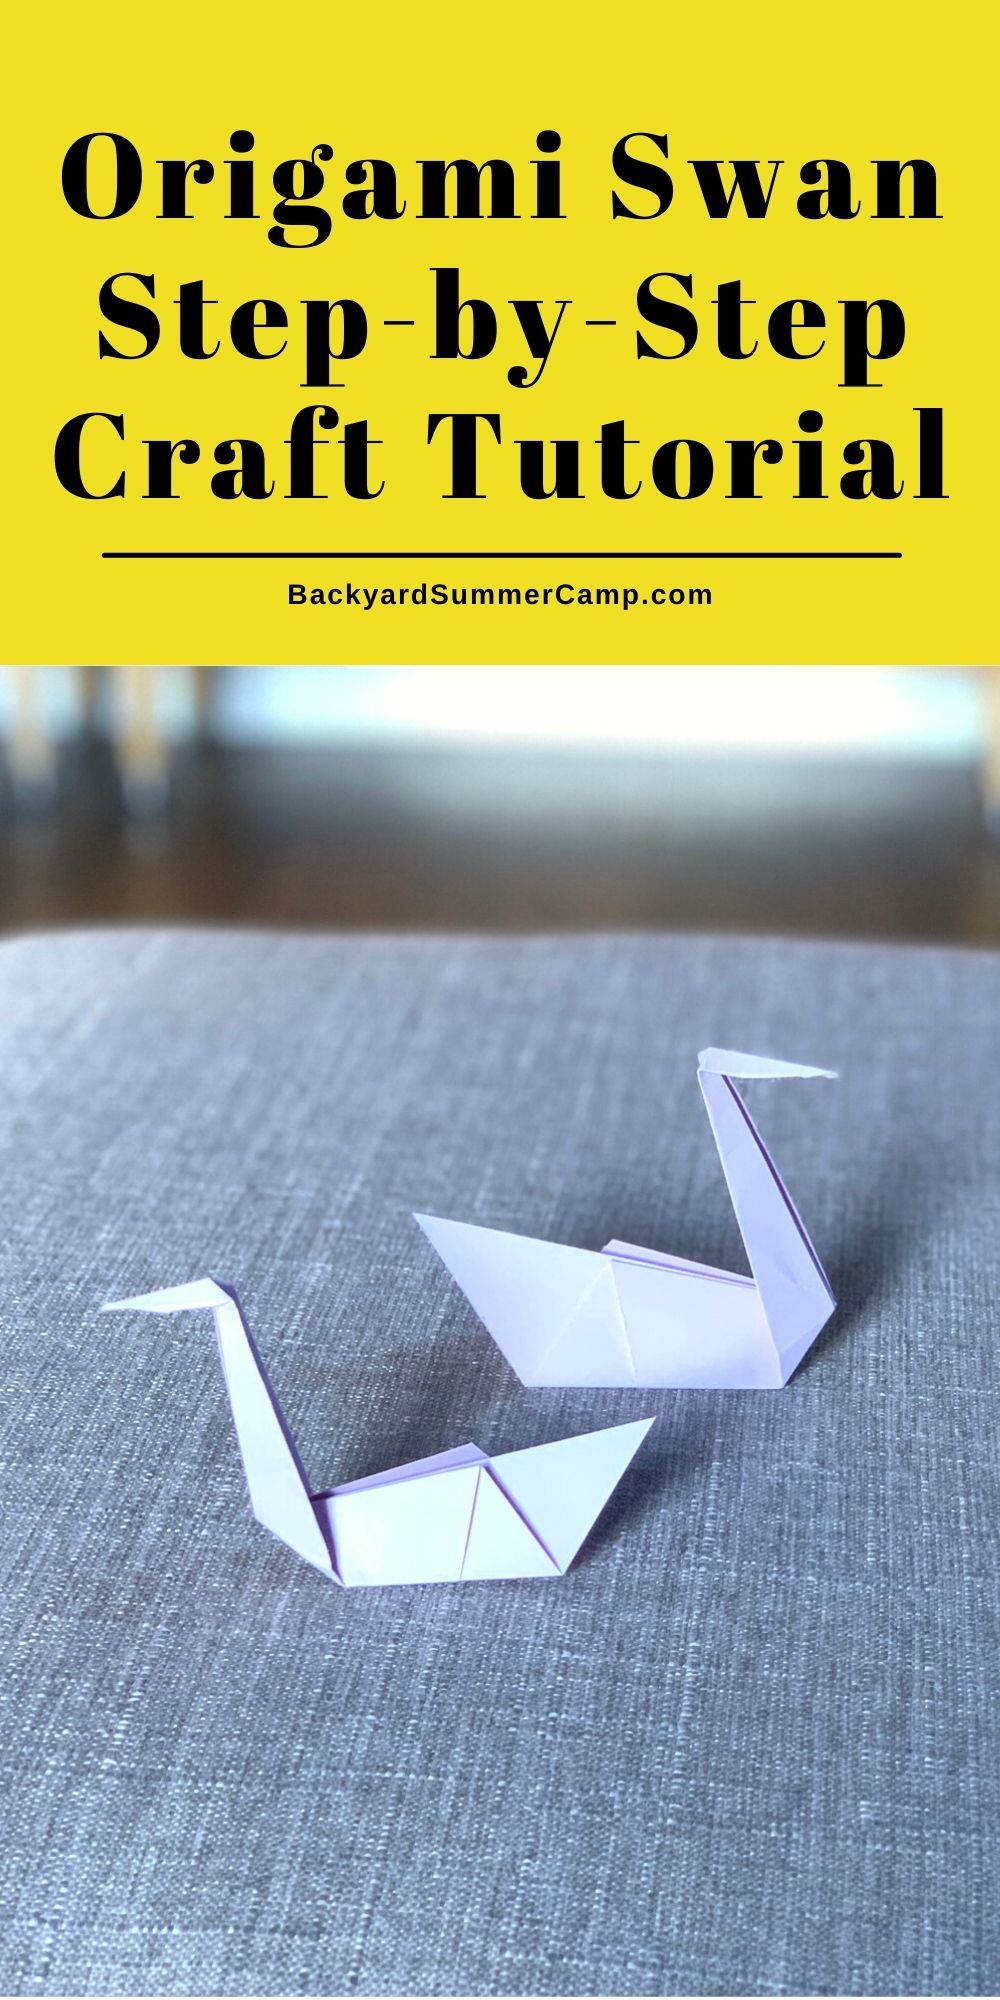
Grab some origami paper and learn how to make an origami swan craft with your kids in just five easy steps.
Disclosure: As an Amazon Associate and member of other affiliate programs we earn from qualifying purchases. Read more.
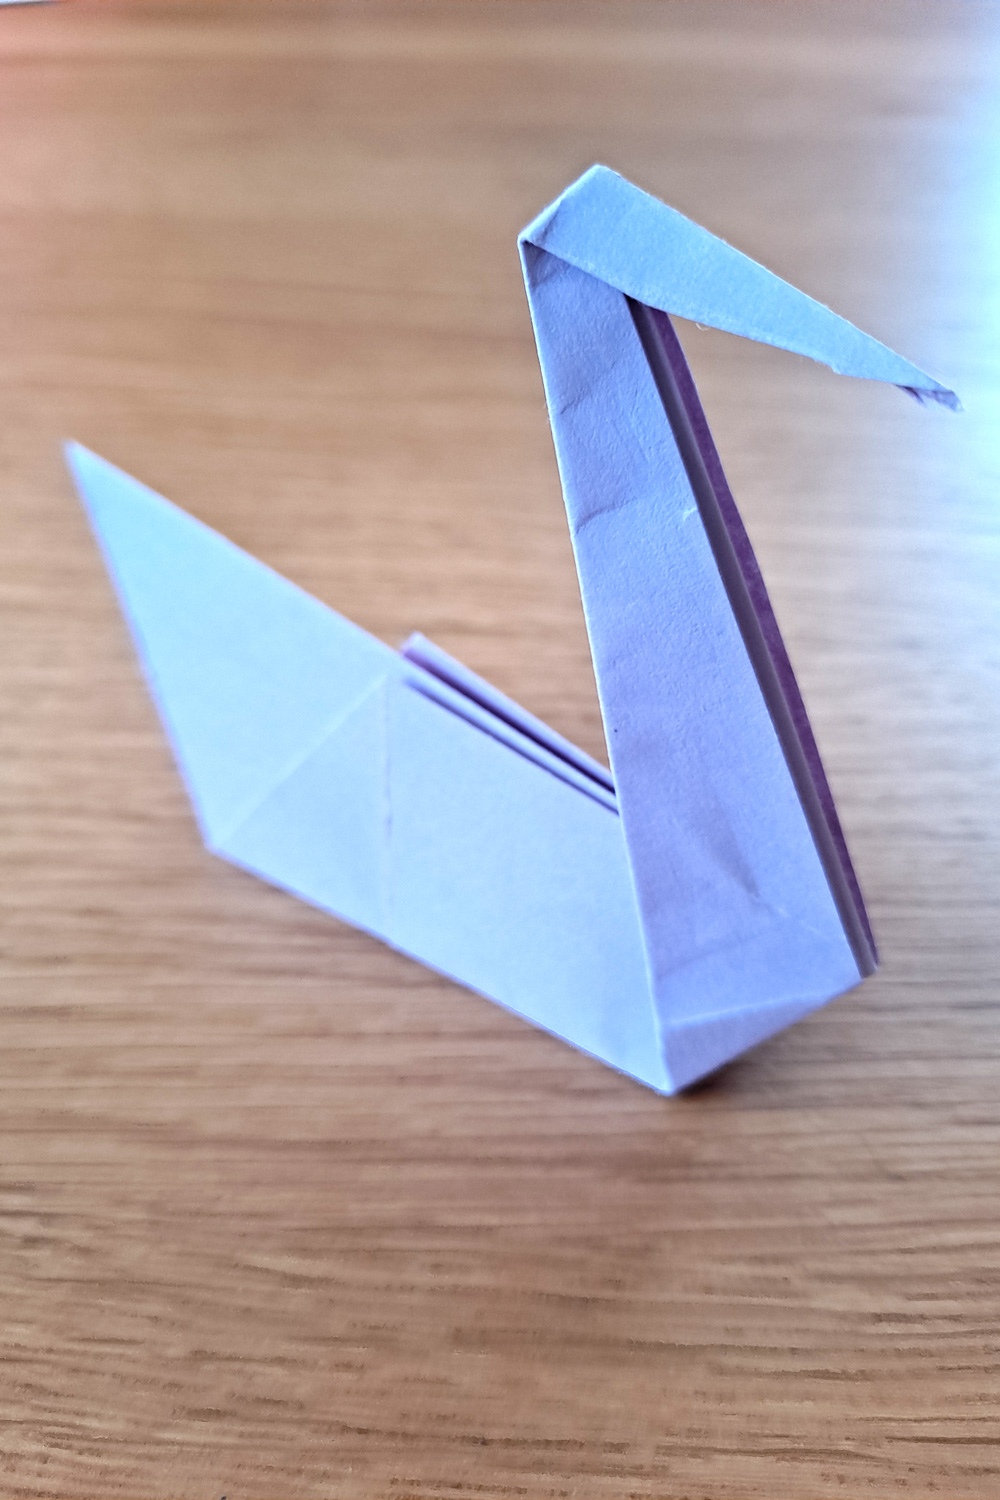
This origami swan is a traditional paper folding tutorial. It’s a classic and easy one for kids to learn how to fold. Real swans are usually white – or black, but you can make this paper bird using whatever color paper you like. We made ours purple!
Origami paper folding tips
- Start with a perfect square of paper (unless the pattern calls for something different). Use a ruler to double-check that all sides are even.
- Use origami paper if you can. This paper is just the right weight and thickness, and it often comes cut to size.
- Young kids can learn to fold origami but may learn better by copying an adult. Sit beside your child, rather than across from them, so that they can see exactly what you’re doing.
- To make a crease, use the edge of a pencil or ruler, or your fingernail to make the crease nice and crisp.
- Traditionally origami doesn’t include glue. But you may want to add some in a few places to ensure your folds stay put, especially if the finished design is a toy.
Become a Happy Camper!
Sign up to receive our monthly email newsletter
and get a free printable 30 Day Reading Calendar!
How to make an origami swan
Supplies
- 1 square piece of origami paper or craft paper
- scissors
- ruler
- pencil
Instructions
Prep the paper by measuring and cutting it into a square. We started with a 5-inch square piece of paper to make an approximately 3.5-inch swan (from nose to tail).
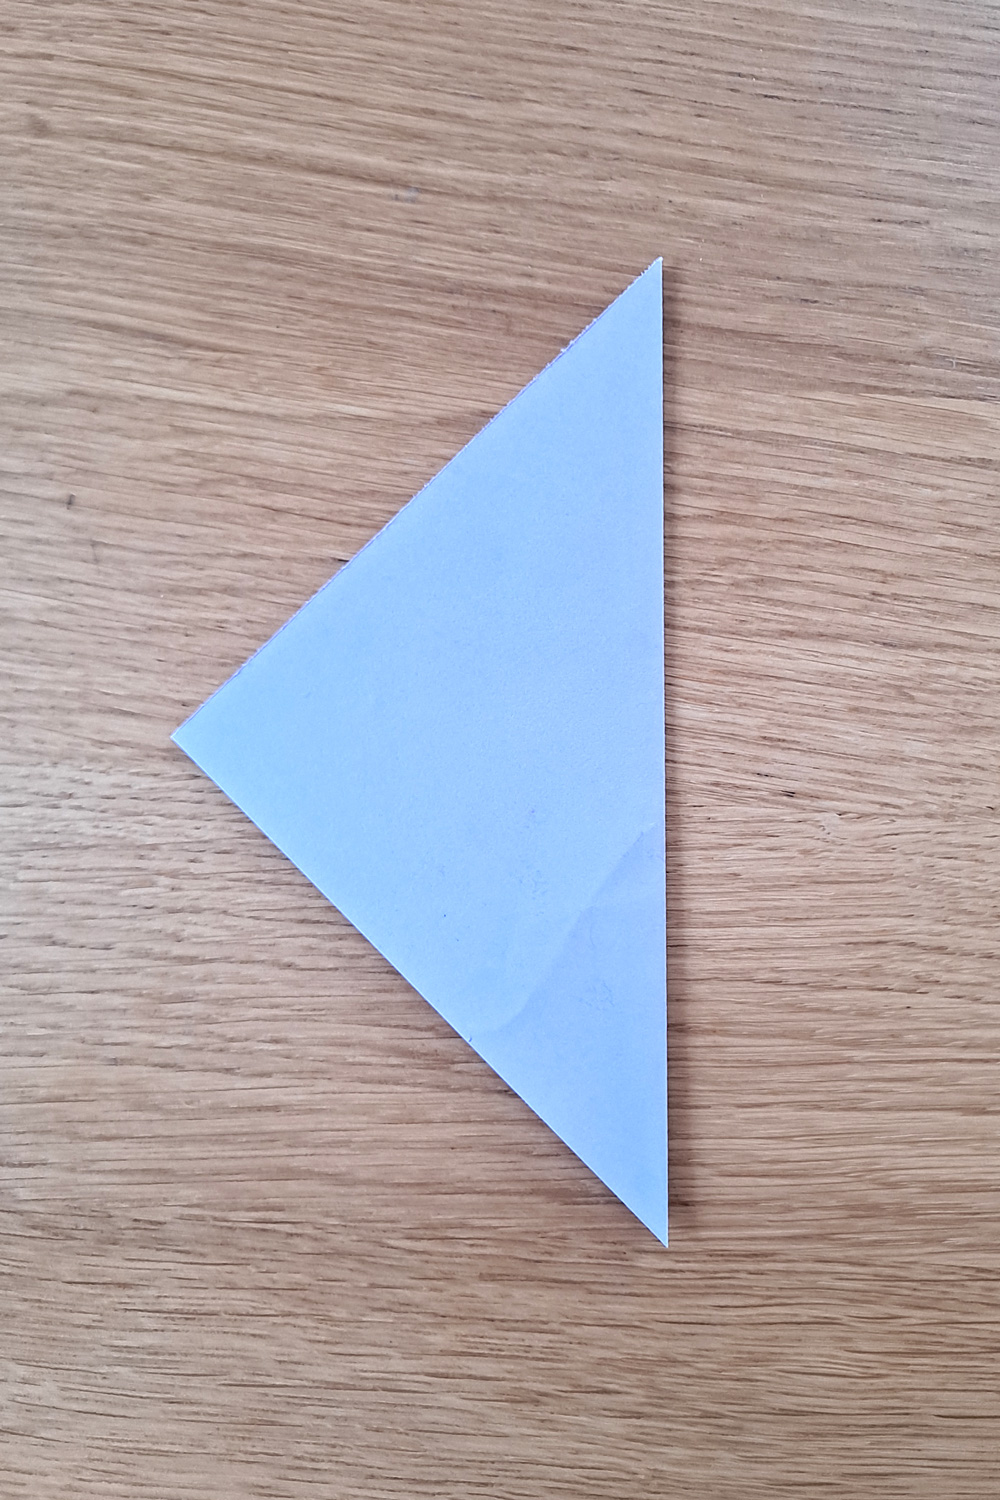
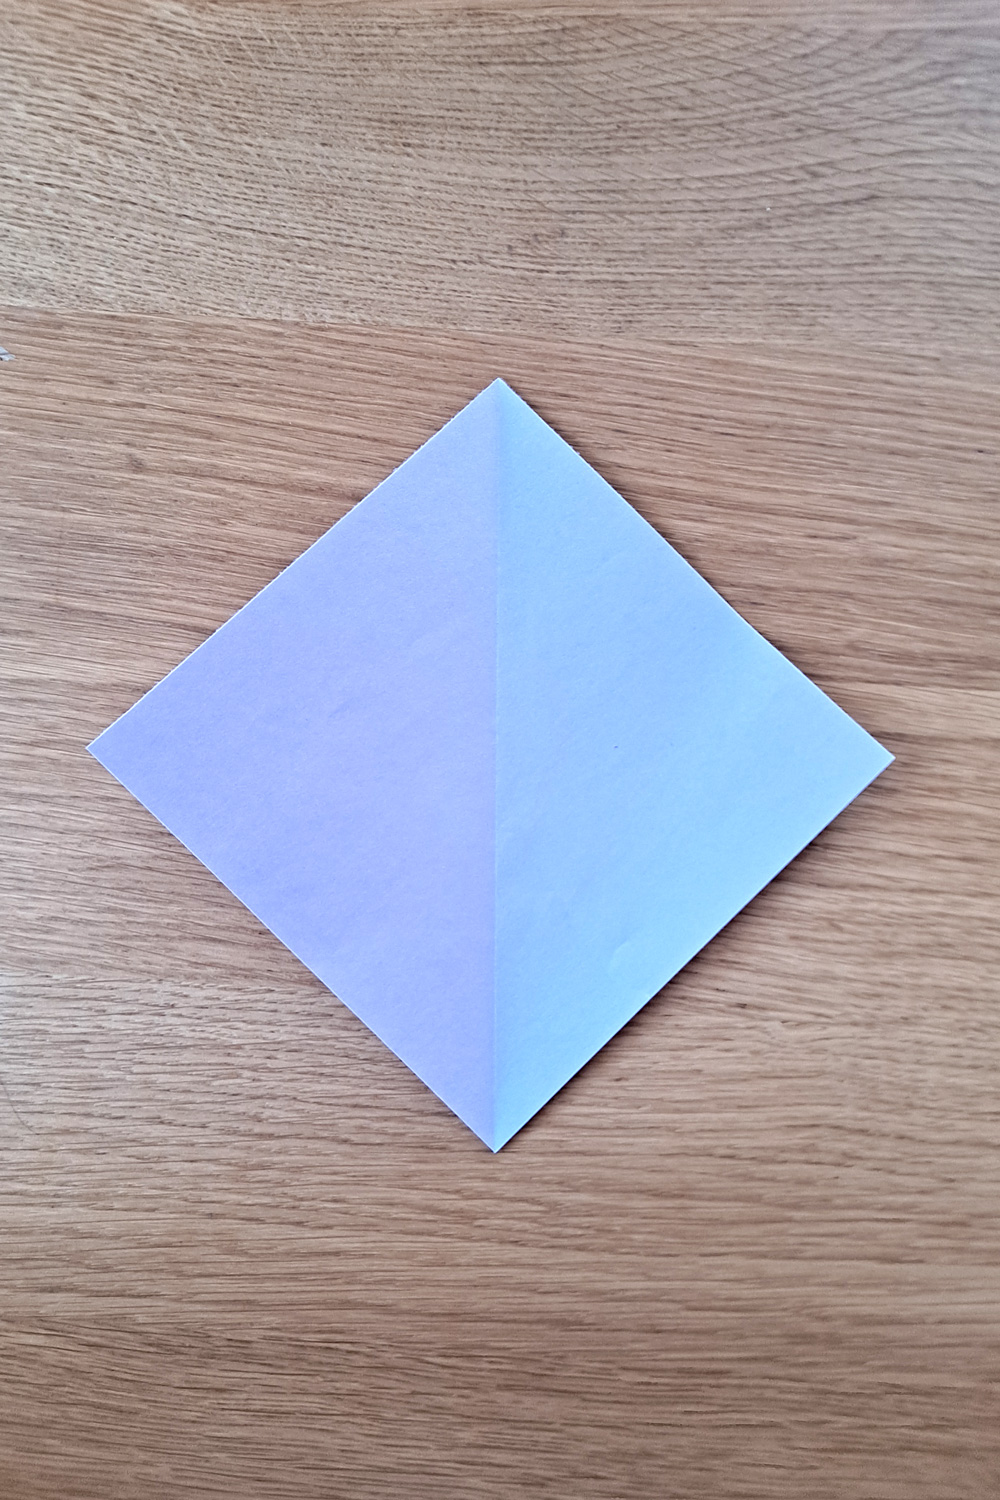
1. Crease a triangle
Crease the paper once by folding it in half from corner to corner, then unfolding it.
2. Fold the points
Take 2 opposite corner points and fold them toward the center horizontally to create a kite shape.
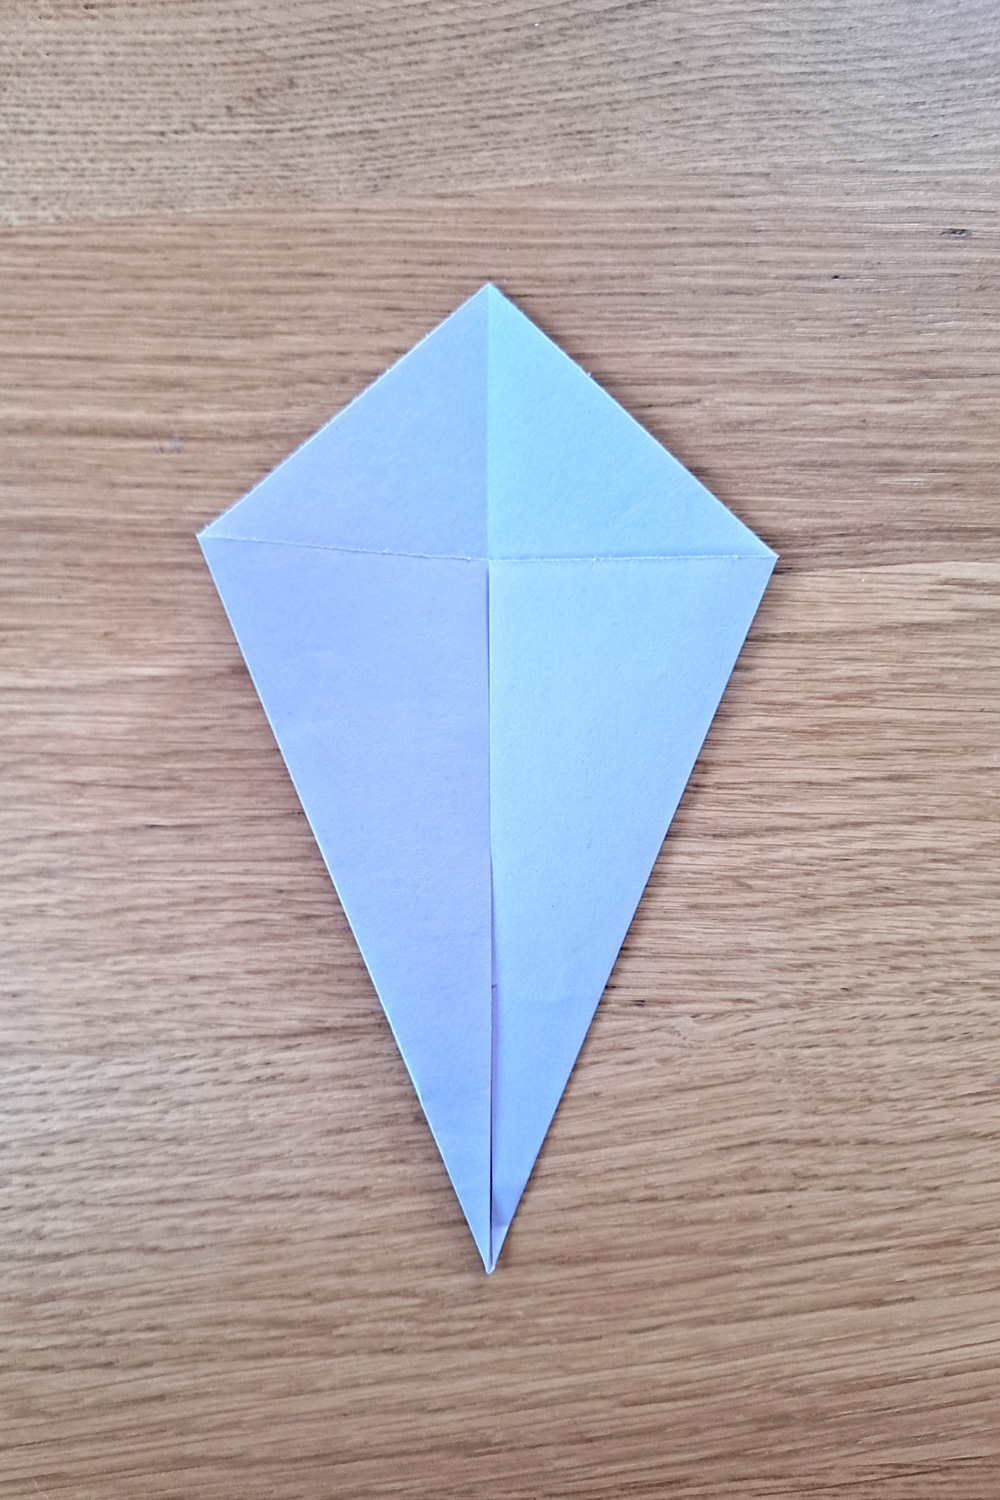
3. Flip and repeat
Flip over the swan, then fold in the exterior points again. This time they will meet in the center to create a tighter kite shape.
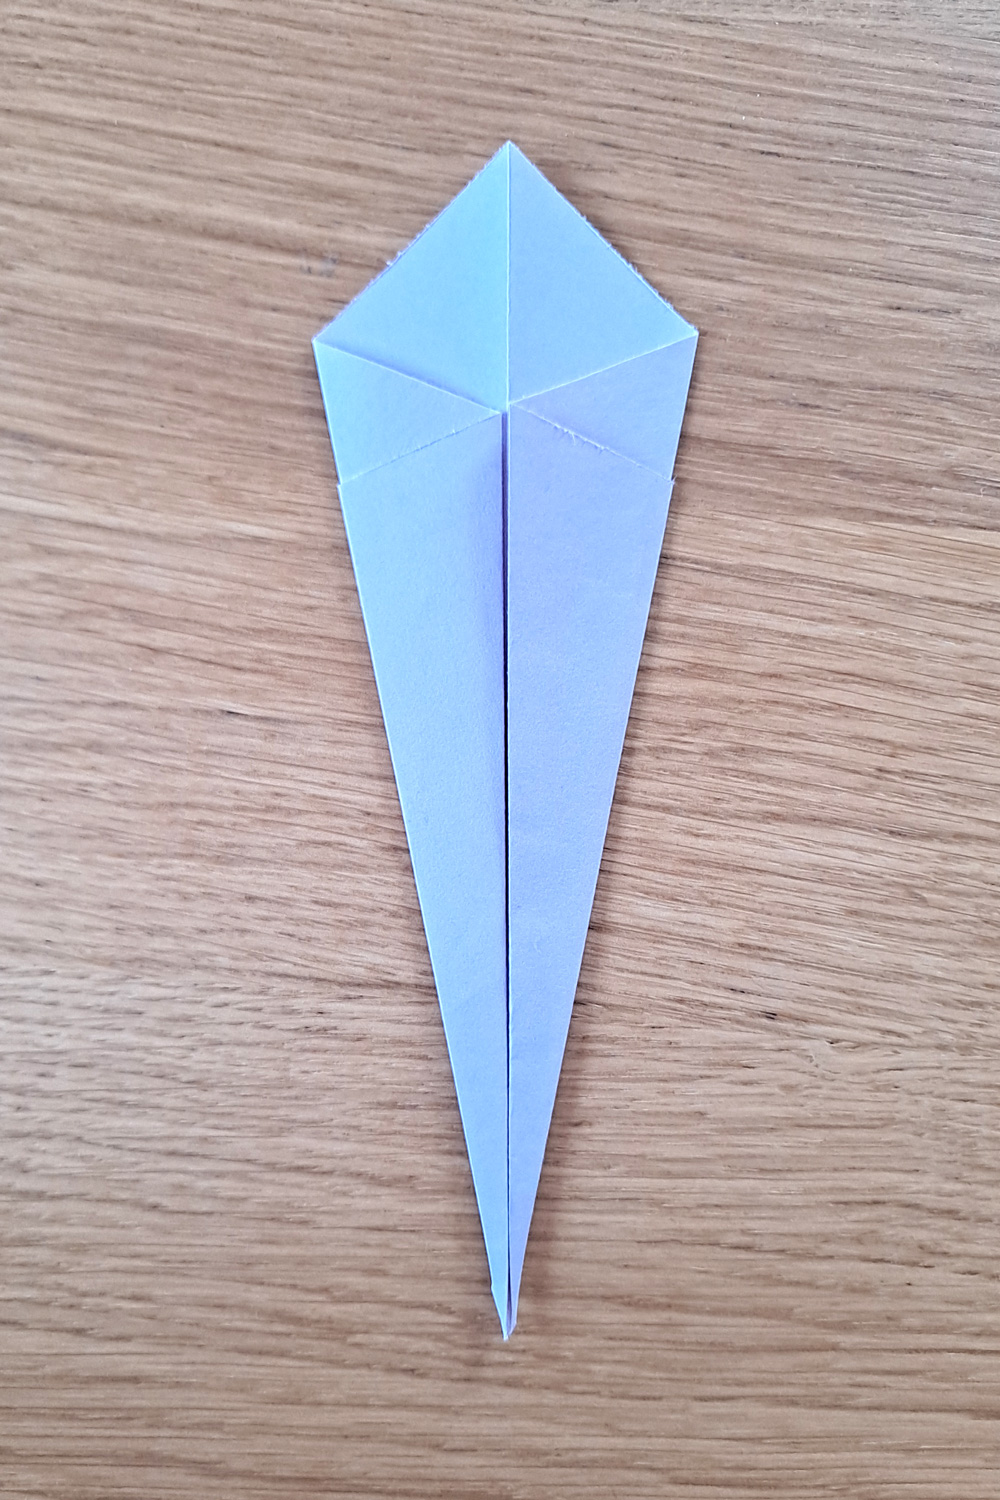
4. Fold the swan’s neck
To make the swan’s neck, fold the thin end of the triangle up, then fold a smaller section of it back down, creating a small zig zag. The longer section is the neck and the smaller is the head.
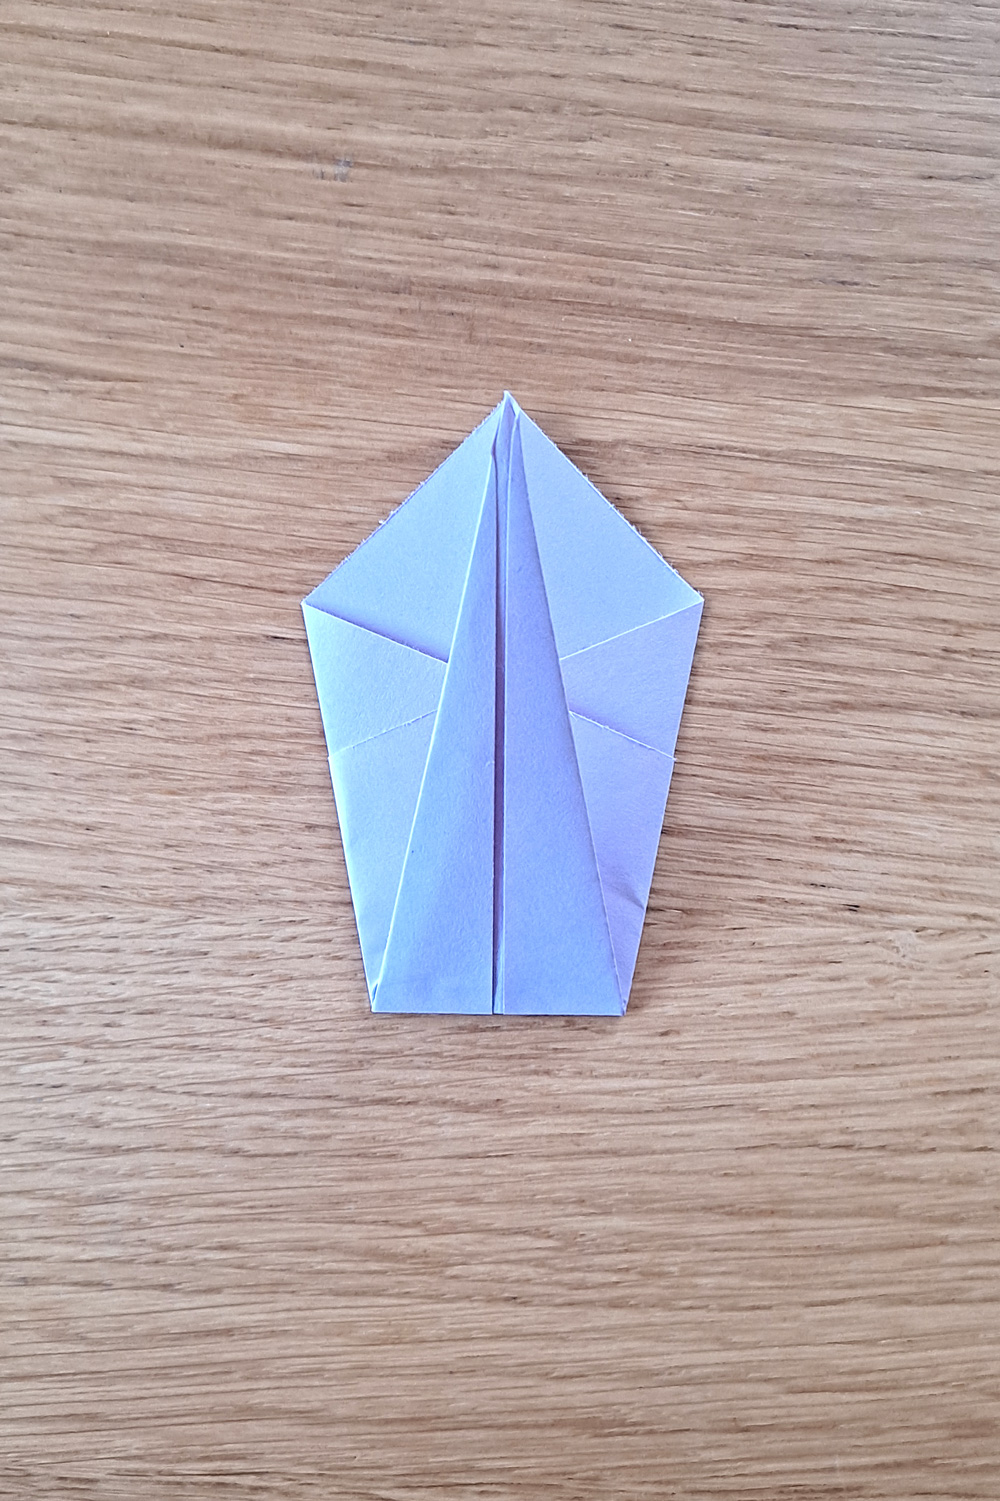
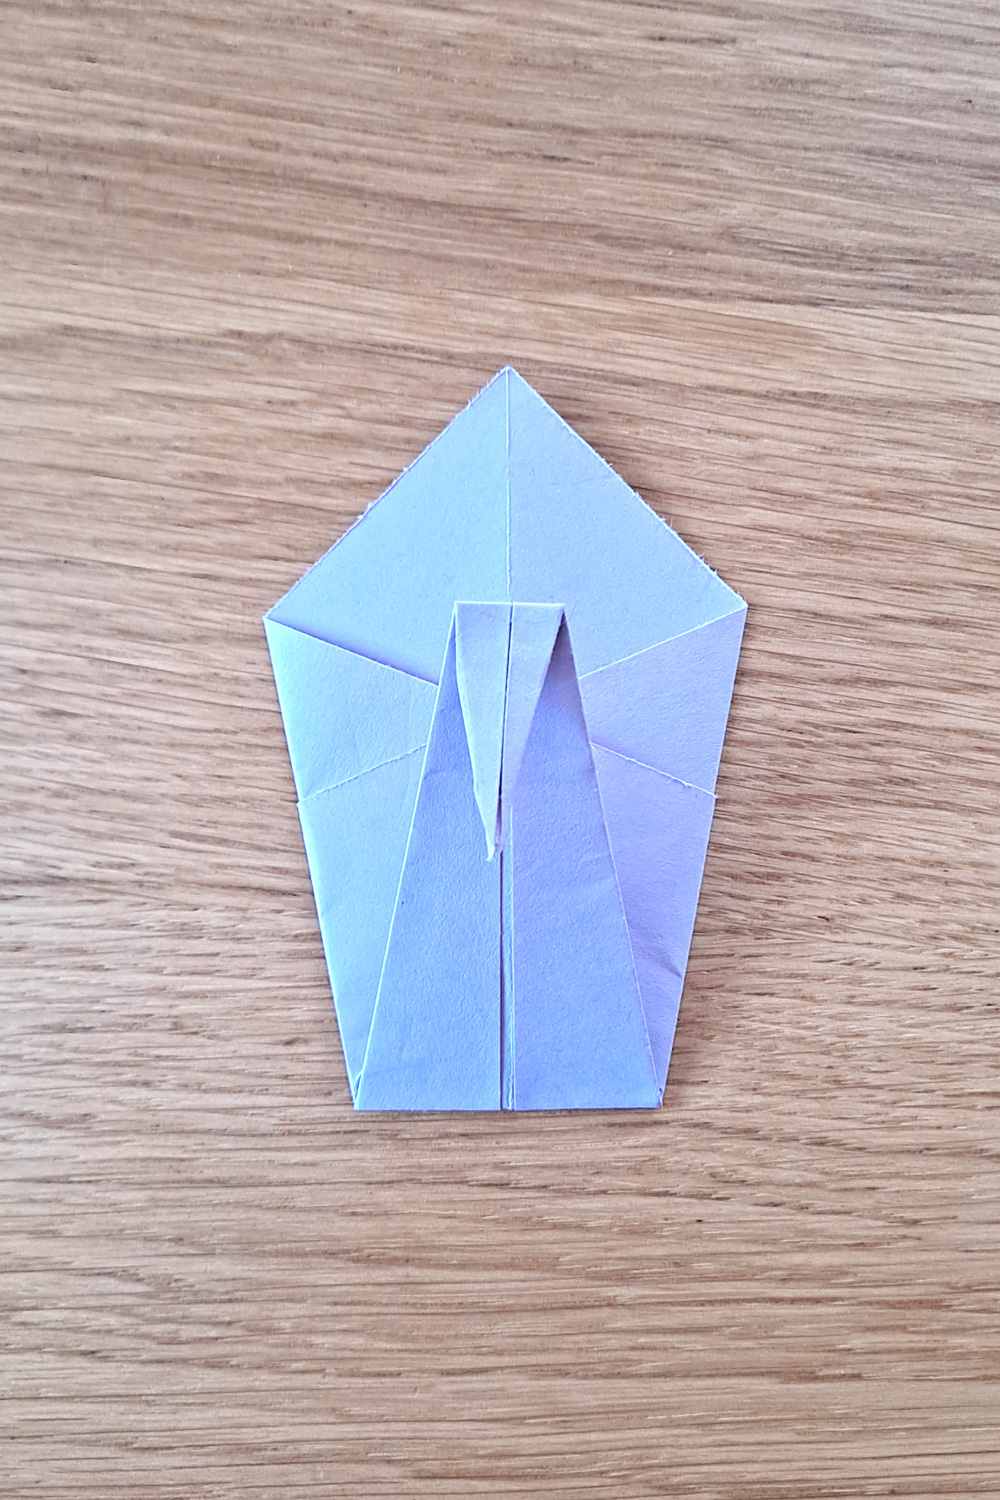
5. Shape the swan’s body
Pulling the two sides, fold the swan in half down the length. While doing this, pull on the neck, adjusting it to where you would like it to be.
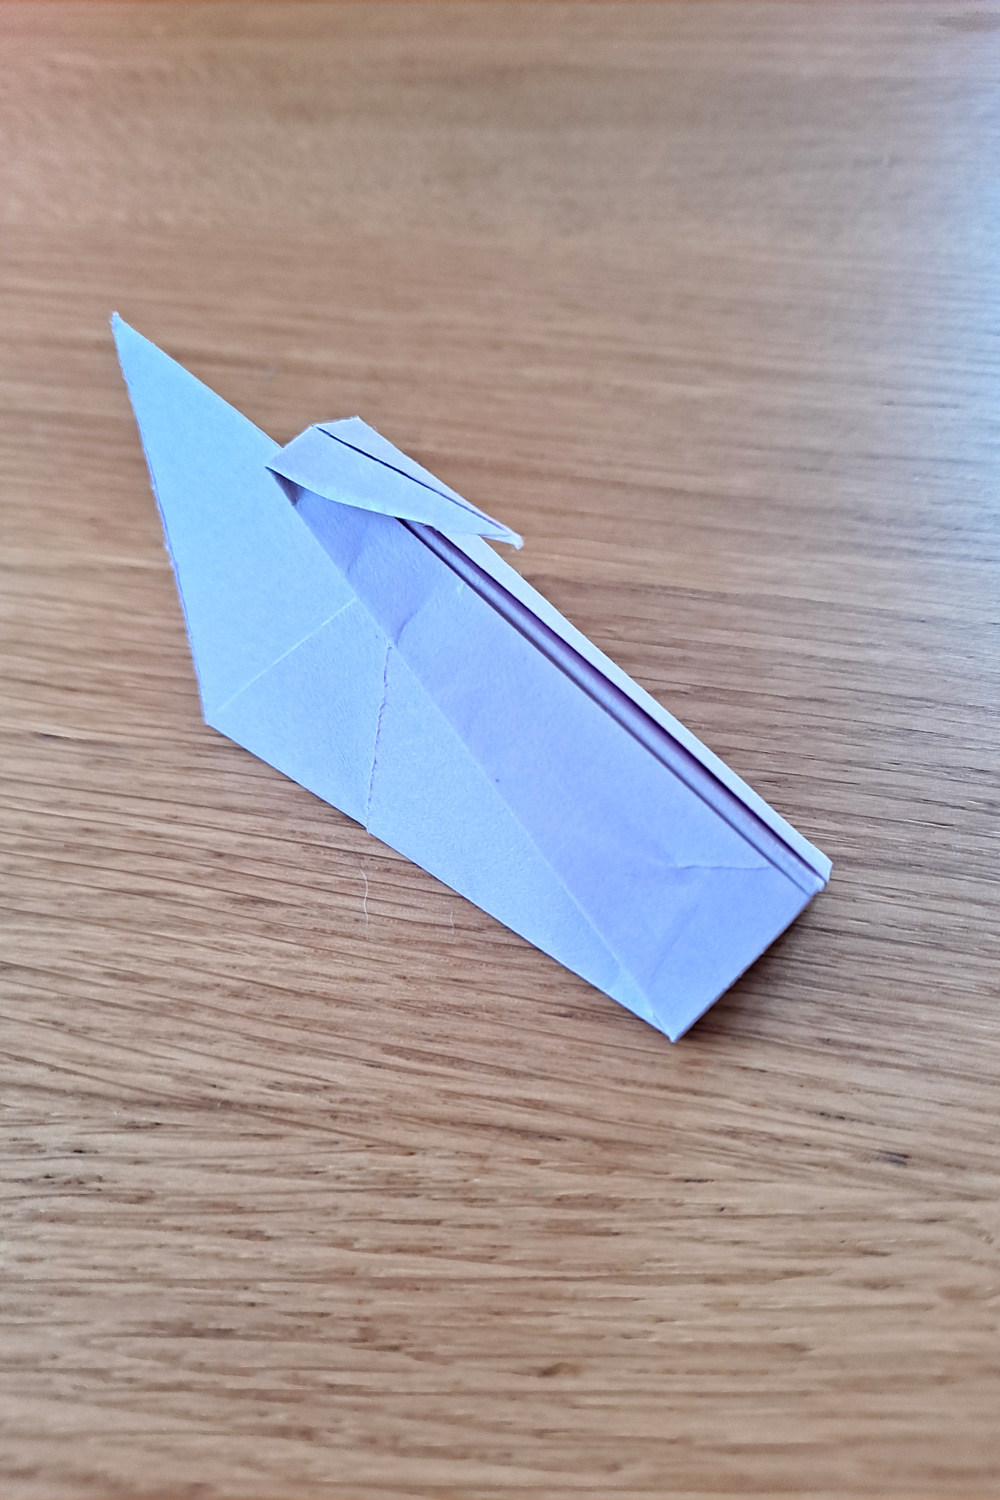
Congratulations on your completed swan! Repeat the steps to make a whole family of swans. These can float on water but will sink if they get very wet.
Printable instructions
Plan your summer with the DIY Summer Camp Planner!
Our step-by-step guide will help you organize a day, a week, or a whole summer of fun activities for your kids.


