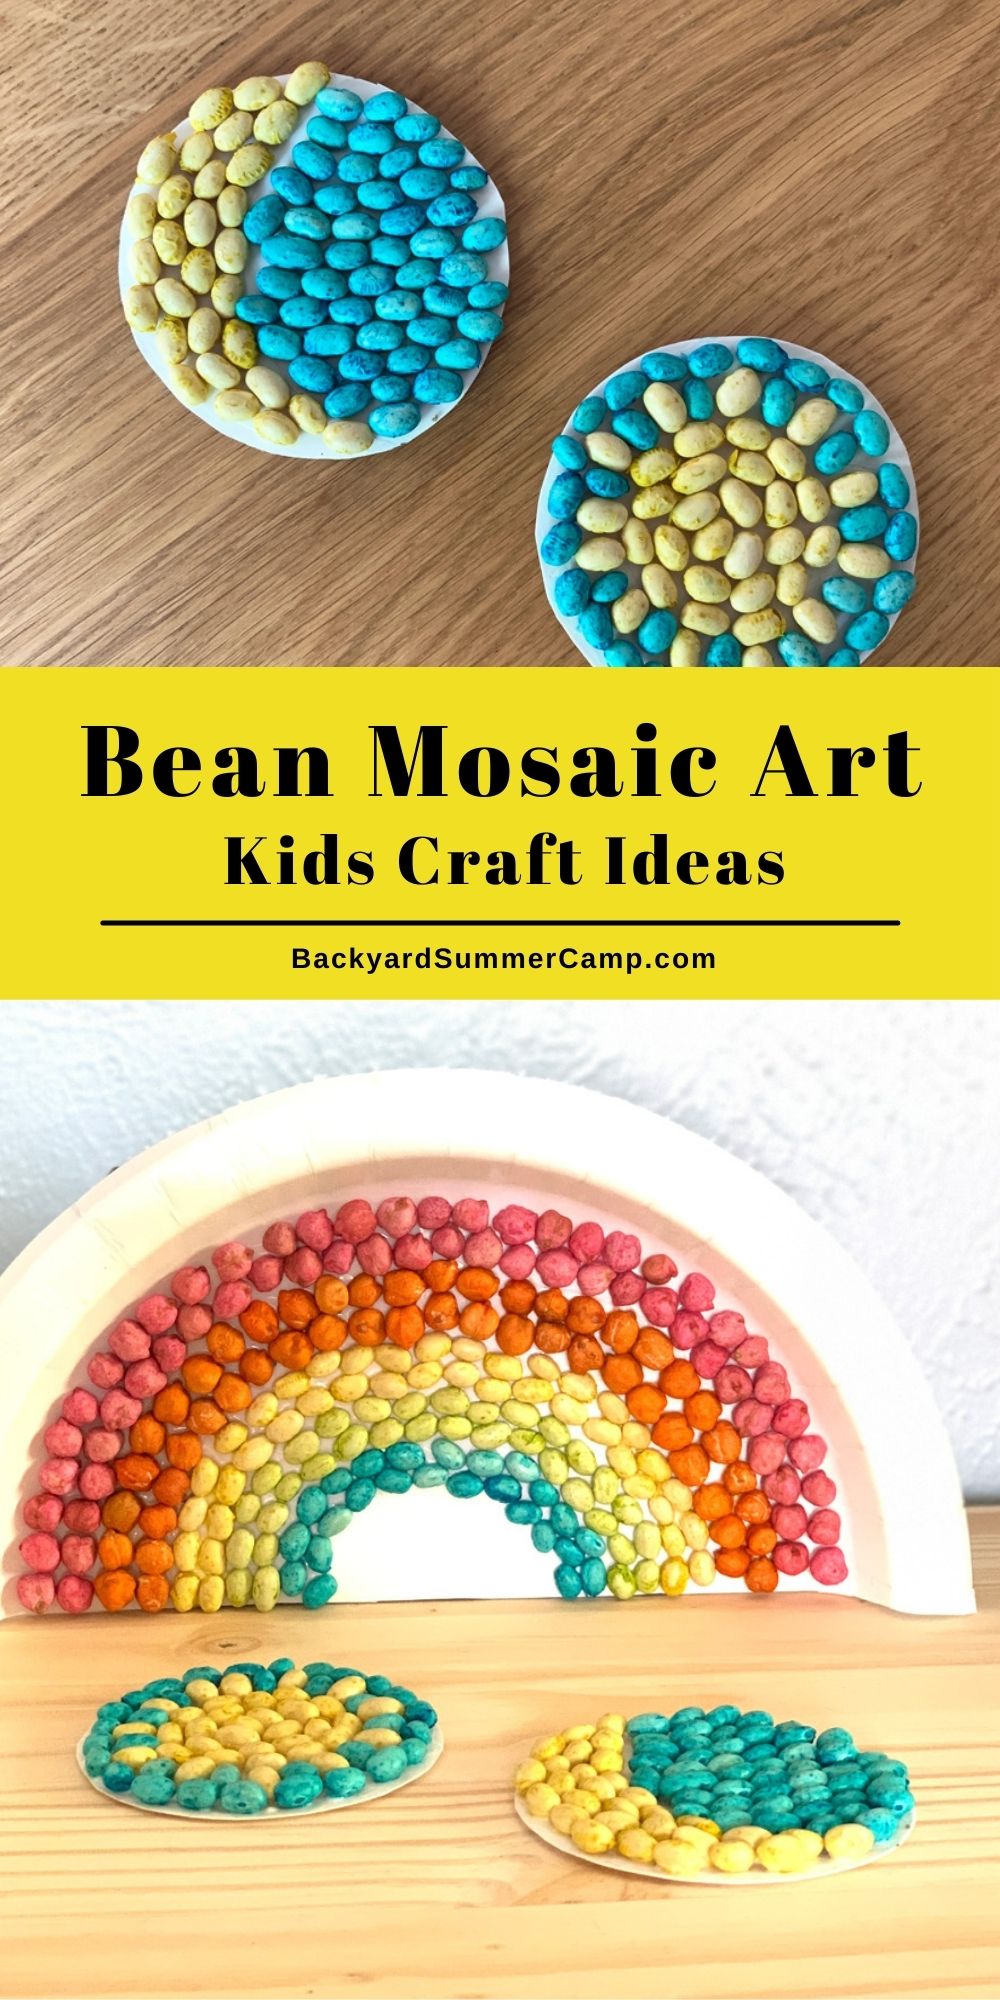
Make a bean mosaic using dyed beans for a fun and easy kids’ art project that’s sure to spark some creativity.

Disclosure: As an Amazon Associate and member of other affiliate programs we earn from qualifying purchases. Read more.
Mosaic making is a fun and easy art activity for kids of all ages. It’s simple, but can be so versatile. Young kids can practice fine motor skills by placing the beans in their design. Older kids can challenge themselves to make detailed artwork.
You only need a few household items to get started making easy bean art and the main ingredient is dried beans. They can be natural for a more organic-looking design or use our easy guide on how to dye beans for crafts.
For a more educational activity, make this art project in an art lesson plan featuring some of our favorite famous artists.
Become a Happy Camper!
Sign up to receive our monthly email newsletter
and get a free printable 30 Day Reading Calendar!
Bean mosaic ideas
Use our bean art templates as inspiration to make your own art. You can swap out any of the materials – like using beads instead of beans – to make this craft all your own.
- Initials – Make just one letter or spell out your child’s name!
- Animals – Use a photo of your pet or your child’s favorite animal as a guide.
- Nature – There are tons of simple, lovely designs in nature including rainbows, flowers, the sun/moon/stars, or a landscape.
- Geometric patterns – Try stripes, dots, zig-zags, or a spiral.
- Mandala – A mandala is a circle filled with patterns.
- Abstract art – Just add beans freely and see what happens!
How to make a bean mosaic
Supplies
- dried beans – dyed or natural
- paper plates
- pencil
- scissors
- white glue
Instructions
1. Plan or sketch your design.
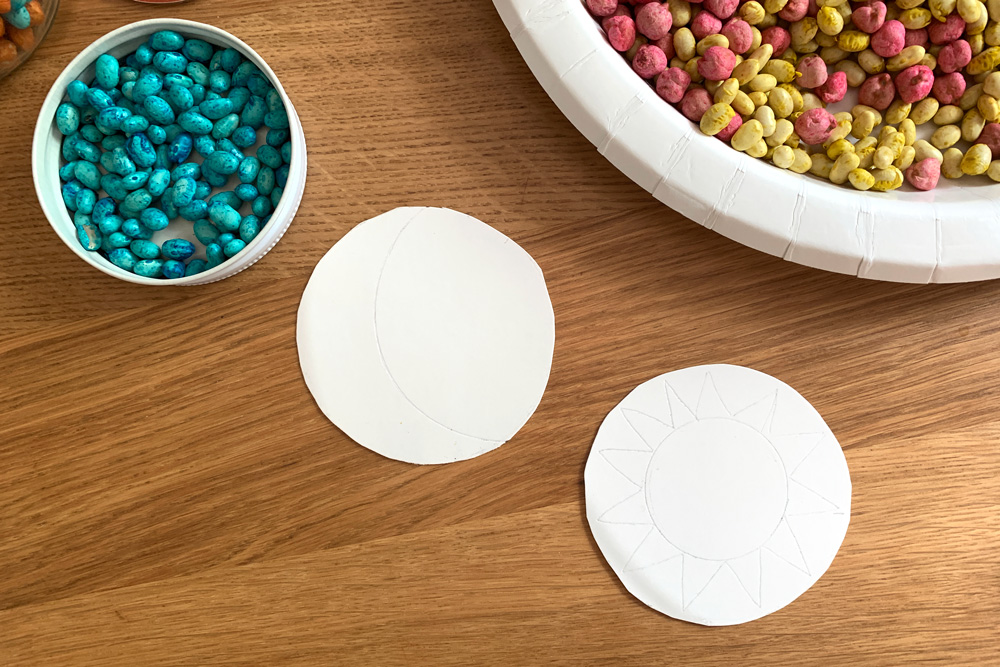
We like using a paper plate with a sturdy ridge around the outside, but filling a whole paper plate takes quite a few beans. If you want to do a long craft (1+ hours), use a whole plate; for a shorter craft (less than an hour), trace a circle or other shape onto the center of the plate and cut it out.
Choose a design for your bean mosaic. You can draw a design with a pencil on the paper plate or just make it up as you go along.

2. Choose the bean colors.
Once you have your design in mind, it’s time to pick the colors you’re using. We went with a non-traditional rainbow to use up all the different colors from our dyed beans.
The sun and moon only needed blue and yellow. Remember that your art doesn’t necessarily have to be the same colors as the “real” version. If your child wants to make a purple duck, why not?

3. Glue beans in one section.
Start with just one bean color and glue it to the plate. Drizzle a bit of white glue where the beans will go. Use a toothpick or just your finger to spread the glue over the area. Place the beans one at a time onto the glue.
Try lining the beans up in rows, creating a spiral pattern, or otherwise using the shape of the beans to create mini-patterns within your design.

4. Repeat for each section.
When your first section is done, add glue to the next section and stick the next color down. Keep repeating until you’ve filled the space. Choose a color for the background and fill that in too.
Let your artwork lay flat to dry until the glue is set. If you’re using white glue like Elmer’s or Aleen’s, it only needs 30 minutes.

Printable instructions
Plan your summer with the DIY Summer Camp Planner!

Our step-by-step guide will help you organize a day, a week, or a whole summer of fun activities for your kids.


