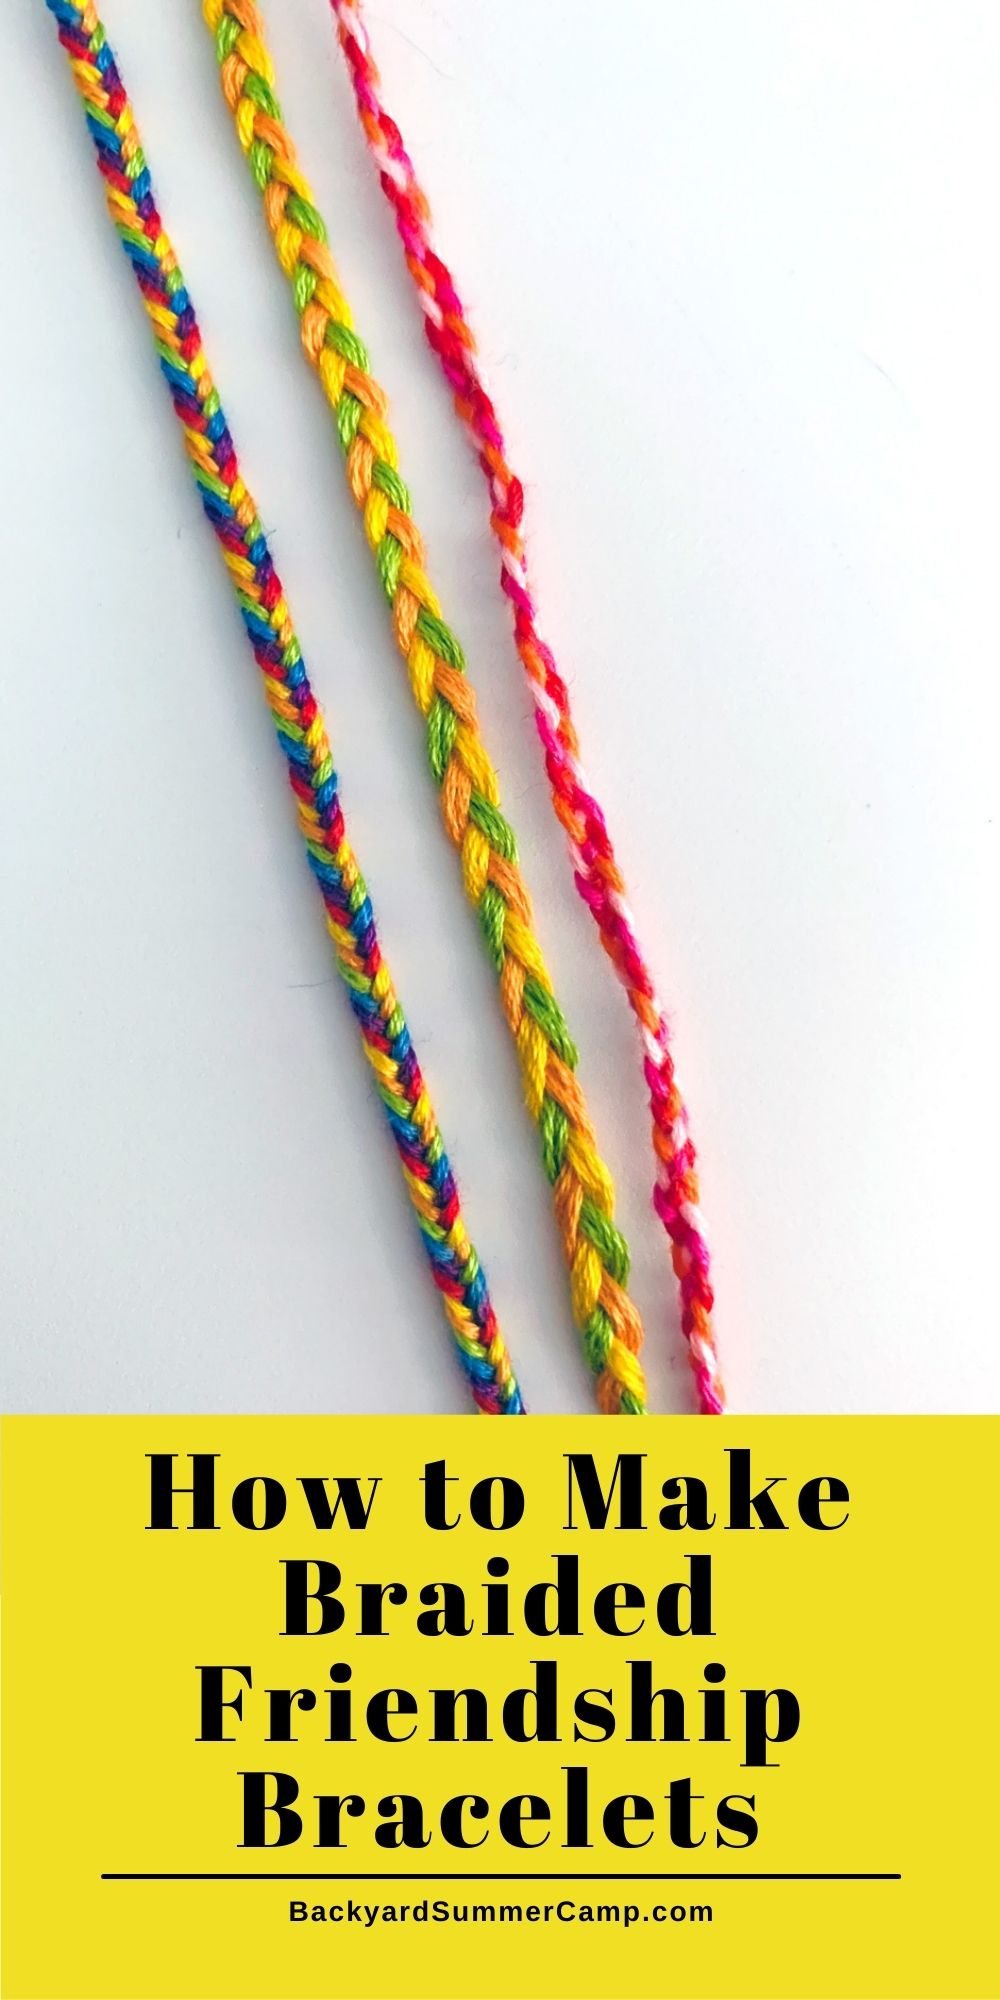
Kids will love learning how to make a braided friendship bracelet using colorful embroidery floss thread and a beginner tutorial.
Disclosure: As an Amazon Associate and member of other affiliate programs we earn from qualifying purchases. Read more.
Friendship bracelets are a kids’ craft staple and this simple braiding technique is easy for beginners to learn. Kids will love making braided friendship bracelets in their favorite colors to share.
This is a good group activity too, especially if your kids are of different ages. Older kids can help younger ones, as well as experimenting to come up with their own creative designs.
If you’ve got craft beads in your supplies, make some of these bead friendship bracelets too!
Become a Happy Camper!
Sign up to receive our monthly email newsletter
and get a free printable 30 Day Reading Calendar!
Friendship bracelet tips
- We used a clipboard to hold the end of the thread while braiding. If you don’t have one, you could tape the string to a table or have a friend hold it.
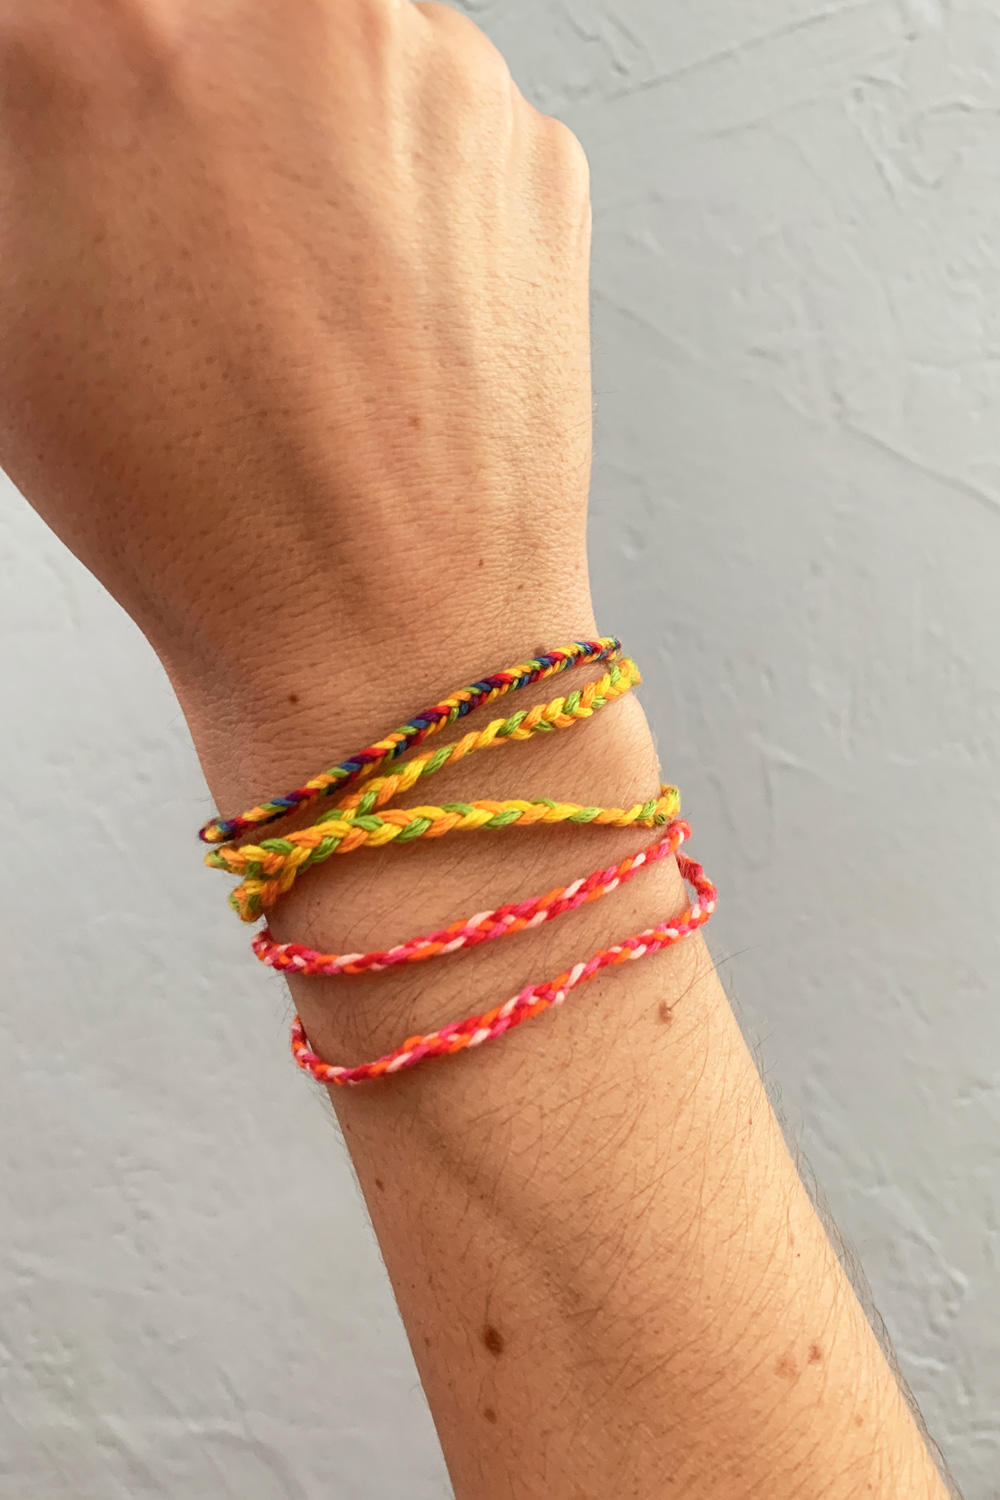
- To make a braided bracelet in any length, the thread should be about twice as long as you want the finished bracelet to be. (For the green-orange-yellow bracelet, the thread went 6 times around and the finished bracelet fits 3 times around.)
- Want to use more than 3 colors? Add as many as you like and divide them into 3 groups to braid.
- Make an ankle bracelet instead!
- Add beads by sliding them onto individual threads as you go or putting them on the finished bracelet before you tie the final knot.
- Embroidery floss thread isn’t the best material to make necklaces for young children because it might not break if it gets caught on something.
How to braid a friendship bracelet
Braided friendship bracelets are an easy craft for younger kids who aren’t ready to learn macrame patterns.
Supplies
Instructions
1. Measure and cut the embroidery floss.
Choose embroidery thread in 3 colors. Wrap the thread around your wrist to measure how long it should be. The thread will go around your wrist 2 times for every 1 time the bracelet does.
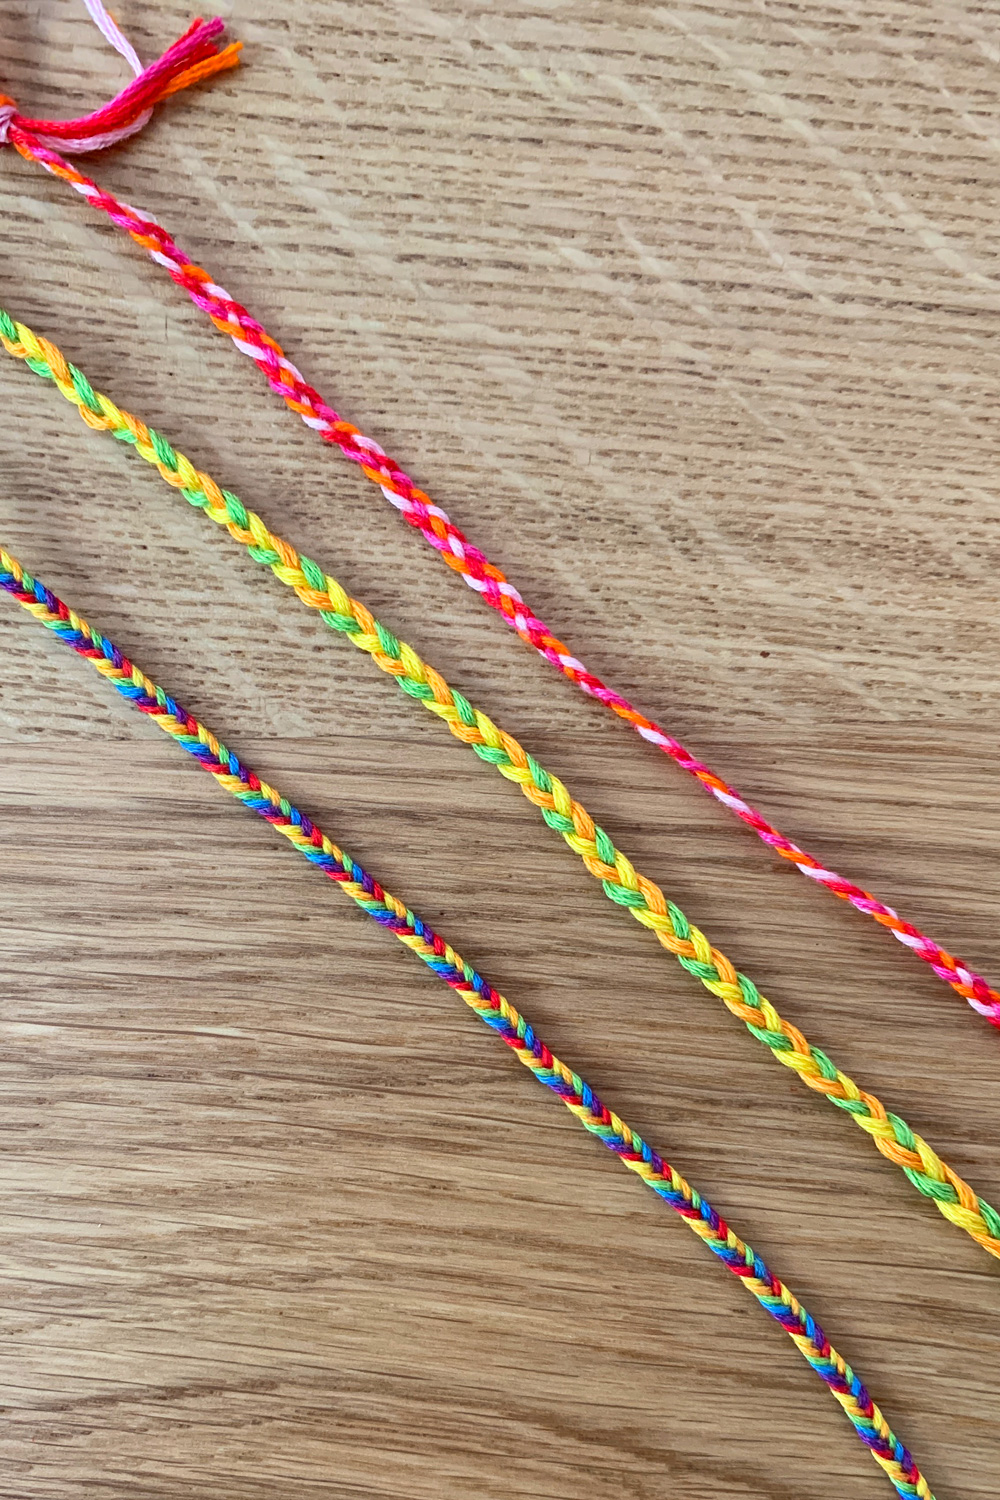
For the average person, that’s approximately 12 inches for a single-wrap bracelet like the rainbow one or 36 inches for a triple-wrap bracelet like the green-orange-yellow one.
Cut 2 pieces of thread for each color, 6 pieces total.
2. Tie the end loop.
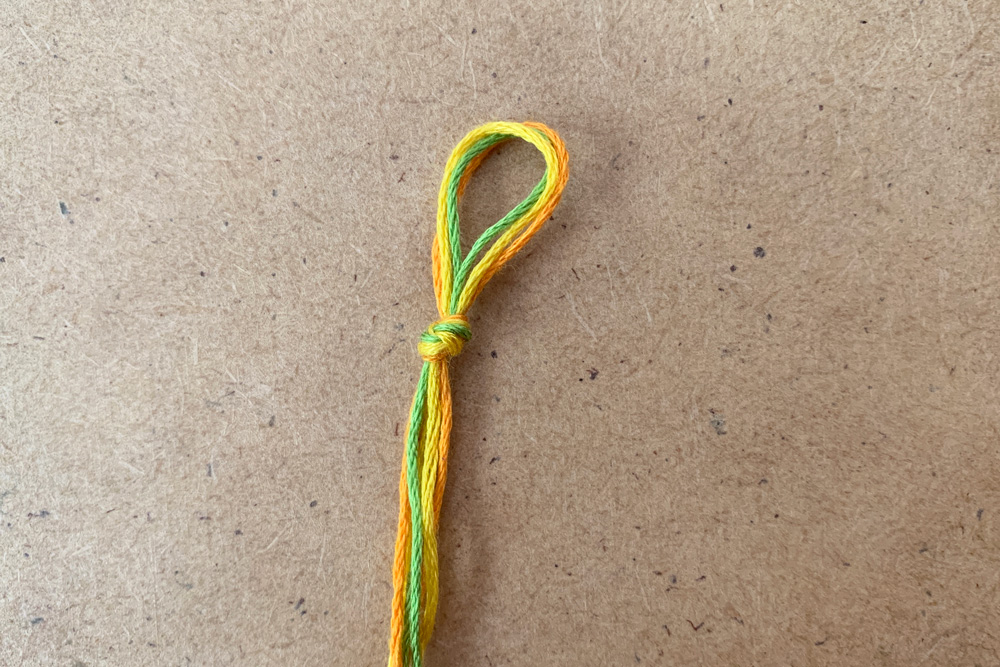
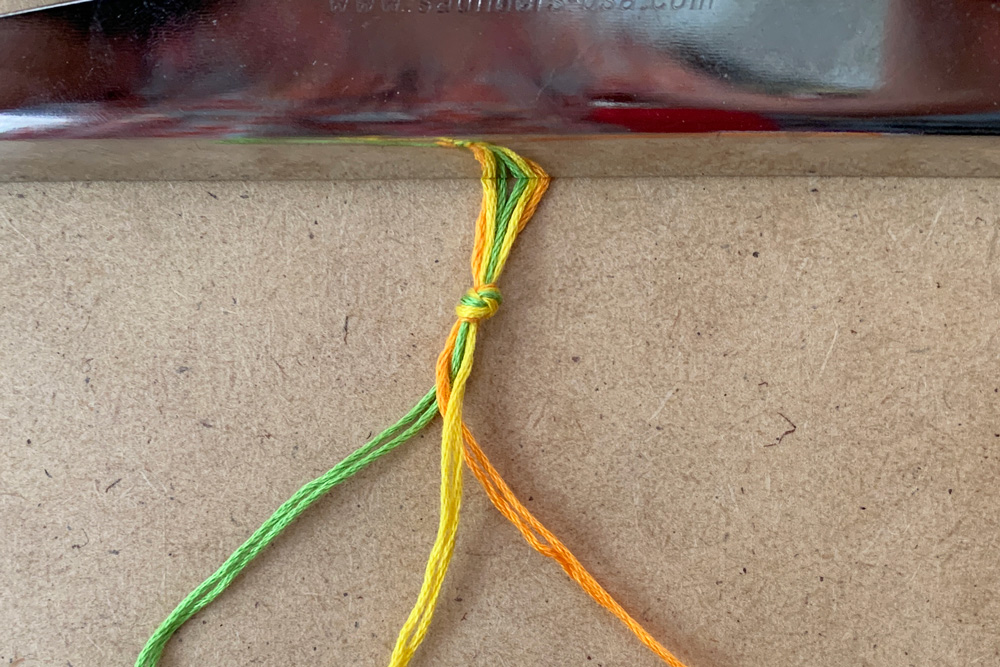
Line up all 6 embroidery thread pieces and fold them in half, holding onto the folded end. Tie an overhand knot to create a small loop on the end.
3. Braid the length of the bracelet.
Slide the tied loop end into the clipboard to hold it while you braid. Separate the thread into 3 groups of 2. Begin braiding down the length of the thread.
To braid with 3 sections, move each outside thread to the center, alternating between the left and right. Below, you’ll see that the threads start in the order orange, green, yellow.
First, orange goes over green. Then yellow goes over orange. The next step will be green over yellow. Repeat this pattern until you get about 4 inches away from the end.
4. Cut and tie the end.
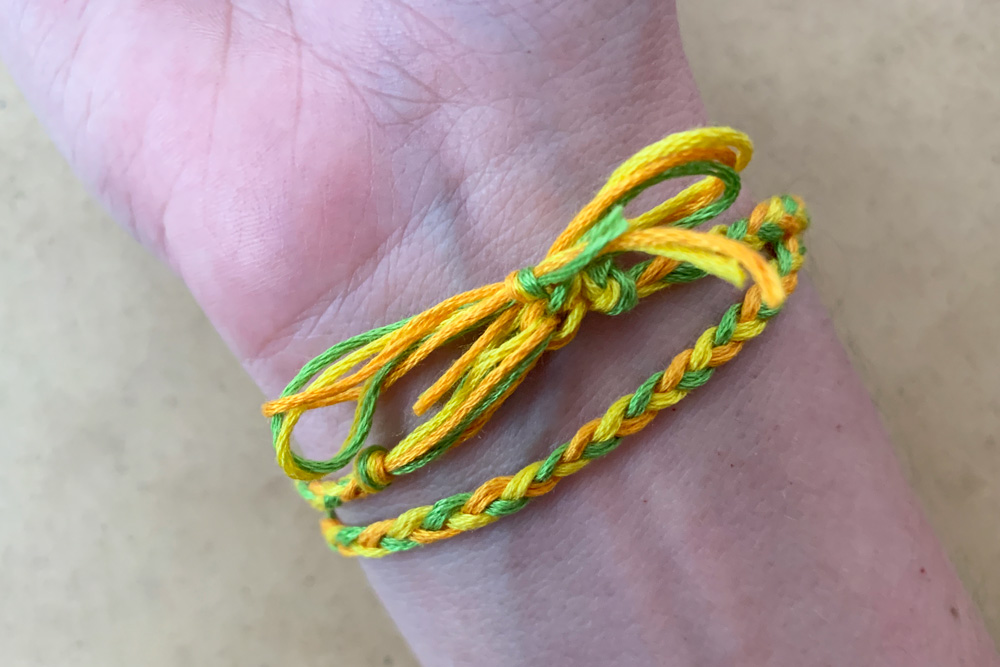
Hold the braid securely so it doesn’t come apart. Tie another overhand knot at the end of the braid, leaving a tail of threads.
To wear the bracelet, wrap it around your wrist and tie the tail ends to the loop.

Printable instructions
Plan your summer with the DIY Summer Camp Planner!
Our step-by-step guide will help you organize a day, a week, or a whole summer of fun activities for your kids.


