
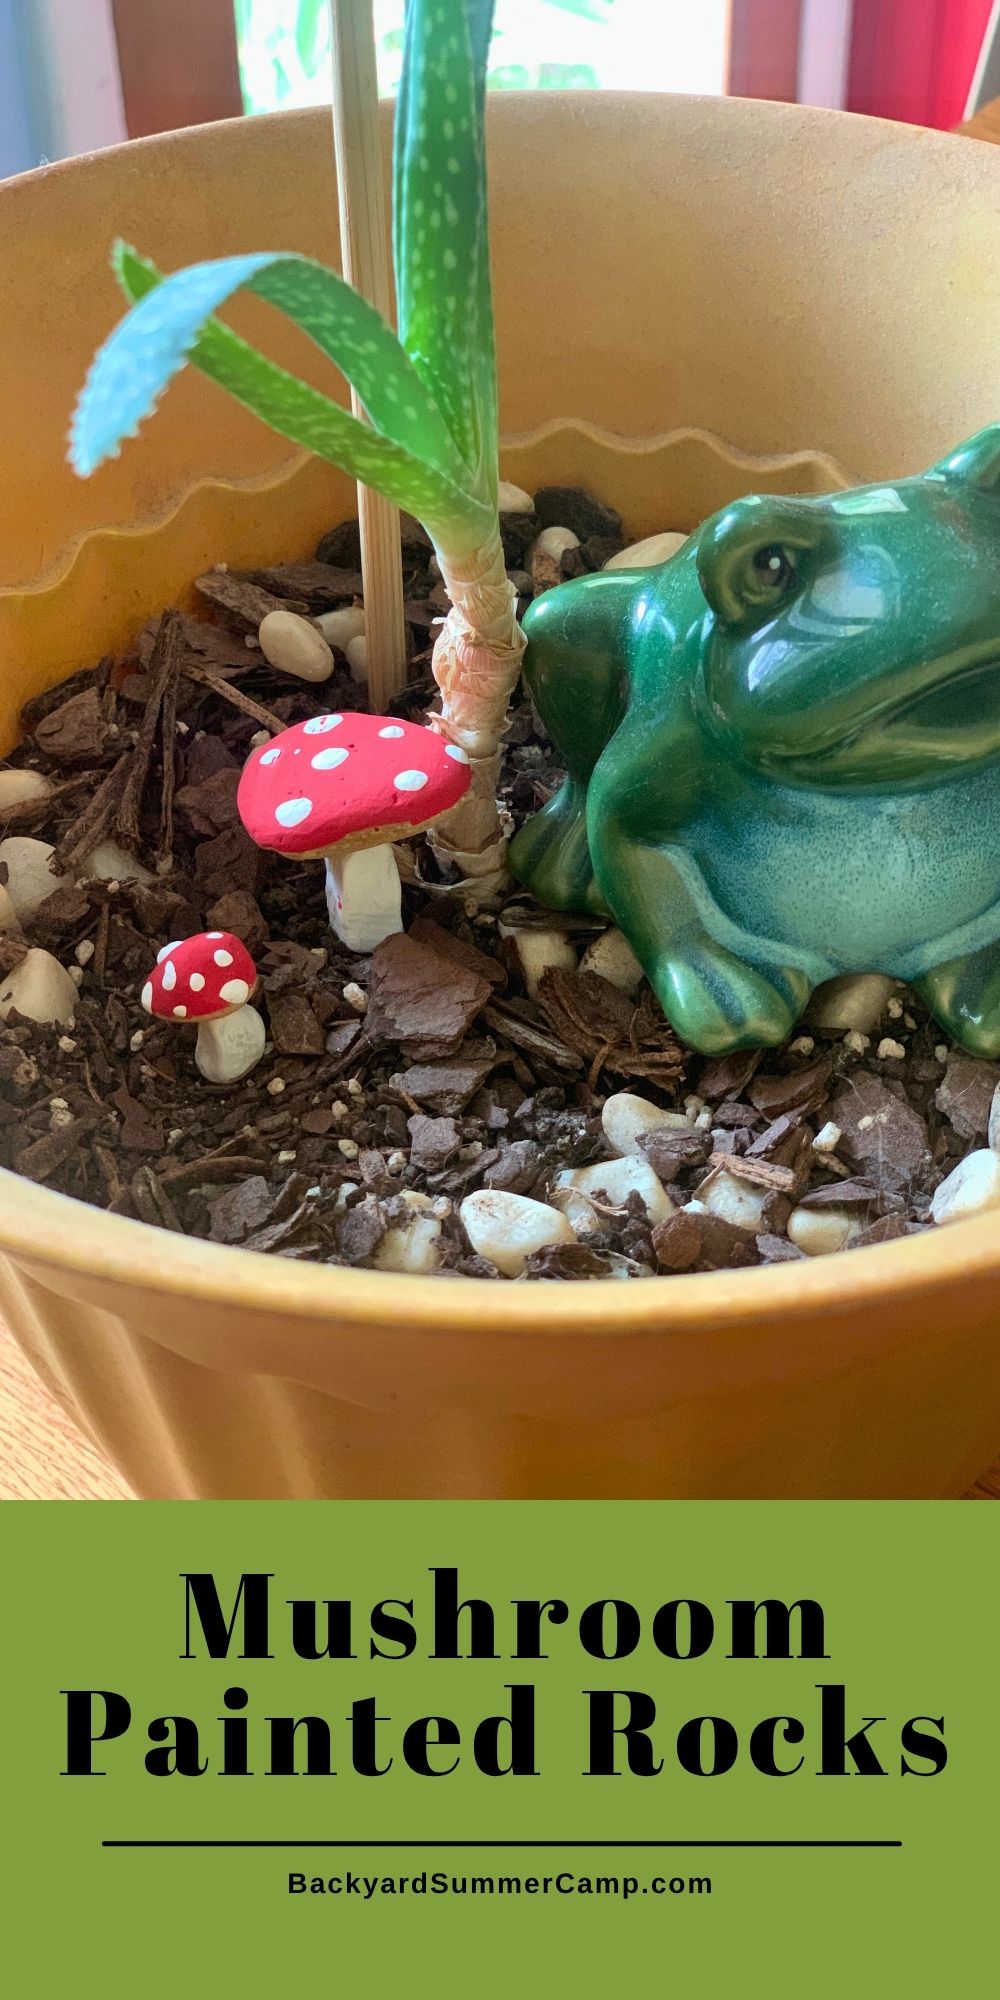
Collect small stones from your backyard to make these adorable mushroom painted rocks. The perfect nature activity or container garden craft!
Disclosure: As an Amazon Associate and member of other affiliate programs we earn from qualifying purchases. Read more.
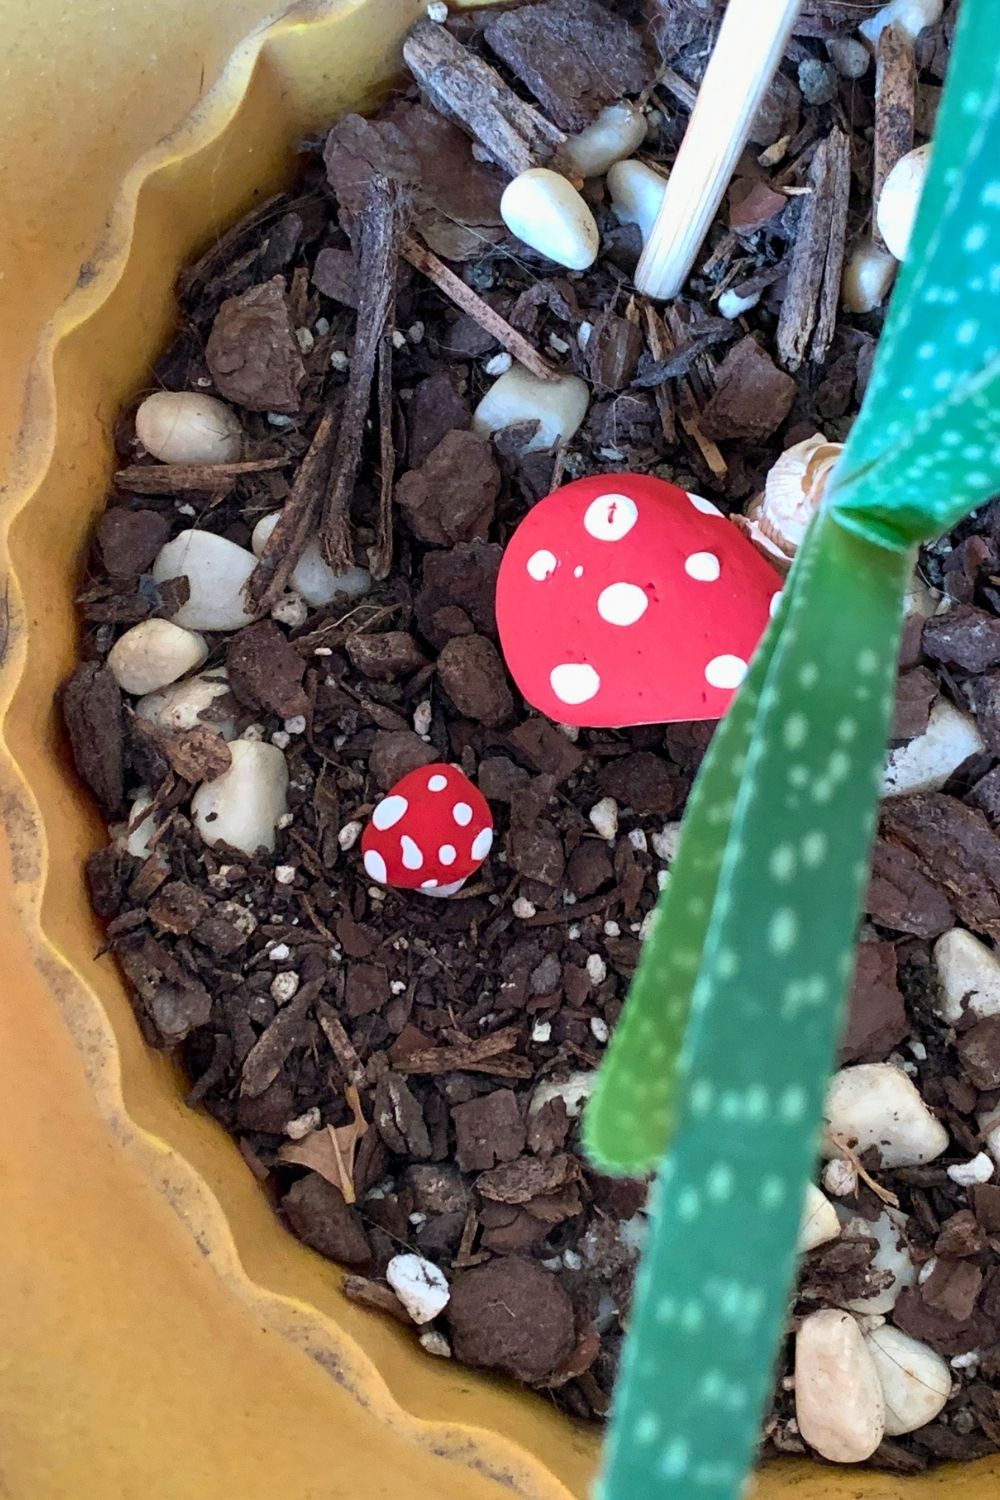
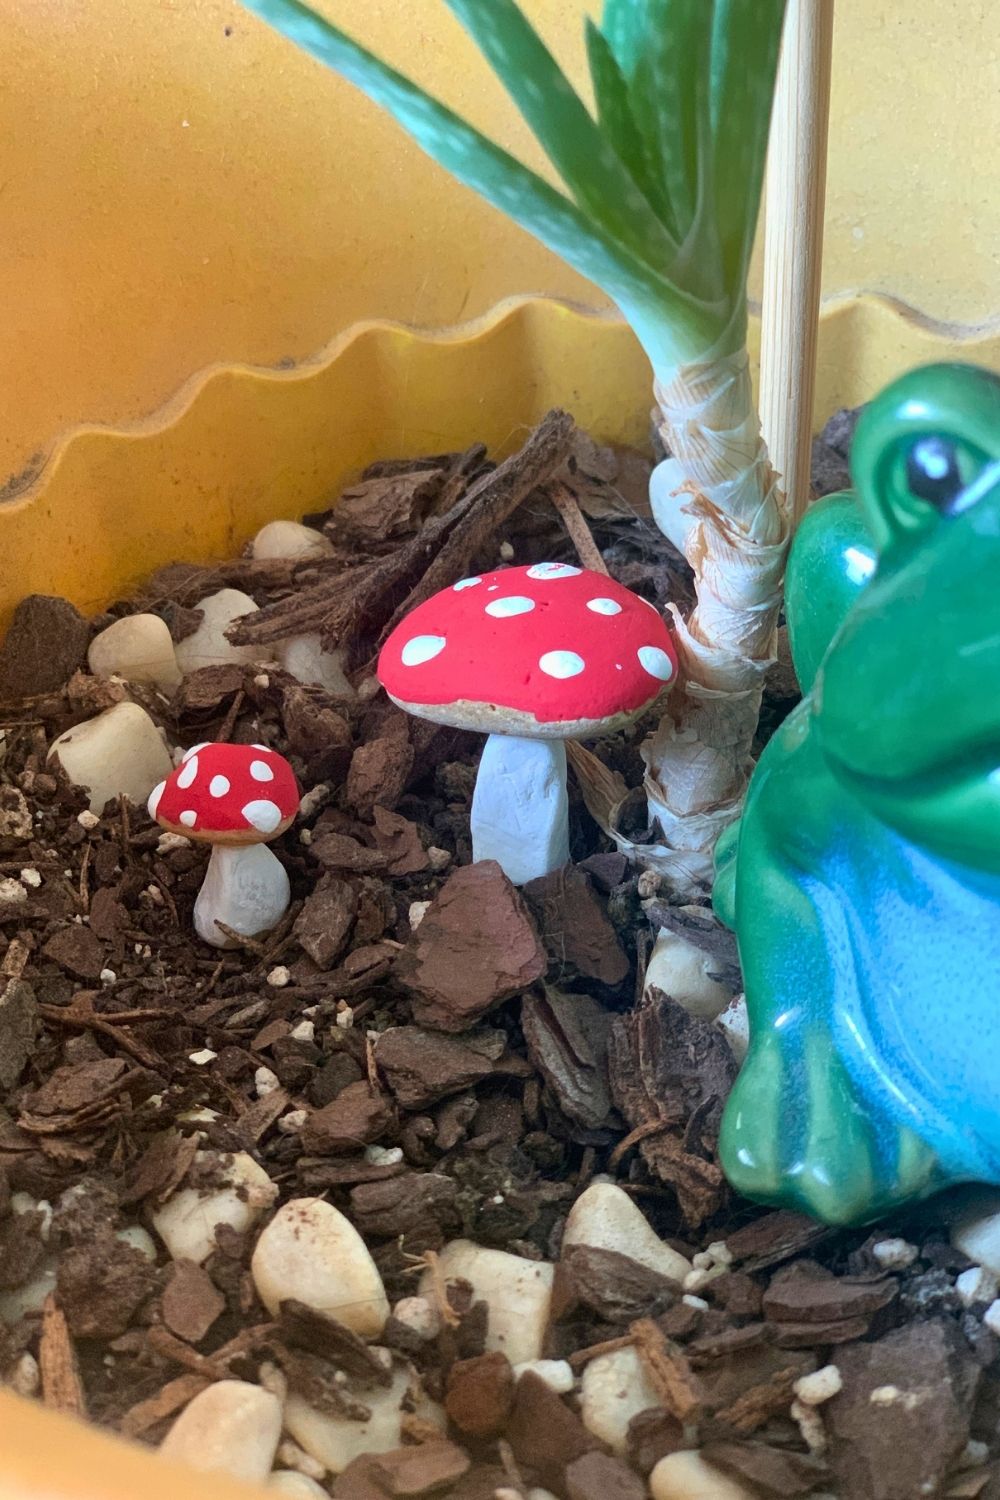
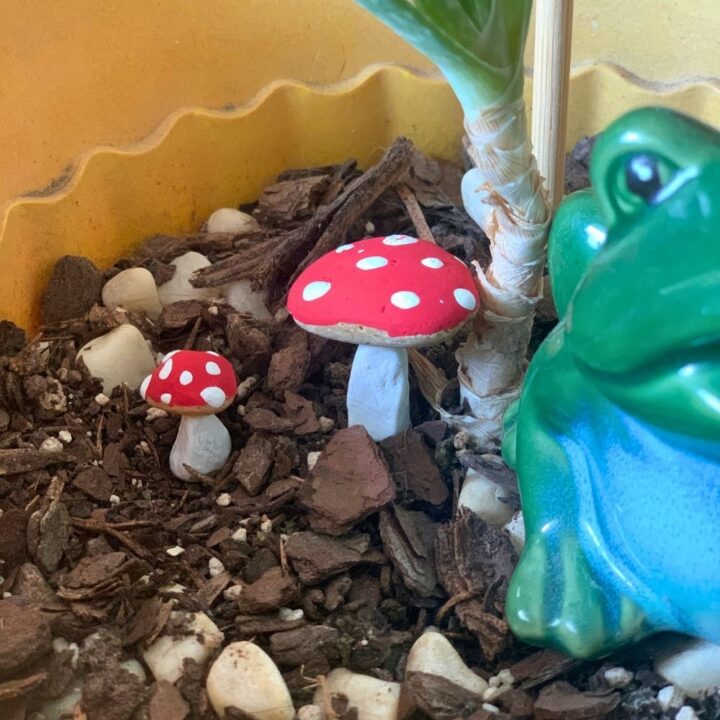
Mushroom painted rocks are a cute addition to a fairy garden or terrarium. Collect small stones and pebbles from your backyard and paint them to look like the magical amanita. The classic white mushroom with a red cap and polka dots is probably what you think of when you imagine a mushroom. It might seem like a fairytale creation, but they’re real!
All you need to decorate these tiny mushrooms are paint and glue. You can also use this technique to make other types of mushrooms.
Become a Happy Camper!
Sign up to receive our monthly email newsletter
and get a free printable 30 Day Reading Calendar!
How to make mushroom rocks
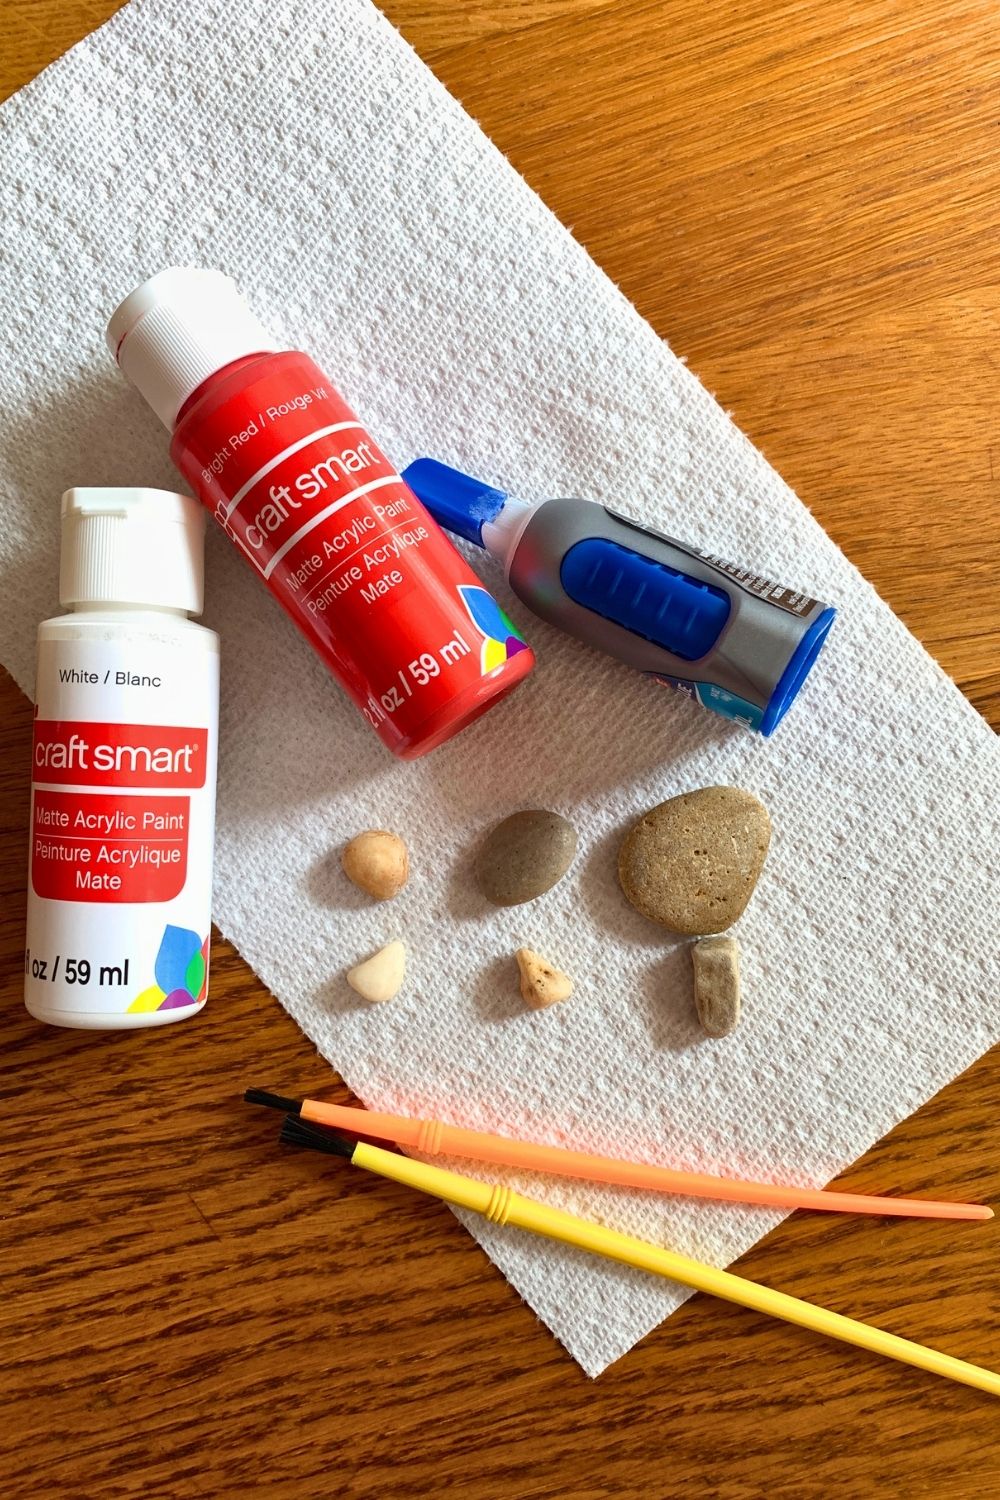
Supplies
- red and white craft paint
- small paintbrushes
- super glue or E6000
- small rocks or pebbles
Instructions
1. Choose rocks and match pairs.
The trick to making these rocks look like mushrooms is choosing the right shapes. For the stem, pick a long skinny rock that can balance on a narrow end. For the cap, pick one that’s mostly round and flat. Test how they fit together. The glue will hold them, but the balance works best with rocks that kind of line up.
Wash any loose dirt from the rocks and let them dry completely.
2. Paint a base coat.
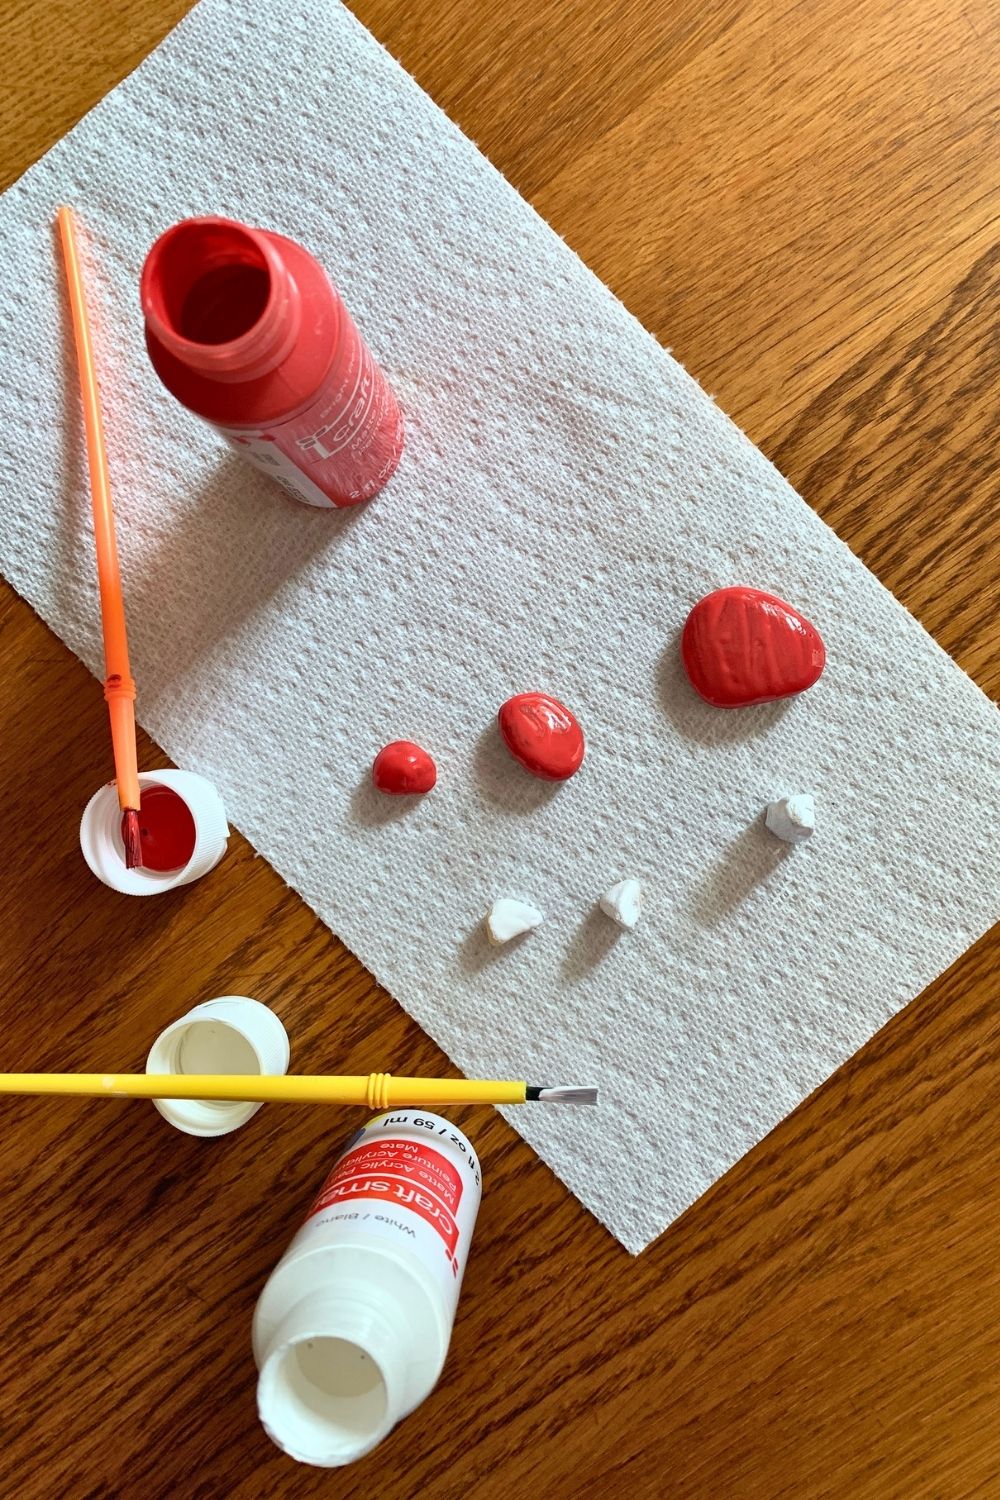
Protect your workspace and paint a coat of white on the stems and red on the caps. Let everything dry and add a second coat if needed.
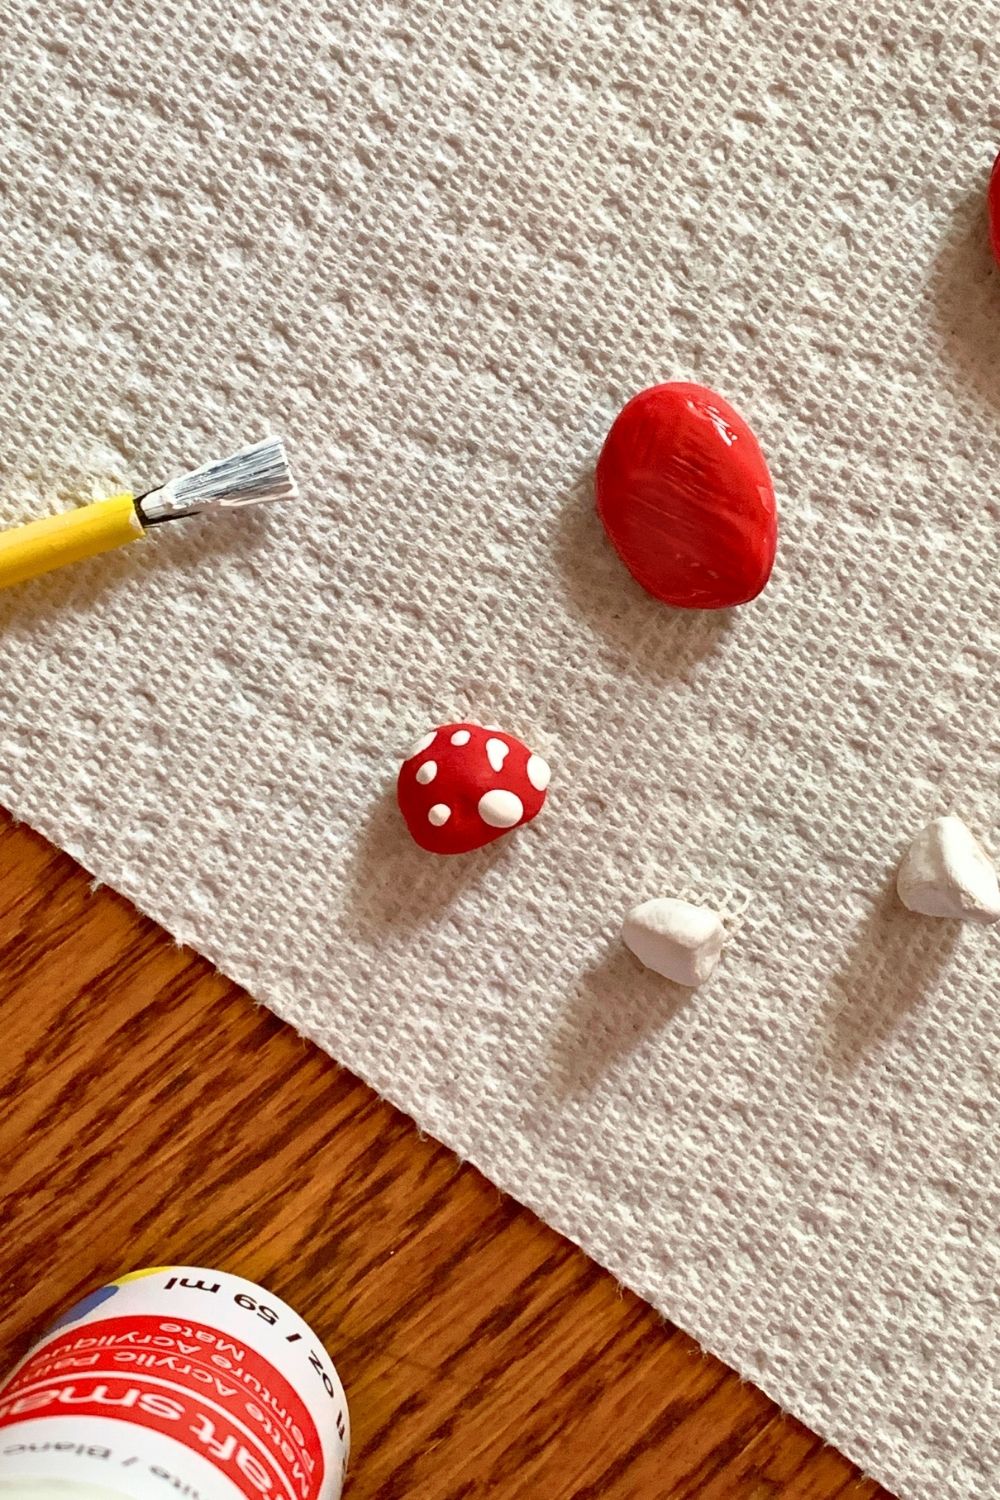
3. Add decorative dots.
When the red caps are dry, use a brush to dab on tiny white dots of paint. Let these dry completely.
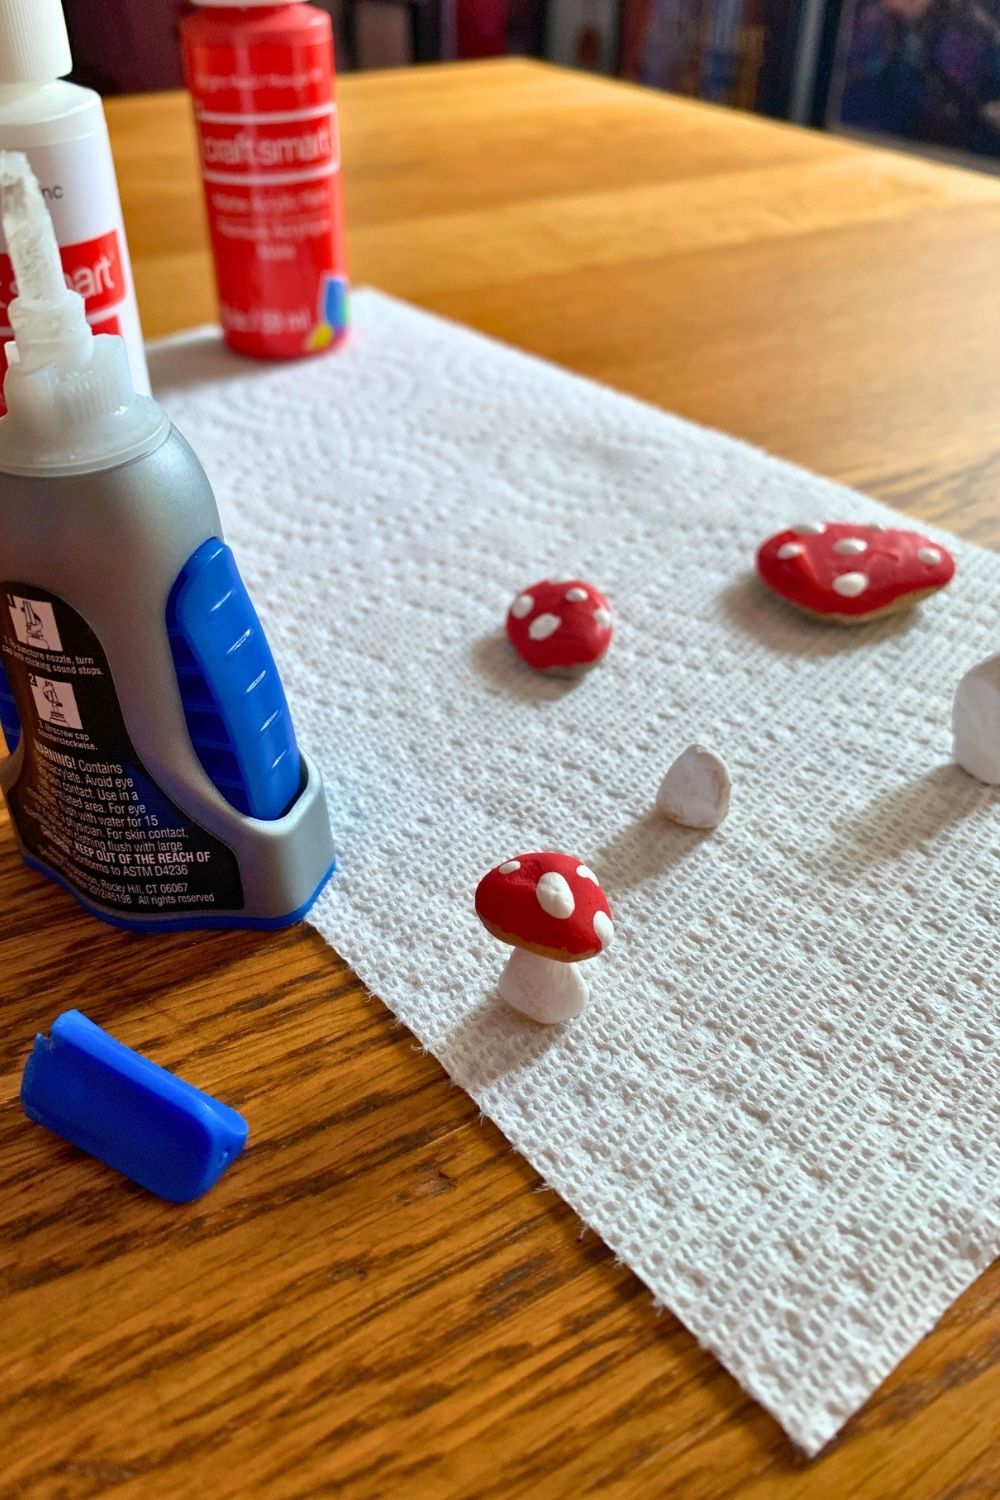
4. Glue caps to stems.
When all the paint is dry stack the cap on top of the stem. Add a tiny dot of glue to the stem and hold the cap in place until the glue sets. Let the mushrooms sit until the glue has dried completely, at least 15 minutes.
This craft is super simple. You can make just a few mushrooms or a whole bunch. Try different rock sizes and shapes. What will you do with your painted mushrooms?
Printable instructions
Painted mushroom rocks
Materials
- red and white craft paint
- small paintbrushes
- super glue or E6000
- small rocks or pebbles
Instructions
- Choose rocks and match pairs.
The trick to making these rocks look like mushrooms is choosing the right shapes. For the stem, pick a long skinny rock that can balance on a narrow end. For the cap, pick one that's mostly round and flat. Test how they fit together. The glue will hold them, but the balance works best with rocks that kind of line up. Wash any loose dirt from the rocks and let them dry completely. - Paint a base coat.
Protect your workspace and paint a coat of white on the stems and red on the caps. Let everything dry and add a second coat if needed. - Add decorative dots.
When the red caps are dry, use a brush to dab on tiny white dots of paint. Let these dry completely. - Glue caps to stems.
When all the paint is dry stack the cap on top of the stem. Add a tiny dot of glue to the stem and hold the cap in place until the glue sets. Let the mushrooms sit until the glue has dried completely, at least 15 minutes.
Plan your summer with the DIY Summer Camp Planner!
Our step-by-step guide will help you organize a day, a week, or a whole summer of fun activities for your kids.