
Make and launch straw rockets in your backyard for an easy craft that’s fun for kids who love space and astronauts.
Don’t want to scroll past ads? Get lifetime ad-free access to this activity plus 4 more with our weekly camp sessions!

Disclosure: As an Amazon Associate and member of other affiliate programs we earn from qualifying purchases. Read more.
Paper and straw rockets are a fun and simple craft that you can use to demonstrate how astronauts travel into space! Build a rocket using paper and glue, then use the straws to make it fly.
A quick science note: Astronauts travel into space in a space shuttle. A rocket is the larger fuel container that carries the shuttle into orbit and then drops off while the shuttle keeps going. Read more about spaceships from NASA.
Rocket launching tips
- You can launch this paper rocket indoors as long as it won’t hit anything fragile, but head outside for a better experience!
- Test out aiming it straight up and at a slight angle. Which one works better?
- Blow a short fast burst of air or a long slow burst of air. Does it change how high the rocket flies?
- Consider how wind will affect where your rocket moves once you launch it into the air.
Become a Happy Camper!
Sign up to receive our monthly email newsletter
and get a free printable 30 Day Reading Calendar!
How to make straw rockets
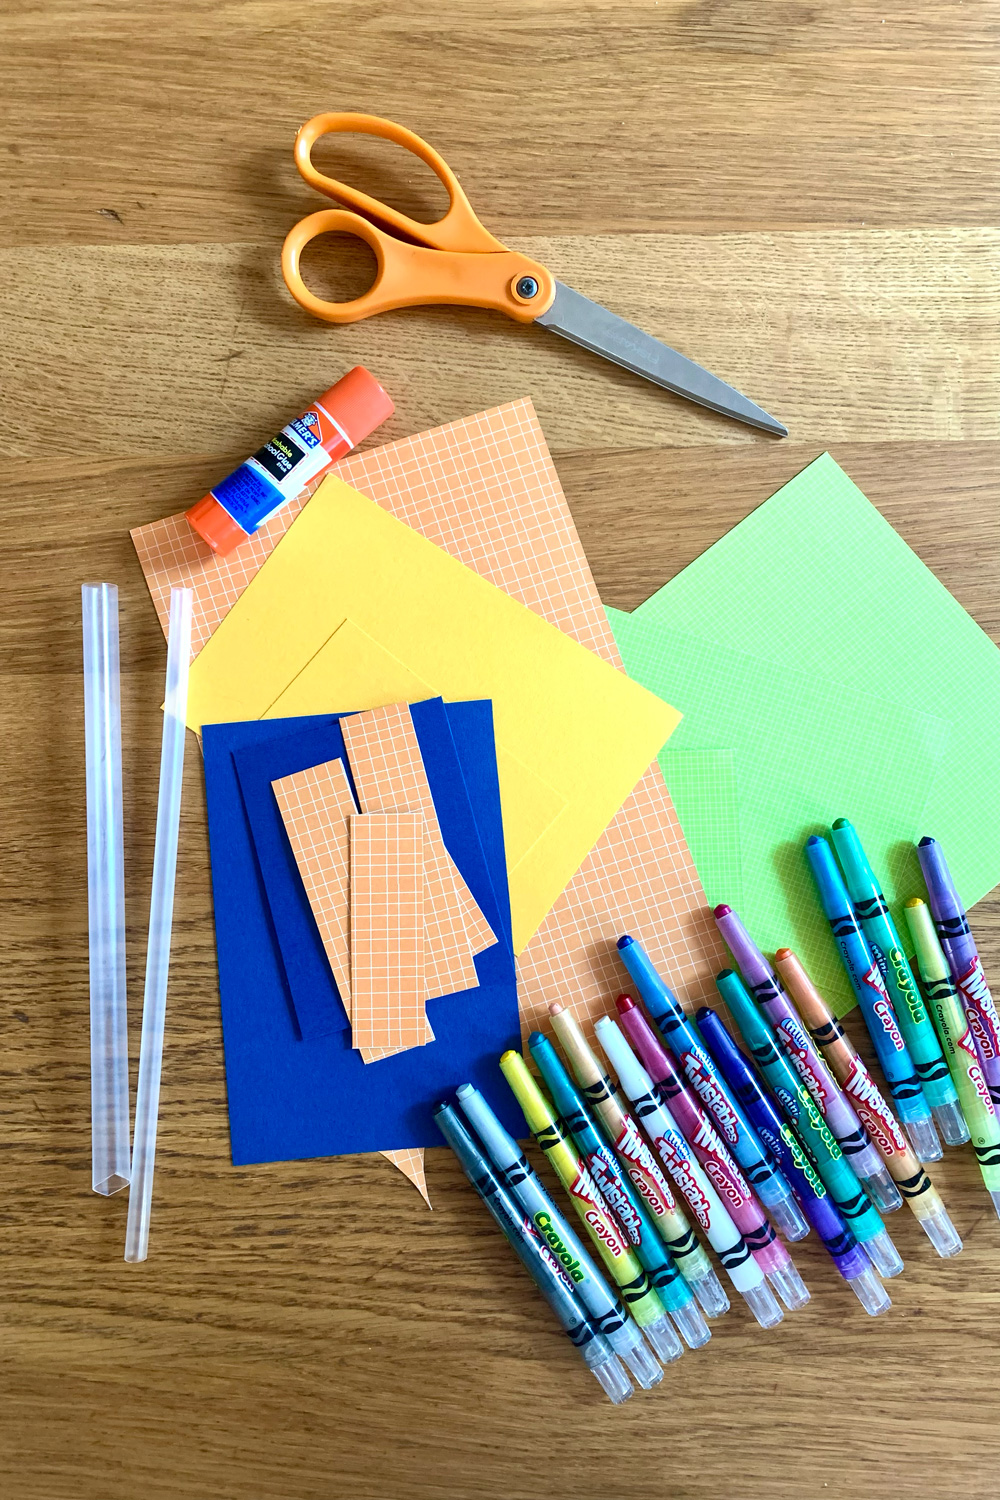
Supplies
- craft paper in any colors
- drinking straws in 2 different sizes – We used a regular fast food straw and a boba tea straw.
- scissors
- glue stick
- crayons or markers
Optional: Sign up for Space Week to get a printable rocket template.
Instructions
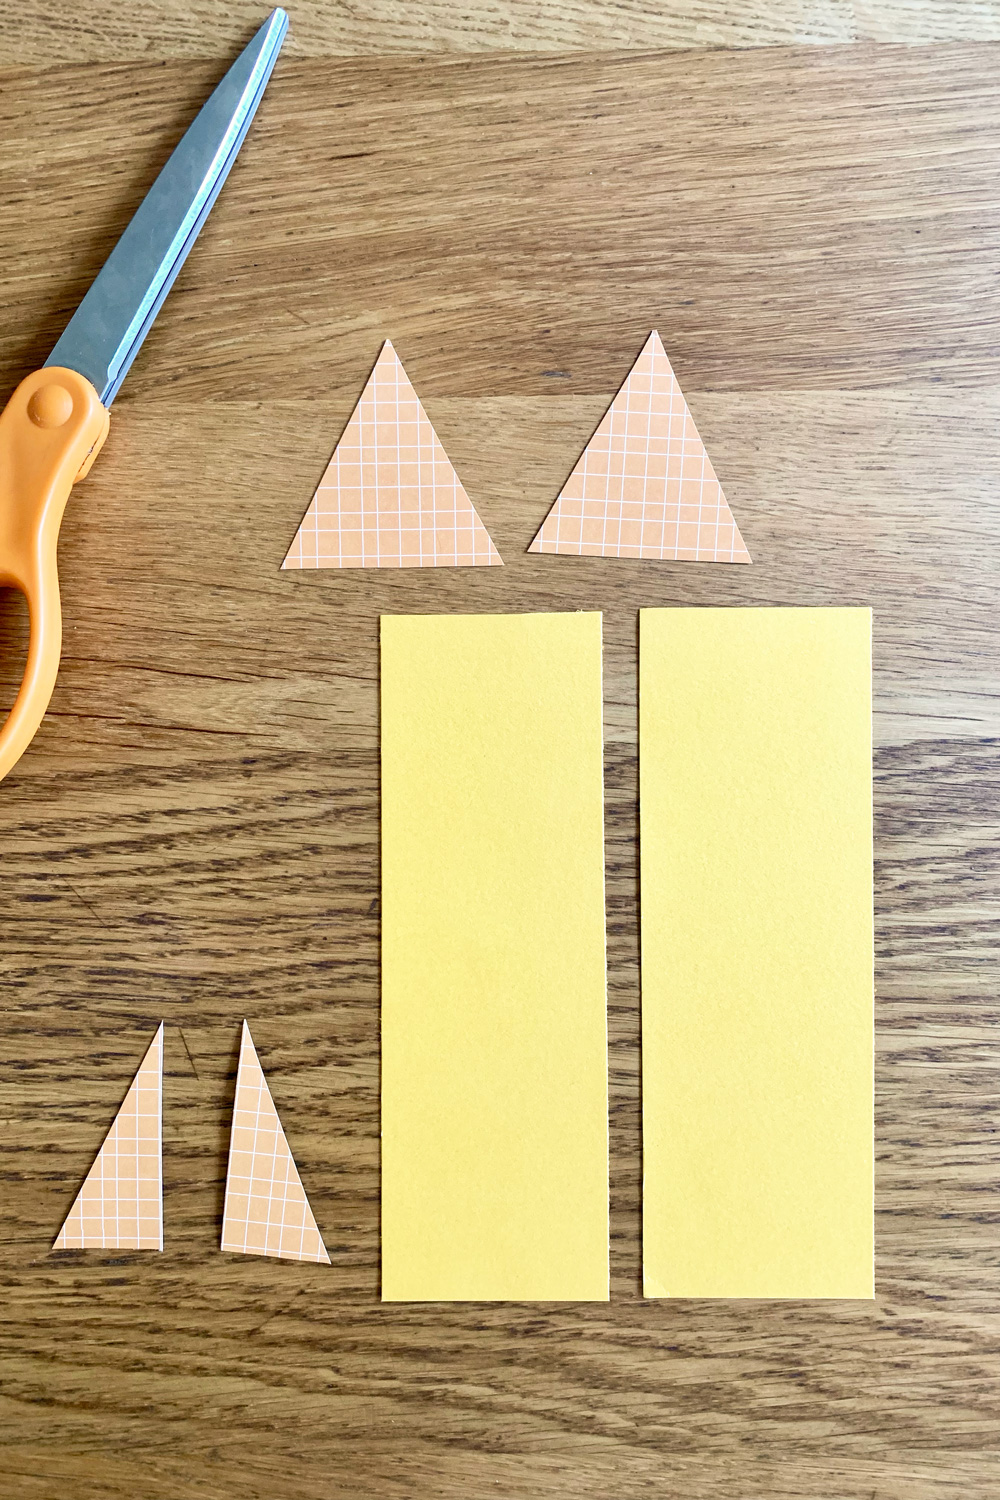
1. Cut out paper rocket pieces.
First, cut out all the paper rocket pieces. You’ll need 2 long rectangles for the body. Ours measure 2×6-inches. You’ll also need 2 triangles for the nose, and 2 fins for the side. You can make them all the same color or different!
Note: If your paper has a different pattern on the back, you may want to cut 4 fins and glue them together in pairs so they look the same on the front and back.
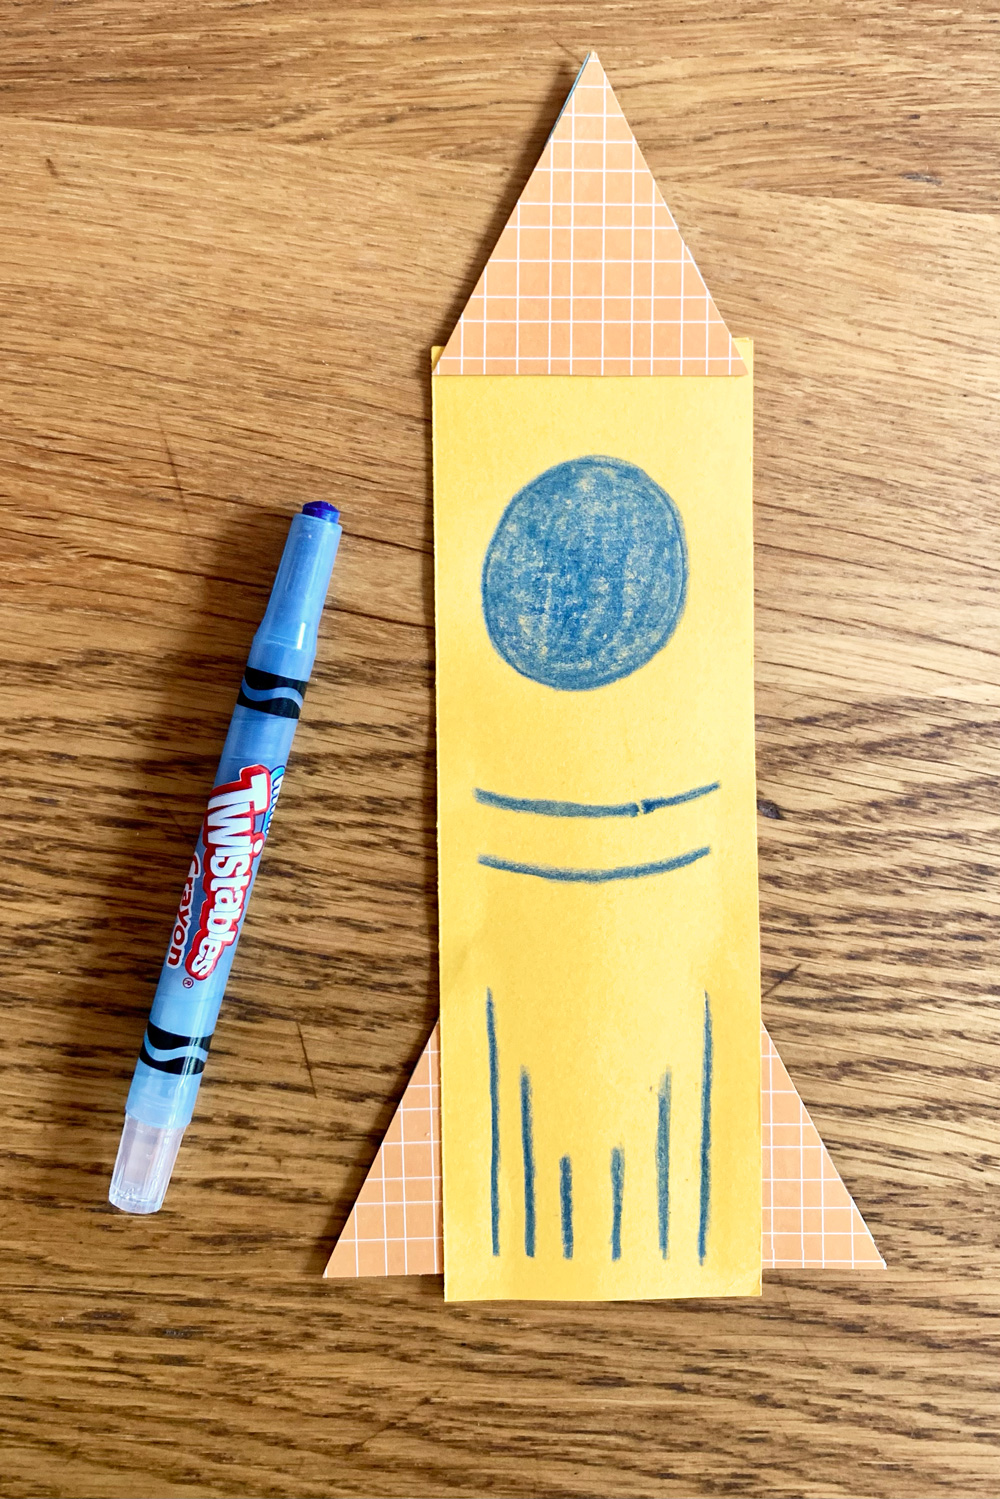
2. Assemble and decorate the rocket.
Next, assemble the rocket pieces and glue them together. Lay one rectangle down and glue the fins to the side, near the bottom end. Lay the second rectangle on top and glue it along 3 sides, leaving the bottom open. Attach the nose pieces to the end of the body, overlapping it a bit.


Allow the glue to dry, then decorate the rocket however you like using crayons or markers.
3. Attach the straw.
Finally, slide the larger straw into the open end of the rocket body. If it fits snugly, you probably don’t need to glue it.
Note: If the straw makes your seams pop open, add some extra glue and use clothespins to hold them together while they dry.

To launch the straw rocket, slide the smaller straw into the larger one. Blow into the end of the straw and watch it fly!

Printable instructions
Straw Rockets

Materials
- craft paper in any colors
- drinking straws in 2 different sizes
- scissors
- glue stick
- crayons or markers
Instructions
- Cut out paper rocket pieces.
First, cut out all the paper rocket pieces. You'll need 2 long rectangles for the body. Ours measure 2x6-inches. You'll also need 2 triangles for the nose, and 2 fins for the side. You can make them all the same color or different! Note: If your paper has a different pattern on the back, you may want to cut 4 fins and glue them together in pairs so they look the same on the front and back. - Assemble and decorate the rocket.
Next, assemble the rocket pieces and glue them together. Lay one rectangle down and glue the fins to the side, near the bottom end. Lay the second rectangle on top and glue it along 3 sides, leaving the bottom open. Attach the nose pieces to the end of the body, overlapping it a bit. Allow the glue to dry, then decorate the rocket however you like using crayons or markers. - Attach the straw.
Finally, slide the larger straw into the open end of the rocket body. If it fits snugly, you probably don't need to glue it. Note: If the straw makes your seams pop open, add some extra glue and use clothespins to hold them together while they dry. - To launch the straw rocket, slide the smaller straw into the larger one. Blow into the end of the straw and watch it fly

Plan your summer with the DIY Summer Camp Planner!

Our step-by-step guide will help you organize a day, a week, or a whole summer of fun activities for your kids.
