
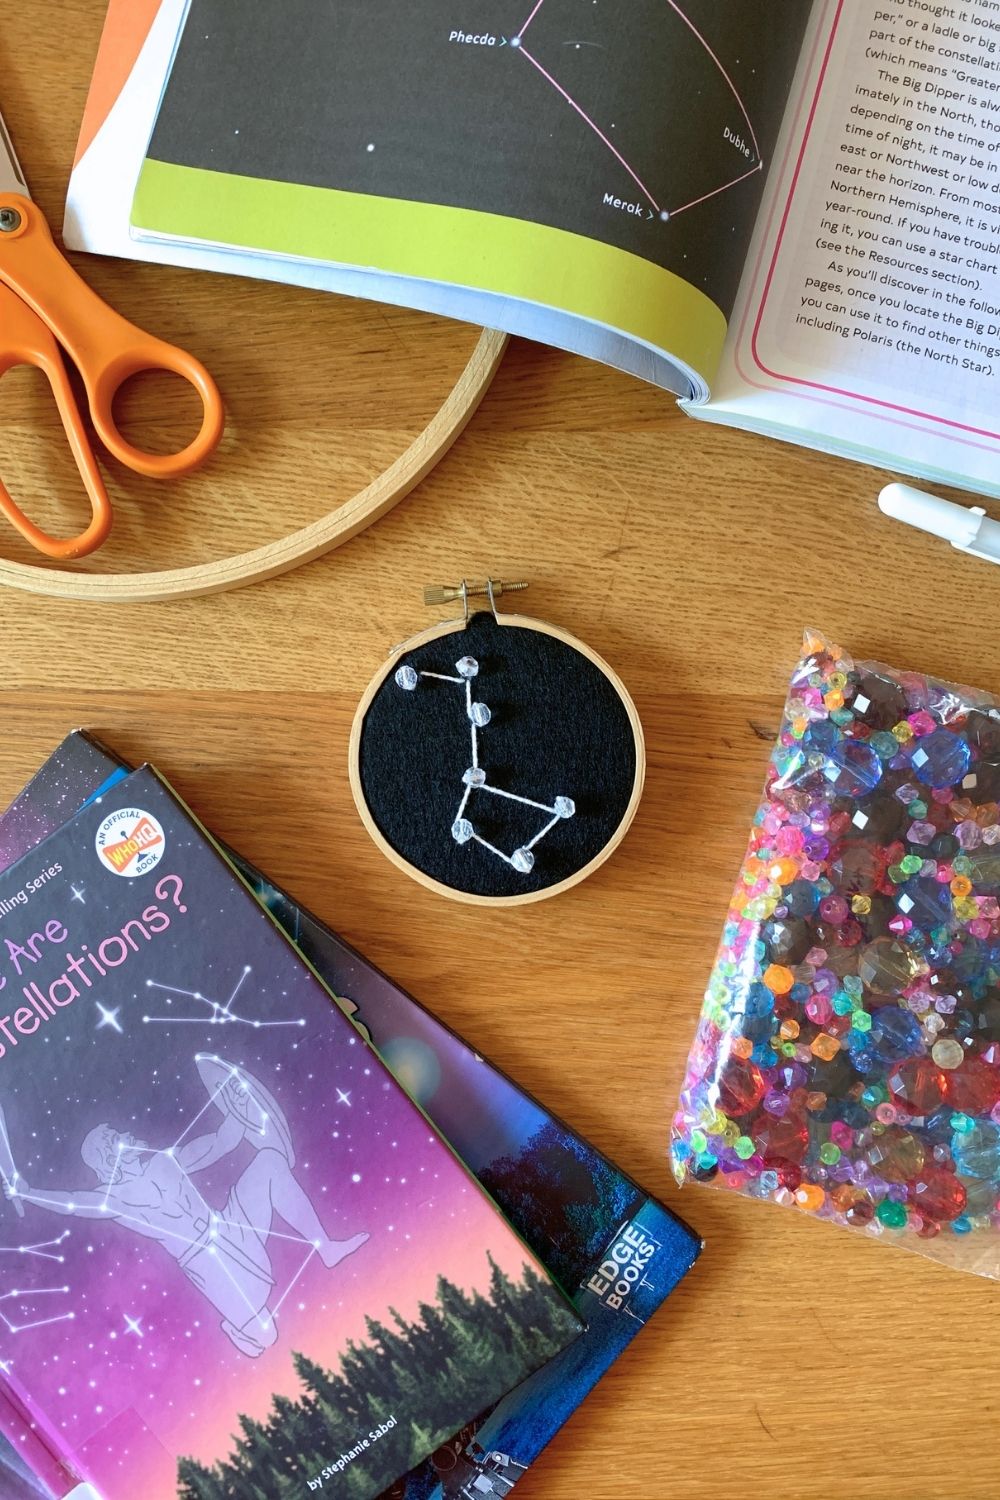
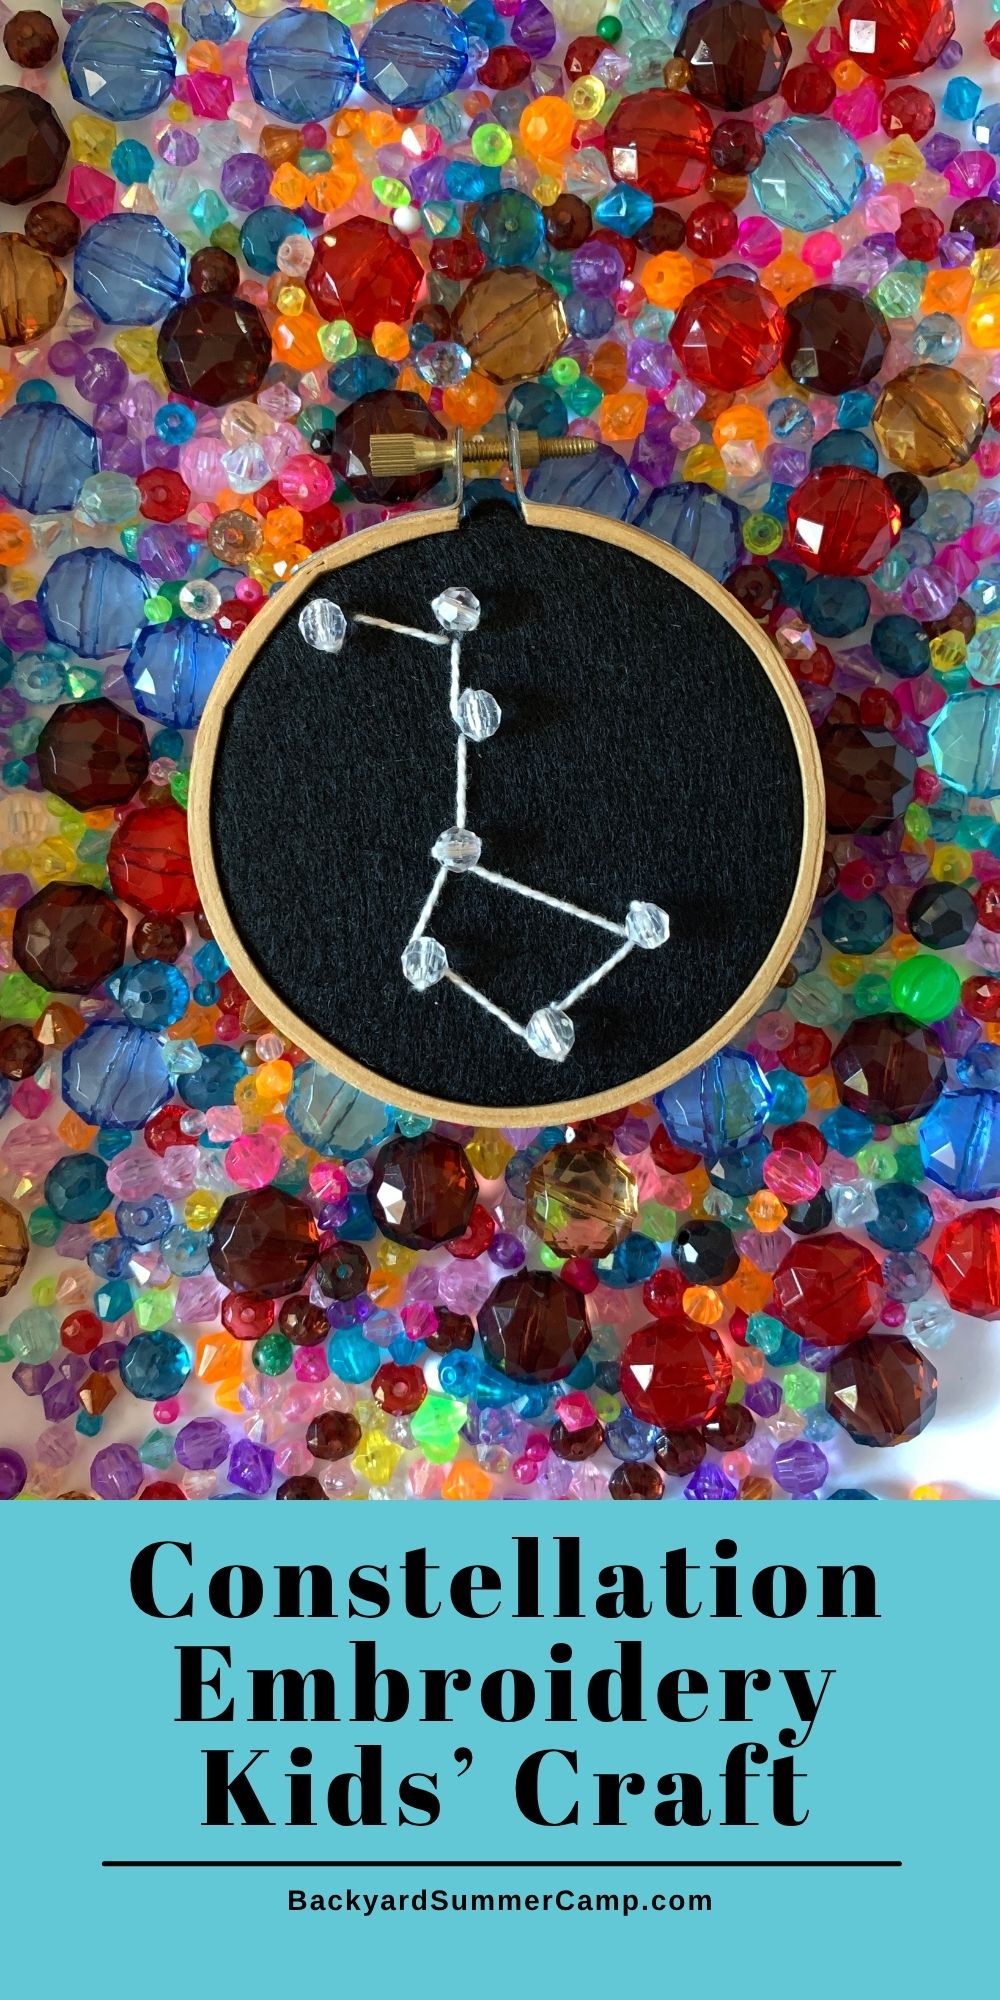
This constellation embroidery is a fun an easy beginner project for kids! Stitch the stars and learn about the night sky.
Disclosure: As an Amazon Associate and member of other affiliate programs we earn from qualifying purchases. Read more.
Constellation are a fun and interesting way to learn about space. They connect the stars we can see with stories that have been told for centuries. Some are well-known, like the zodiac symbols, and others are connected to mythology and folktales.
This project will work with any constellation you choose. NASA has an online resource for teaching kids about constellations. We also recommend heading to your local library to pick up a few books. Most are filled with big pictures that will help you plan your designs. They also include fun facts about the constellations!
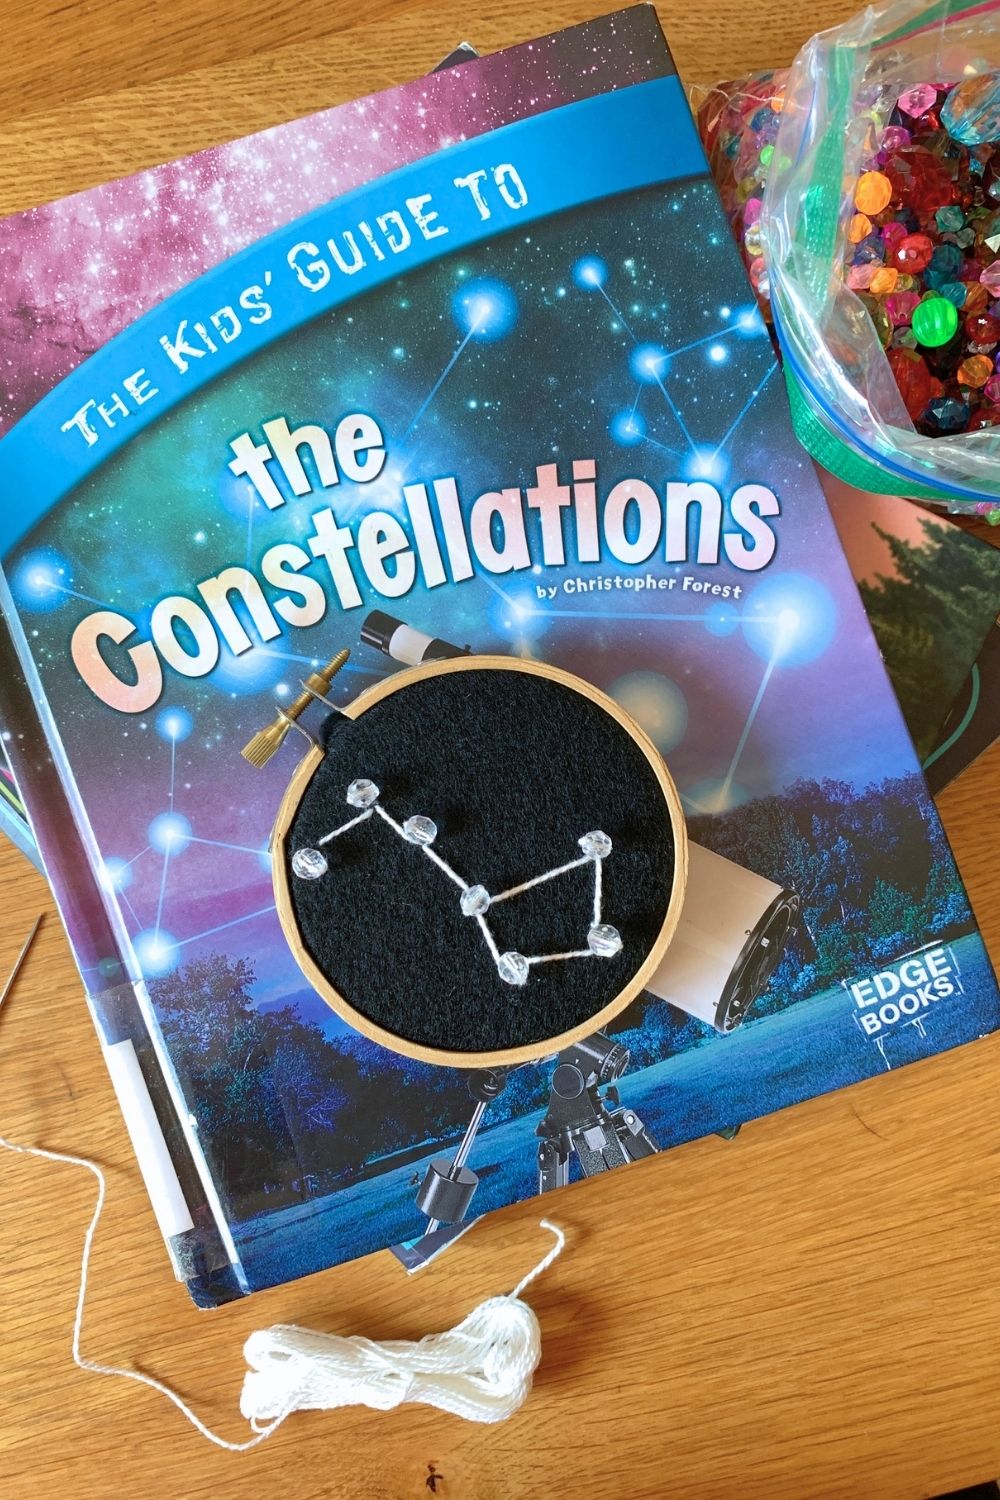
Here are the books we used:
- For big pictures
Astronomy for Kids: How to Explore Outer Space with Binoculars, a Telescope, or Just Your Eyes! by Bruce Betts, PhD - For pictures and context in the sky
The Kids’ Guide to the Constellations by Christopher Forest - For small pictures and lots of history
Where Are the Constellations? by Stephanie Sabol
Become a Happy Camper!
Sign up to receive our monthly email newsletter
and get a free printable 30 Day Reading Calendar!
How to make constellation embroidery
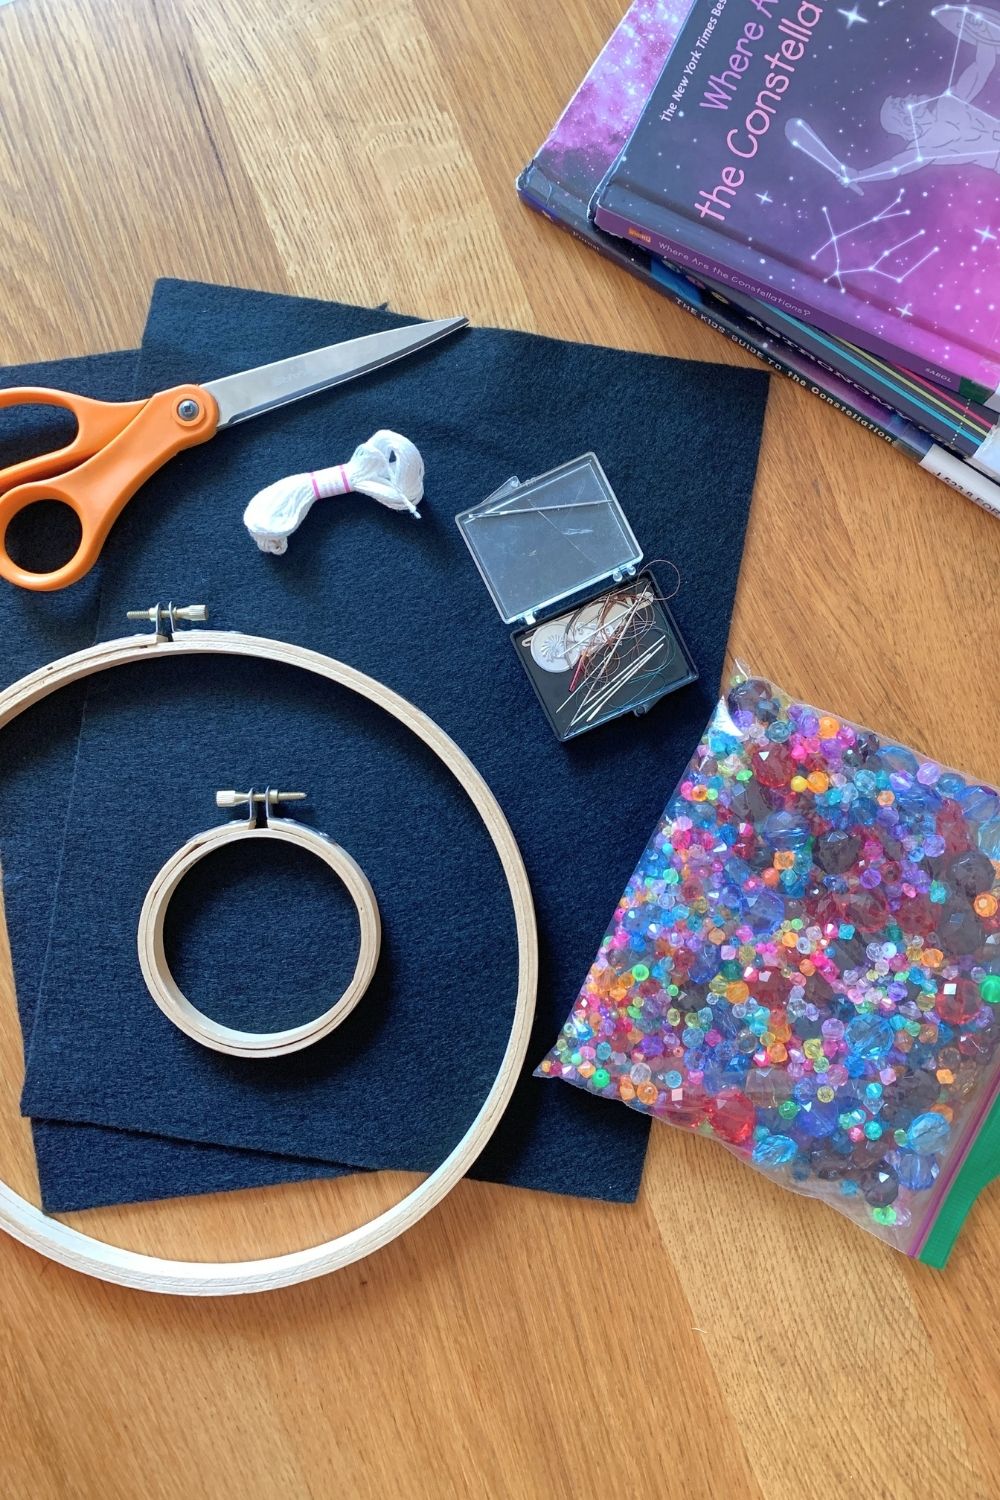
Supplies
- small embroidery hoop
- craft felt – dark blue, purple, or black
- white gel pen
- white embroidery thread
- embroidery needle
- plastic beads
- scissors
Instructions
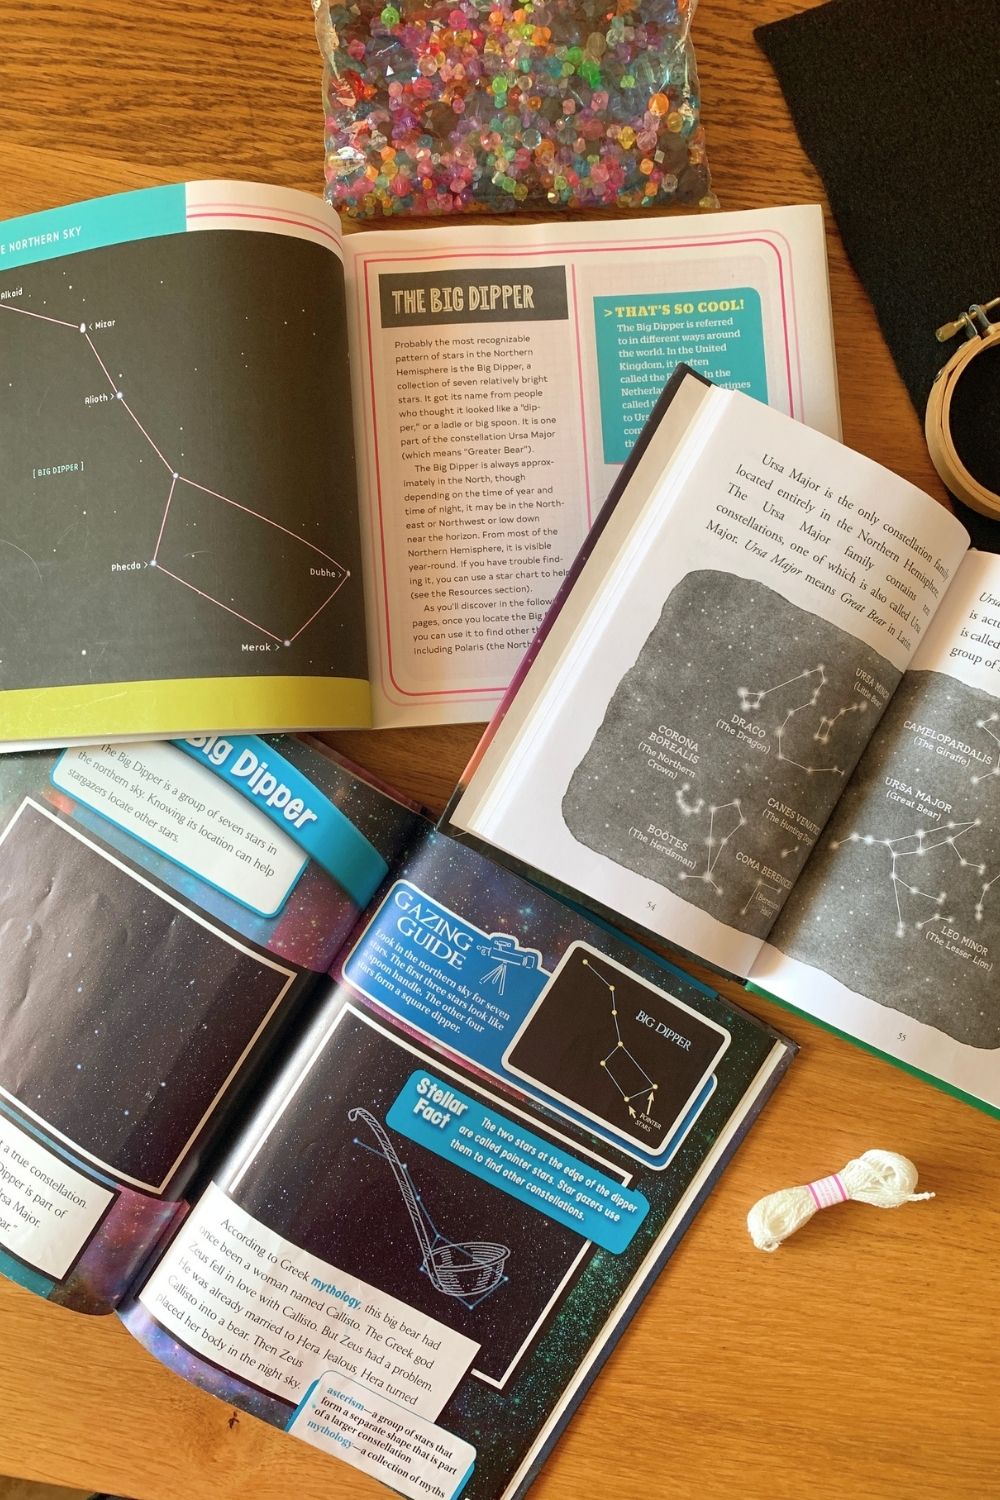
1. Choose a constellation.
Start by deciding which constellation you want to create. Pick one you can find in the night sky or use your zodiac sign. Consider how many stars (and stitches) you’ll need and how they’ll fit inside your embroidery hoop.
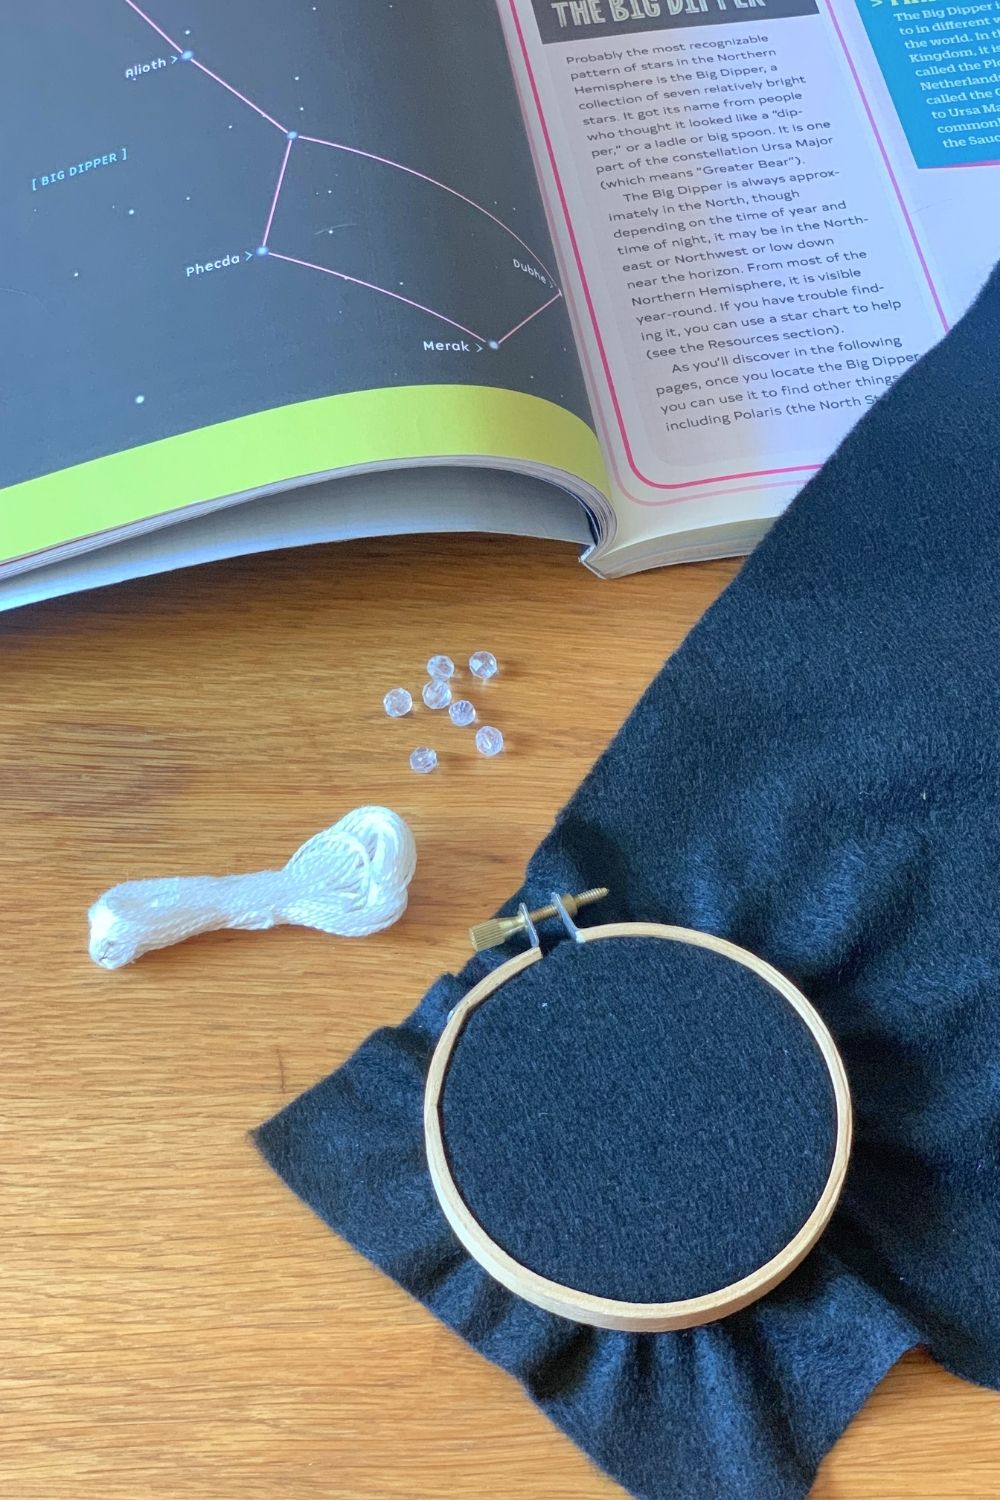
2. Assemble the hoop.
Unscrew the top of the embroidery hoop and separate the 2 pieces. Layer the felt on top of the inner hoop and place the outer one on top of that. Press them together to snugly fit the felt between them and tighten the screw again. The felt should be tight like a drum, but not stretched.
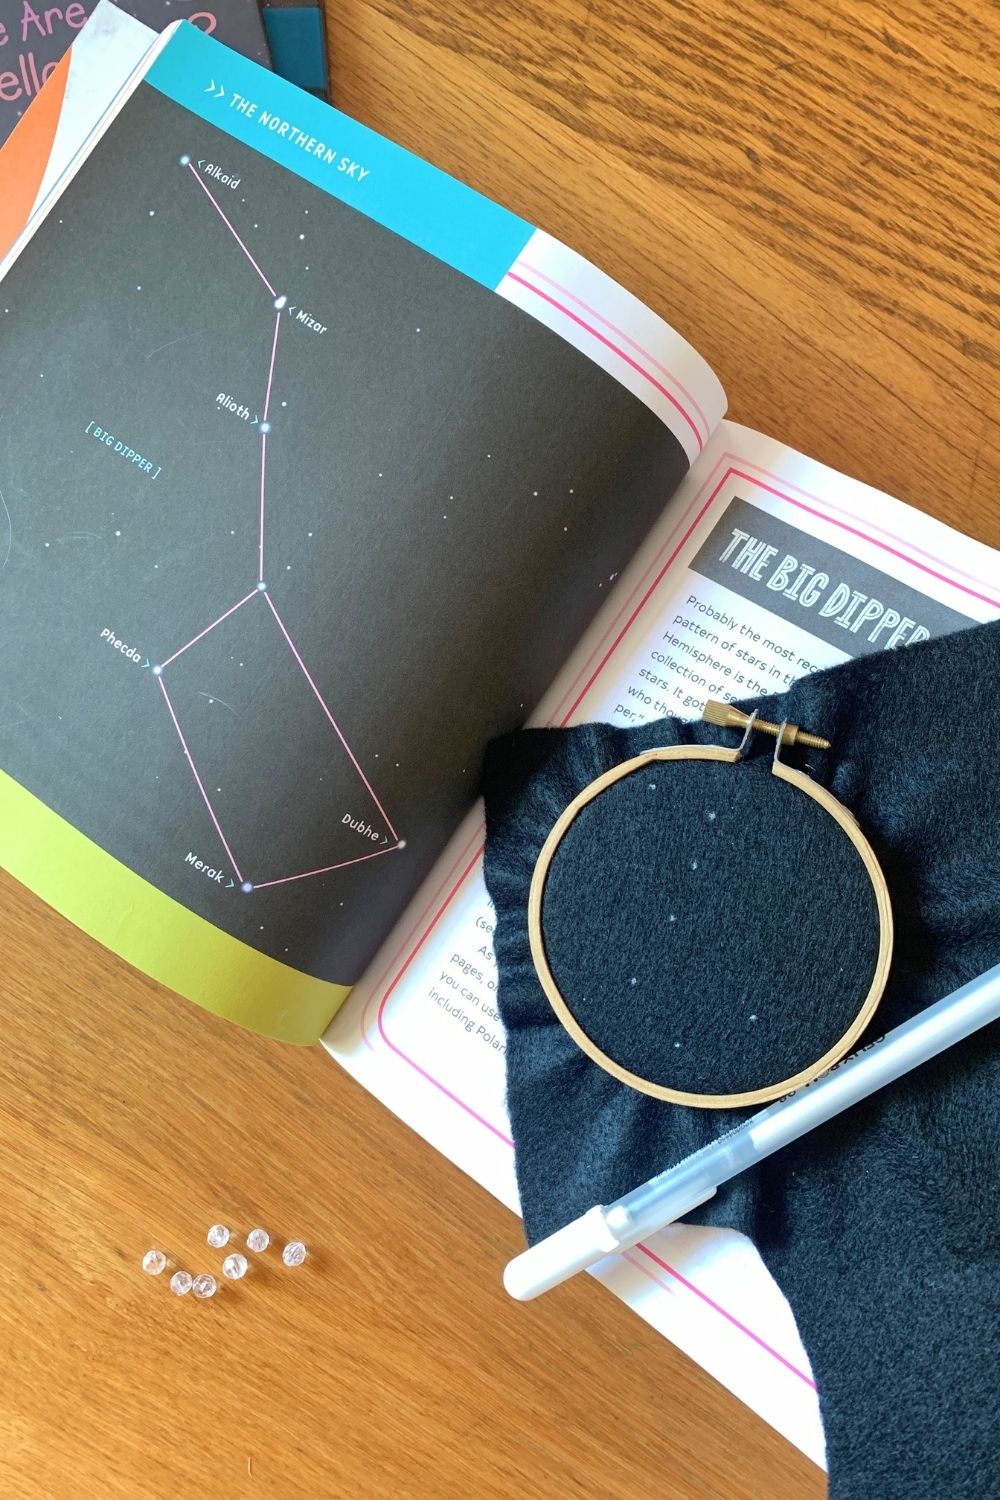
3. Mark the stars.
Use a white pen to mark the stars in the constellation on the felt.
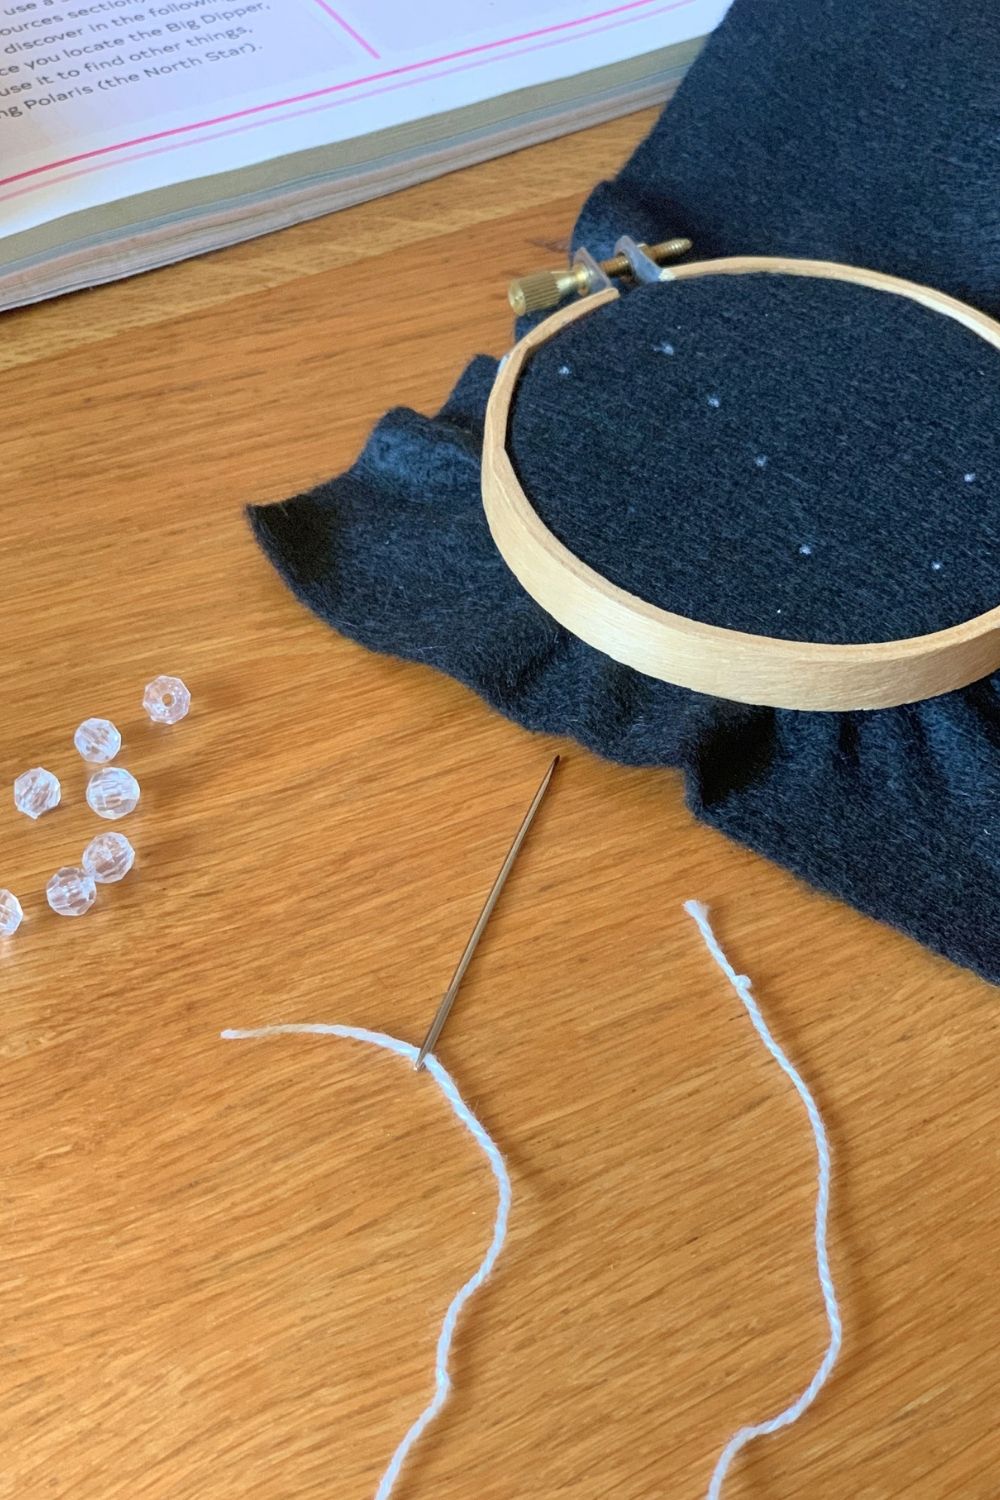
4. Begin stitching.
Cut a piece of embroidery thread about 24 inches long. Thread the needle and tie a knot at the tail end. To begin, stick the needle through the felt from the back to the front. Pull it up – the knot should keep it from pulling all the way through.
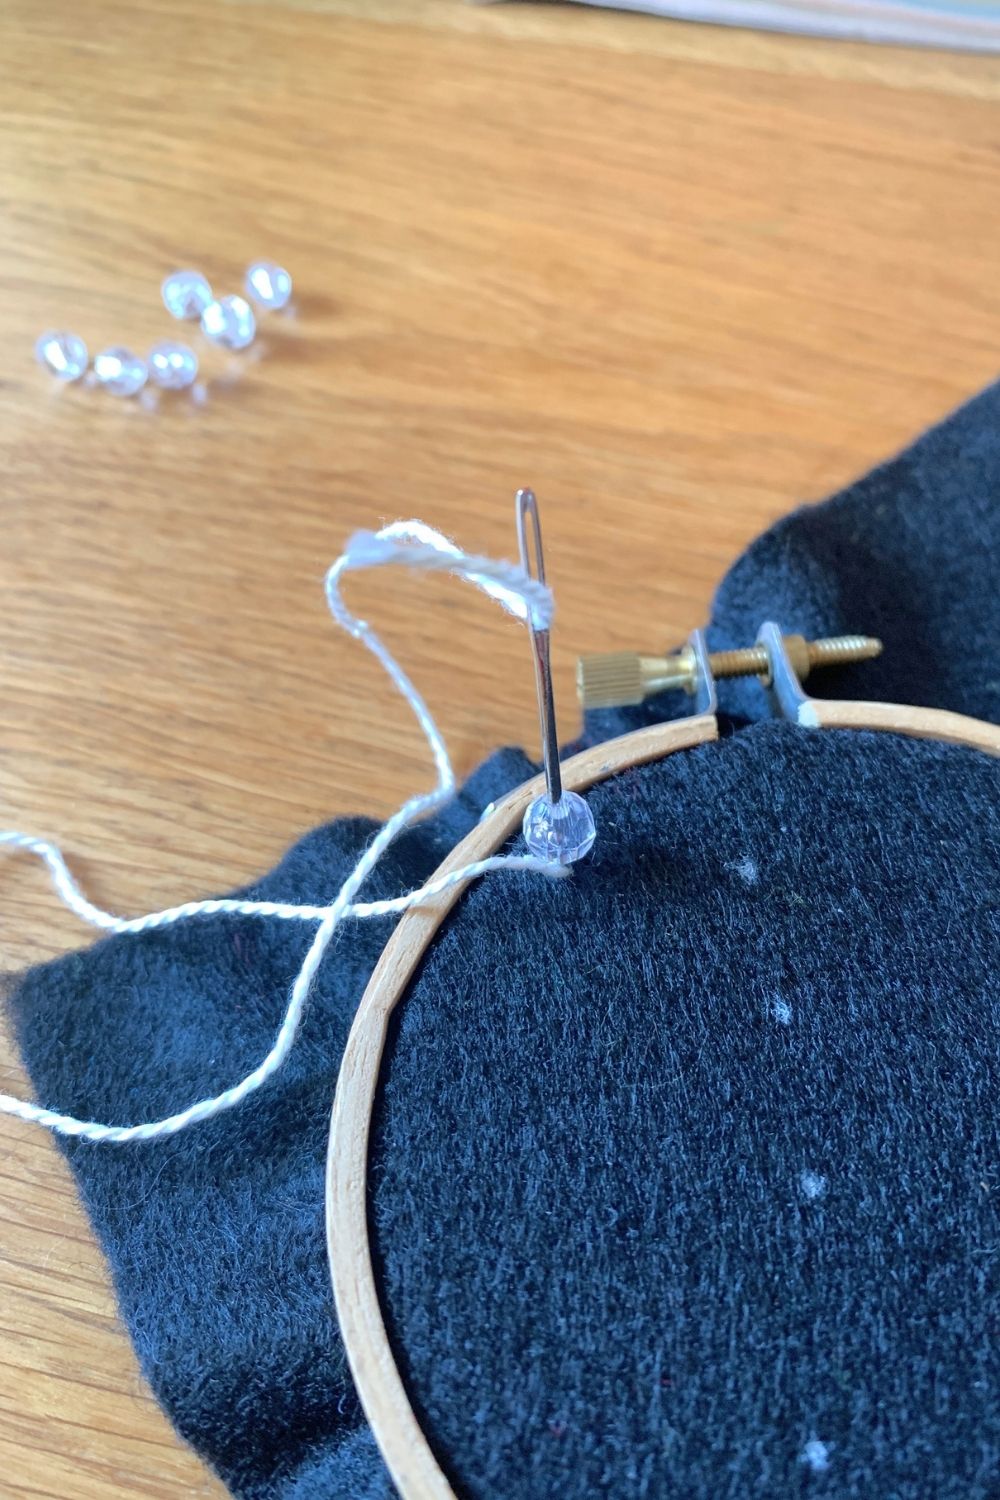
5. Add a bead.
Thread a bead onto the needle and slide it down the thread. Stitch back into the felt and pull the thread snug to hold the bead.
6. Make a stitch.
Stitch up through the felt again close to the bead but not through the same hole. Find the next star in the constellation and stitch down. This marks the imaginary lines between the stars.
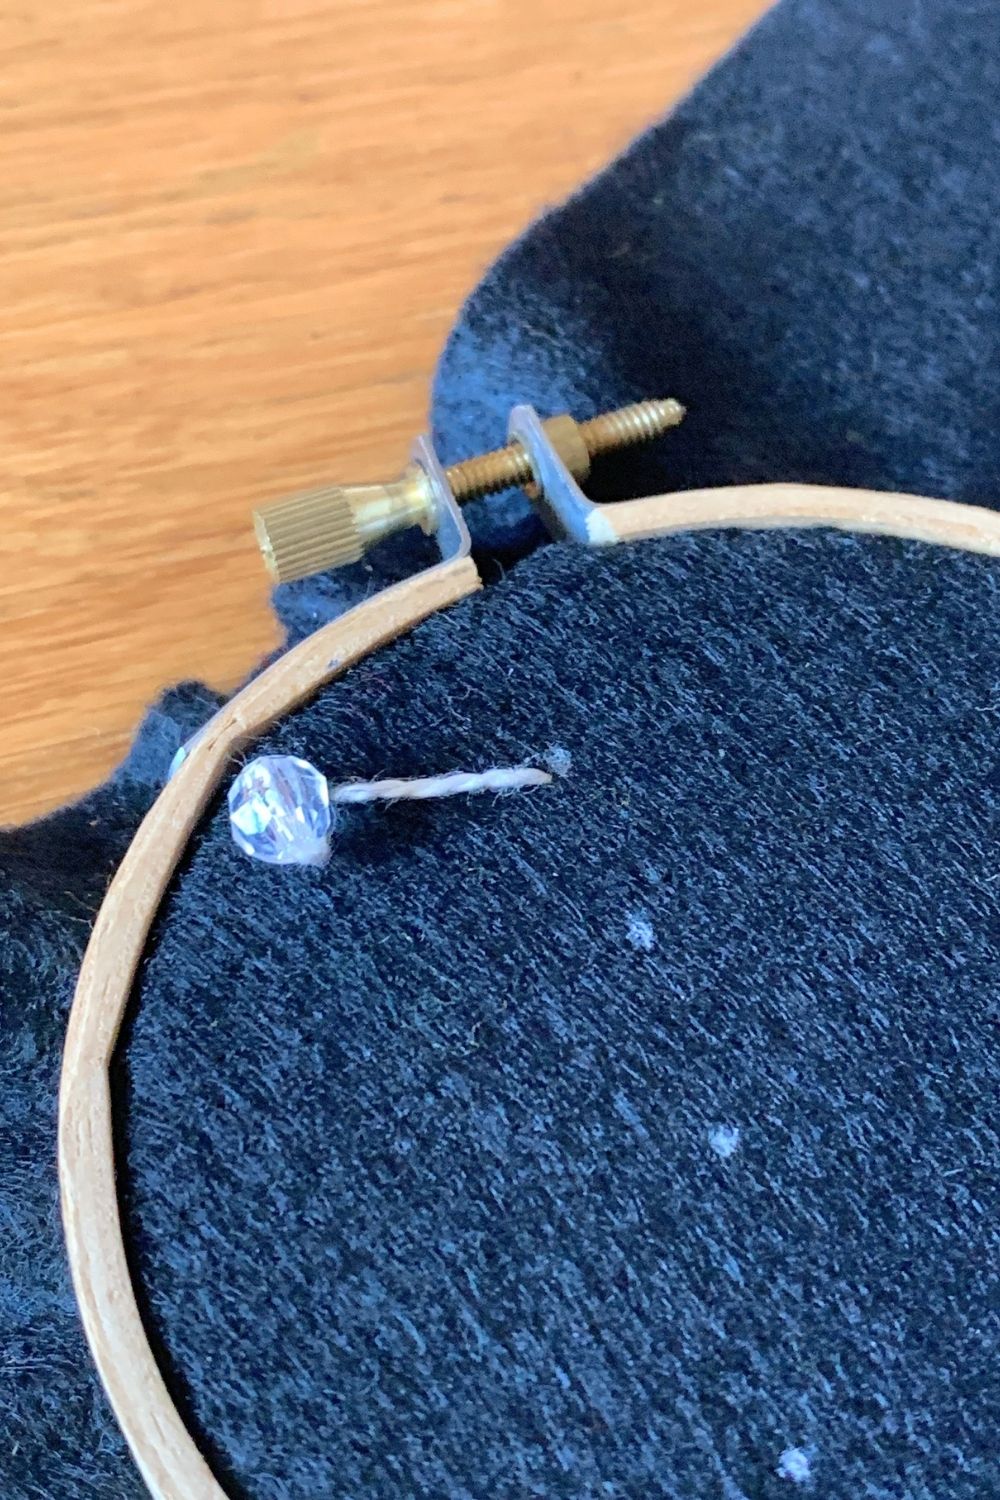
7. Continue adding beads and stitches.
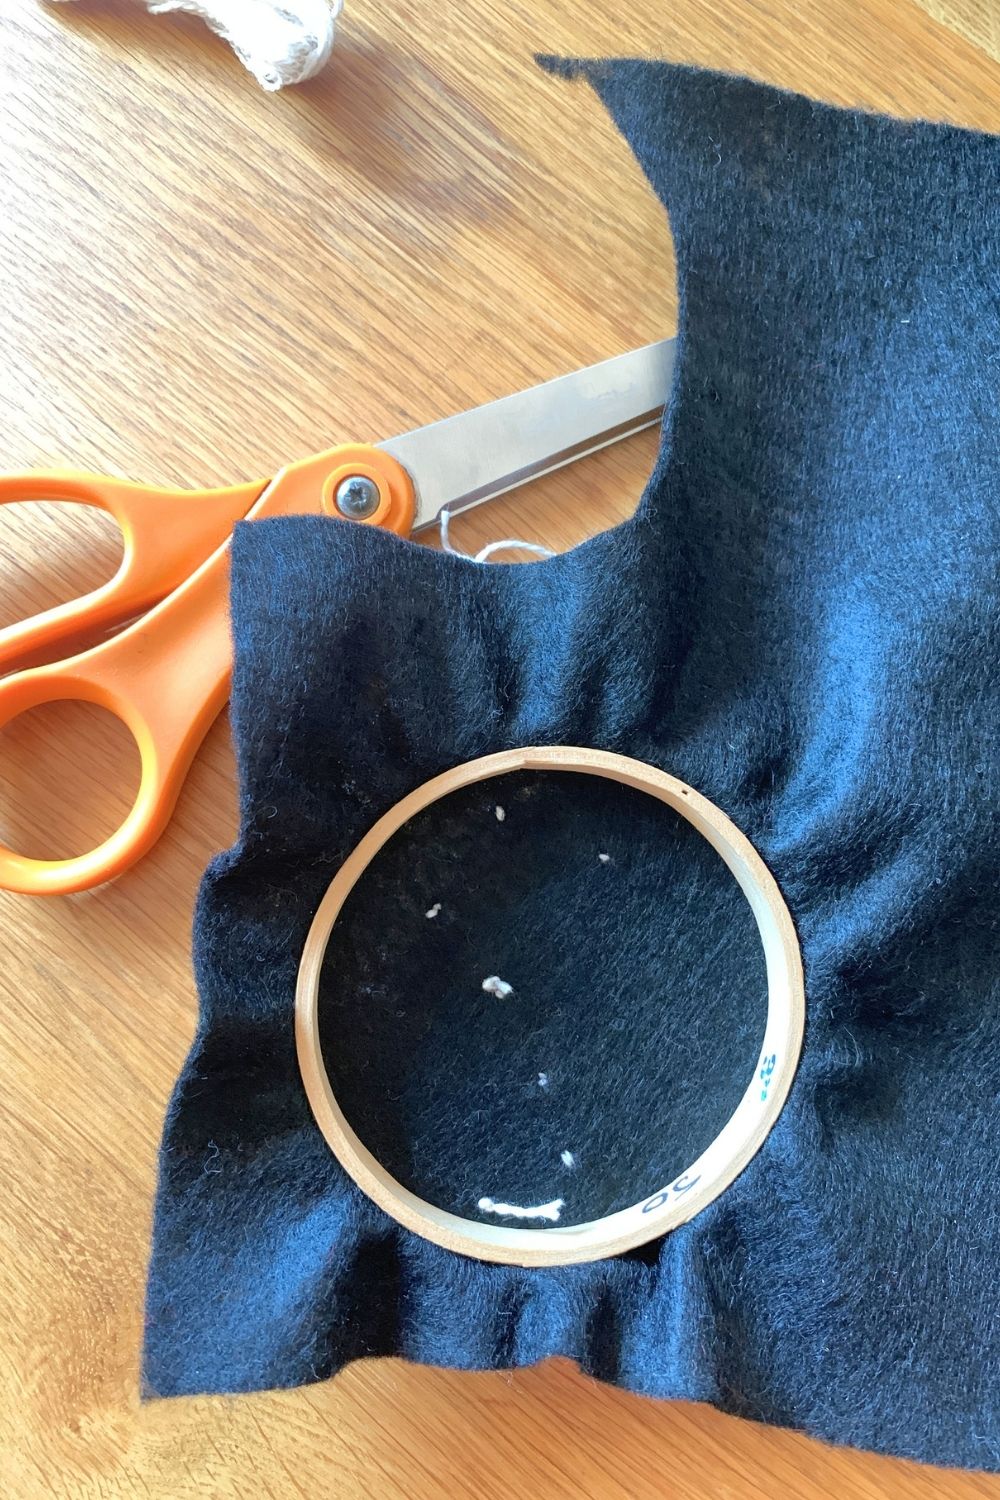
Continue stitching the constellation, adding a bead at each star point marked on the felt. While some constellations follow a neat line, others have more points. You may end up with longer stitches across the back of the felt where there aren’t connecting lines on the front.
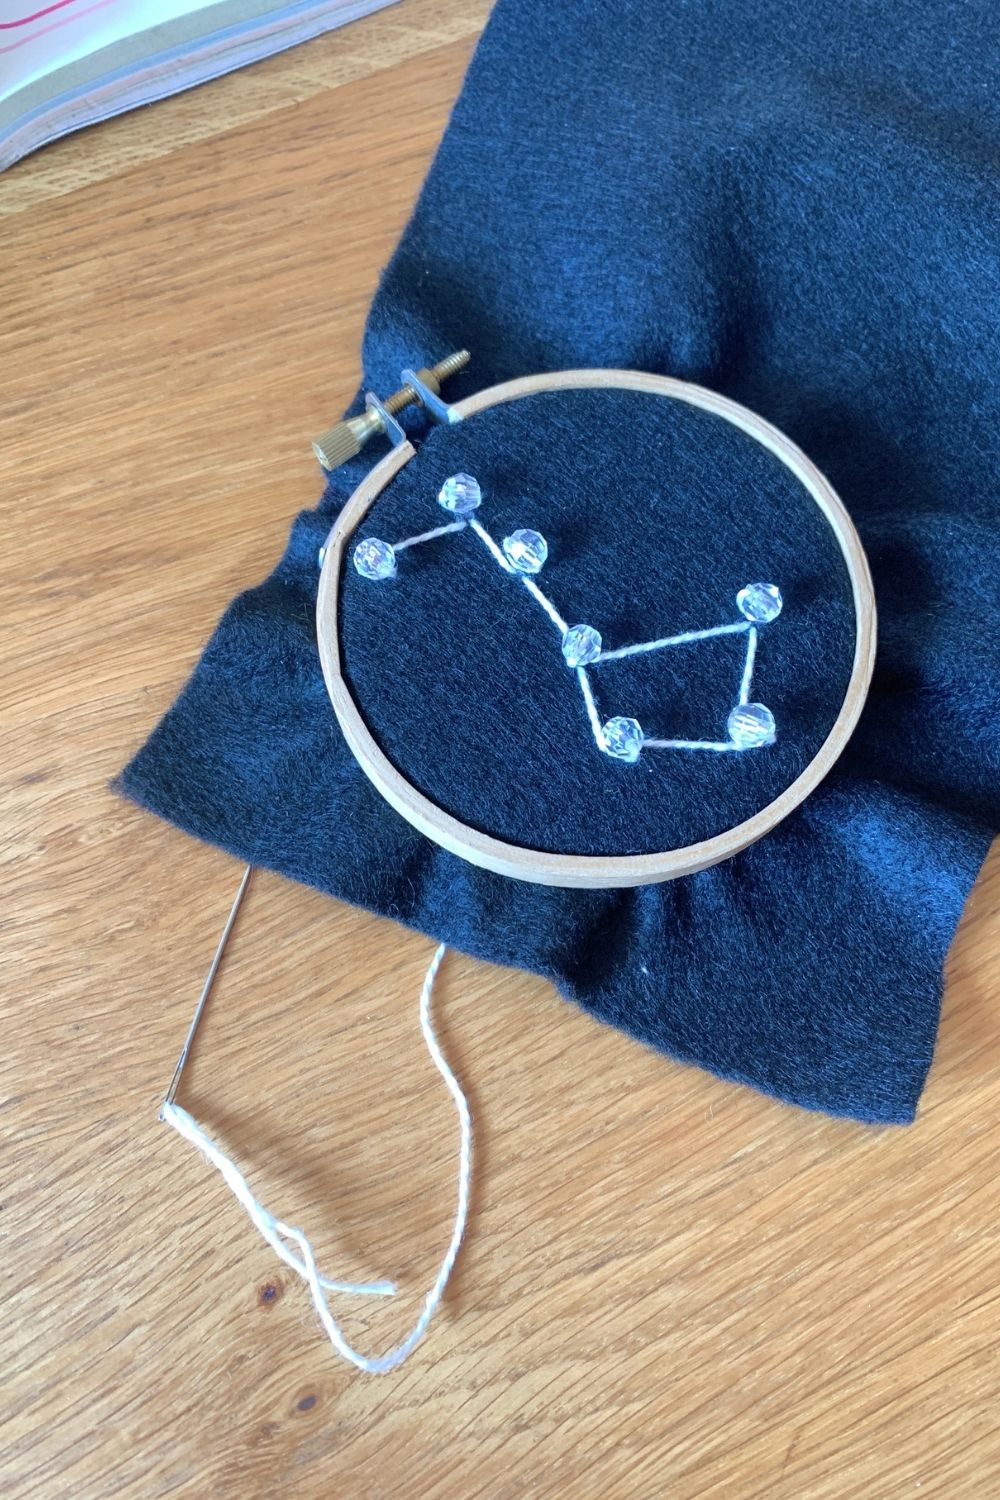
8. Knot and trim.
When you reach the end of a section or complete the constellation, tie a knot against the back of the felt. Trim the thread short.
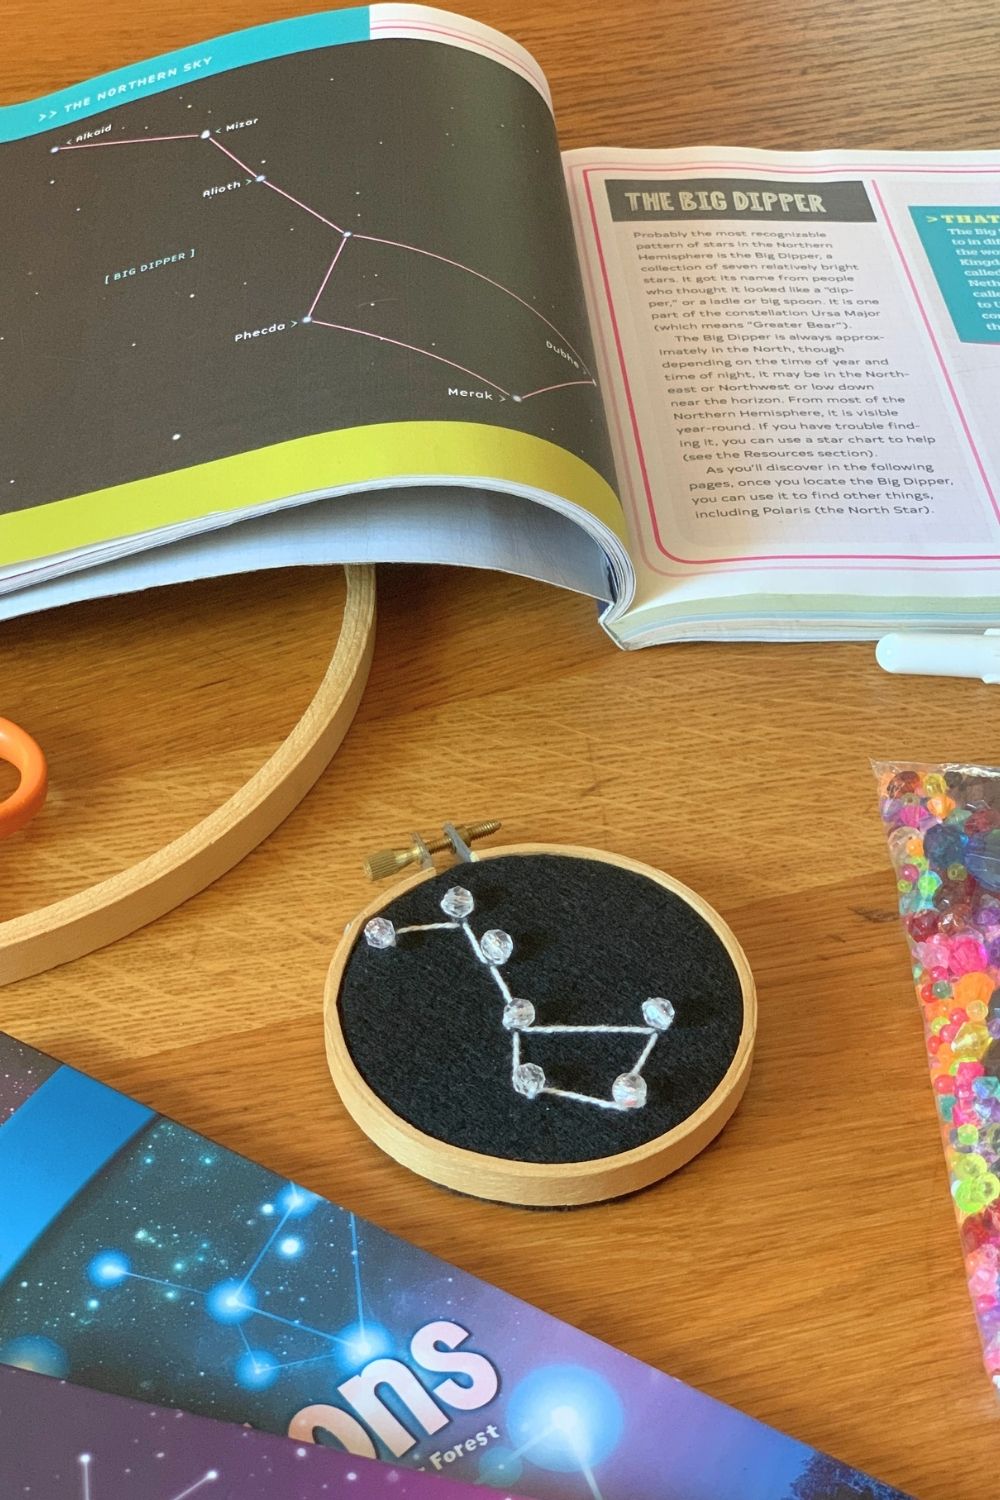
Use scissors to trim the felt against the embroidery hoop edge. Wooden hoops make easy, inexpensive frames that can be hung on the wall.
You can also use this technique to embroider on other materials. Add constellations to a tote bag or use a larger piece of fabric and stitch several constellations together. Get creative and think of more ways to add constellation embroidery to your crafts!
Printable instructions
Constellation Embroidery
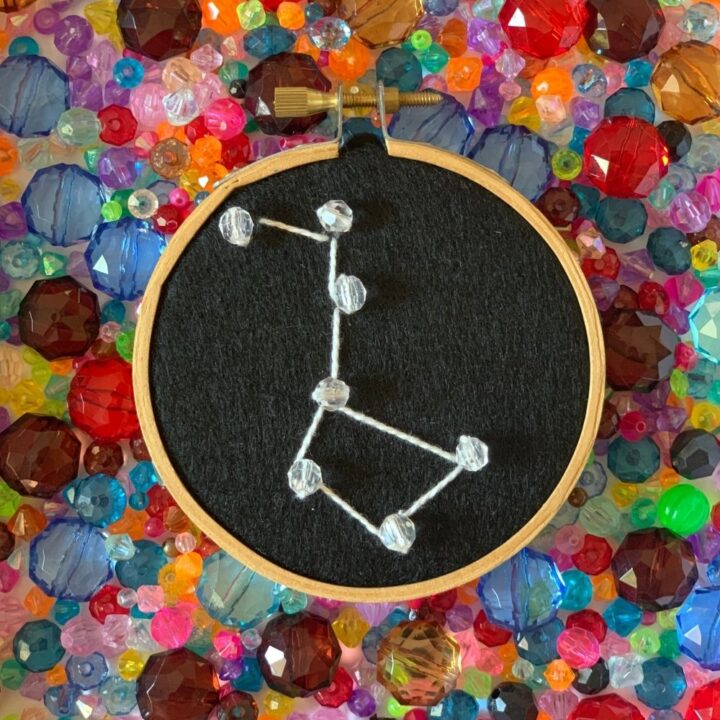
Use thread and beads on felt to make constellation embroidery art.
Materials
- small embroidery hoop
- craft felt - dark blue, purple, or black
- white gel pen
- white embroidery thread
- embroidery needle
- plastic beads
- scissors
Instructions
- Choose a constellation.
Start by deciding which constellation you want to create. Pick one you can find in the night sky or use your zodiac sign. Consider how many stars (and stitches) you'll need and how they'll fit inside your embroidery hoop. - Assemble the hoop.
Unscrew the top of the embroidery hoop and separate the 2 pieces. Layer the felt on top of the inner hoop and place the outer one on top of that. Press them together to snugly fit the felt between them and tighten the screw again. The felt should be tight like a drum, but not stretched. - Mark the stars.
Use a white pen to mark the stars in the constellation on the felt. - Begin stitching.
Cut a piece of embroidery thread about 24 inches long. Thread the needle and tie a knot at the tail end. To begin, stick the needle through the felt from the back to the front. Pull it up - the knot should keep it from pulling all the way through. - Add a bead.
Thread a bead onto the needle and slide it down the thread. Stitch back into the felt and pull the thread snug to hold the bead. - Make a stitch.
Stitch up through the felt again close to the bead but not through the same hole. Find the next star in the constellation and stitch down. This marks the imaginary lines between the stars. - Continue adding beads and stitches.
Continue stitching the constellation, adding a bead at each star point marked on the felt. While some constellations follow a neat line, others have more points. You may end up with longer stitches across the back of the felt where there aren't connecting lines on the front. - Knot and trim.
When you reach the end of a section or complete the constellation, tie a knot against the back of the felt. Trim the thread short. Use scissors to trim the felt against the embroidery hoop edge. Wooden hoops make easy, inexpensive frames that can be hung on the wall.
Plan your summer with the DIY Summer Camp Planner!
Our step-by-step guide will help you organize a day, a week, or a whole summer of fun activities for your kids.