
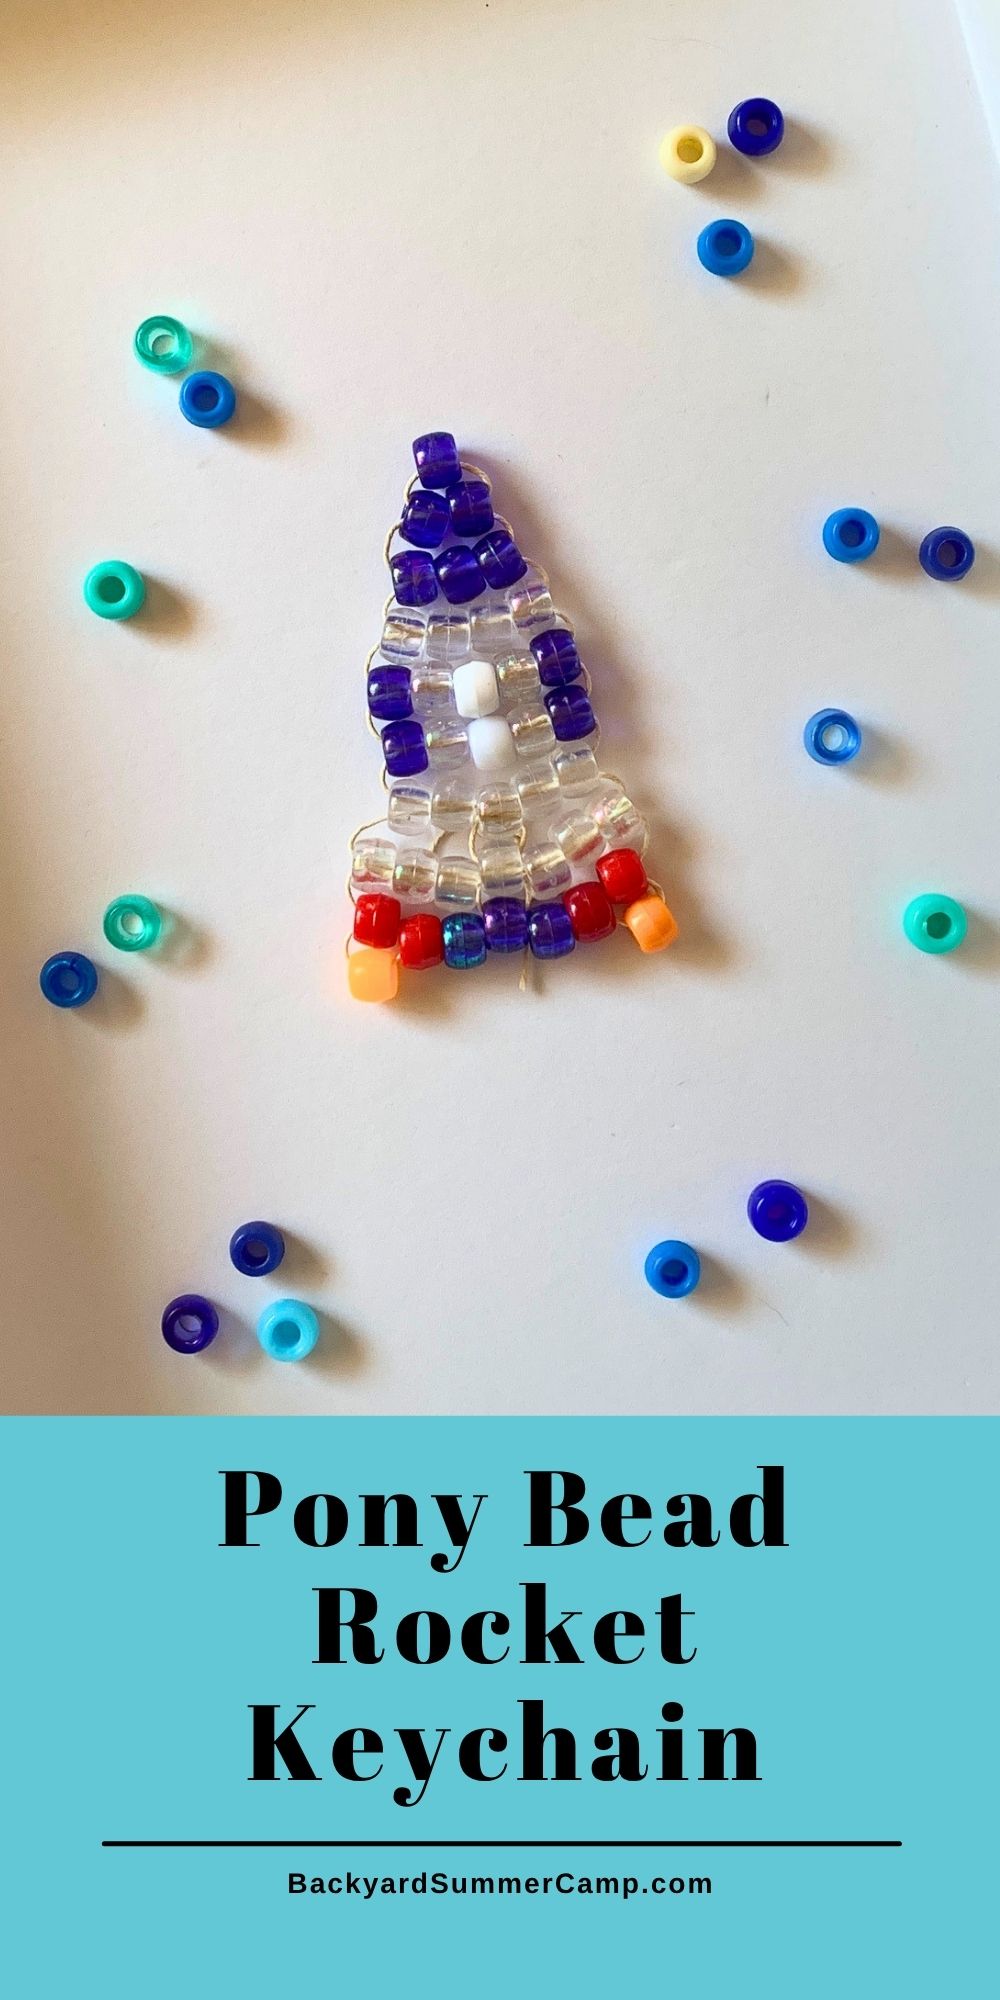
Make a pony bead rocket and turn it into a keychain. This fun outer space craft idea is perfect for summer!
Disclosure: As an Amazon Associate and member of other affiliate programs we earn from qualifying purchases. Read more.
Pony bead crafts are a fun activity that you can do with just about any summer camp theme. For space week, we made this pony bead rocket keychain. It’s inspired by the shape of a space shuttle.
We used leftover beads from other projects, but you can use whatever colors you like to make yours. The body of our rocket is blue and white/clear and the booster flames are red and orange.
Become a Happy Camper!
Sign up to receive our monthly email newsletter
and get a free printable 30 Day Reading Calendar!
How to make a pony bead rocket
Supplies
- pony beads in any colors
- jewelry cord
- keyring

Instructions
1. Starting the rocket.
Cut a length of jewelry cord that’s at least 32 inches long. Fold it in half and loop the end through the keyring if you’re using one. Pull the cut ends through the loop and pull it snug against the keyring.
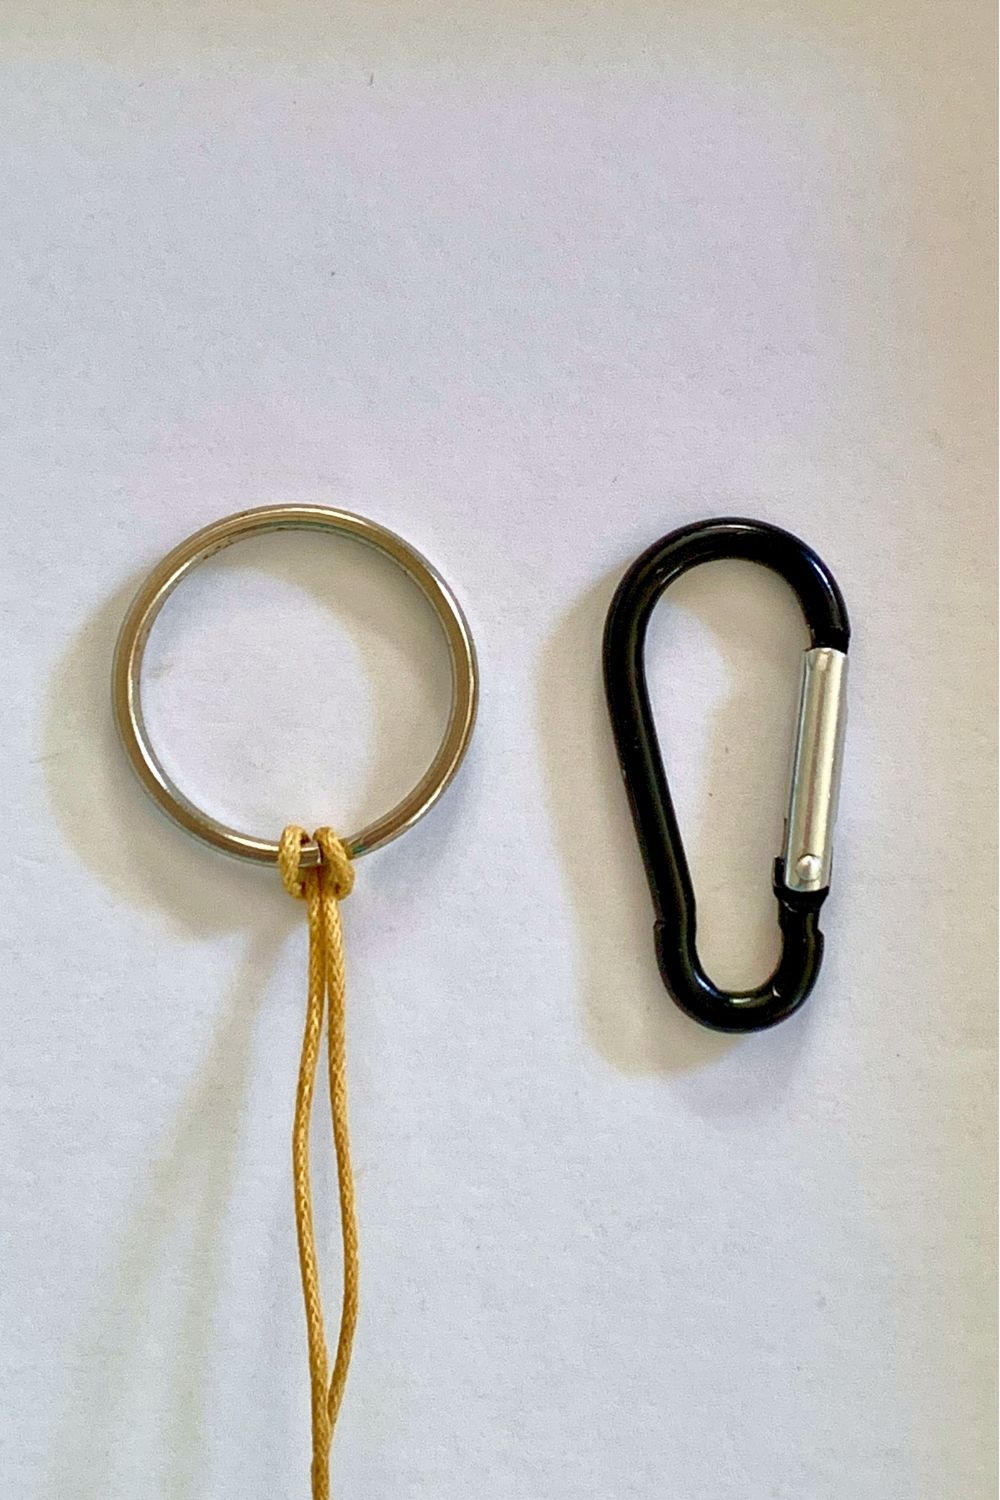
Start with a single bead for the top. (If you’re starting with a keyring, thread both cut ends of the cord through the first bead.)


2. The nose cone.
For the nose of the rocket, thread both cut ends through a row of 2 blue beads and pull them tight. Then add a row of 3 blue beads. Tighten every row as you go.


3. The rocket body.
For the first row of the rocket body, use 4 clear beads.
For the next rows, there are 5 beads per row:
- blue, clear, white, clear, blue
- blue, clear, white, clear, blue
- all clear beads


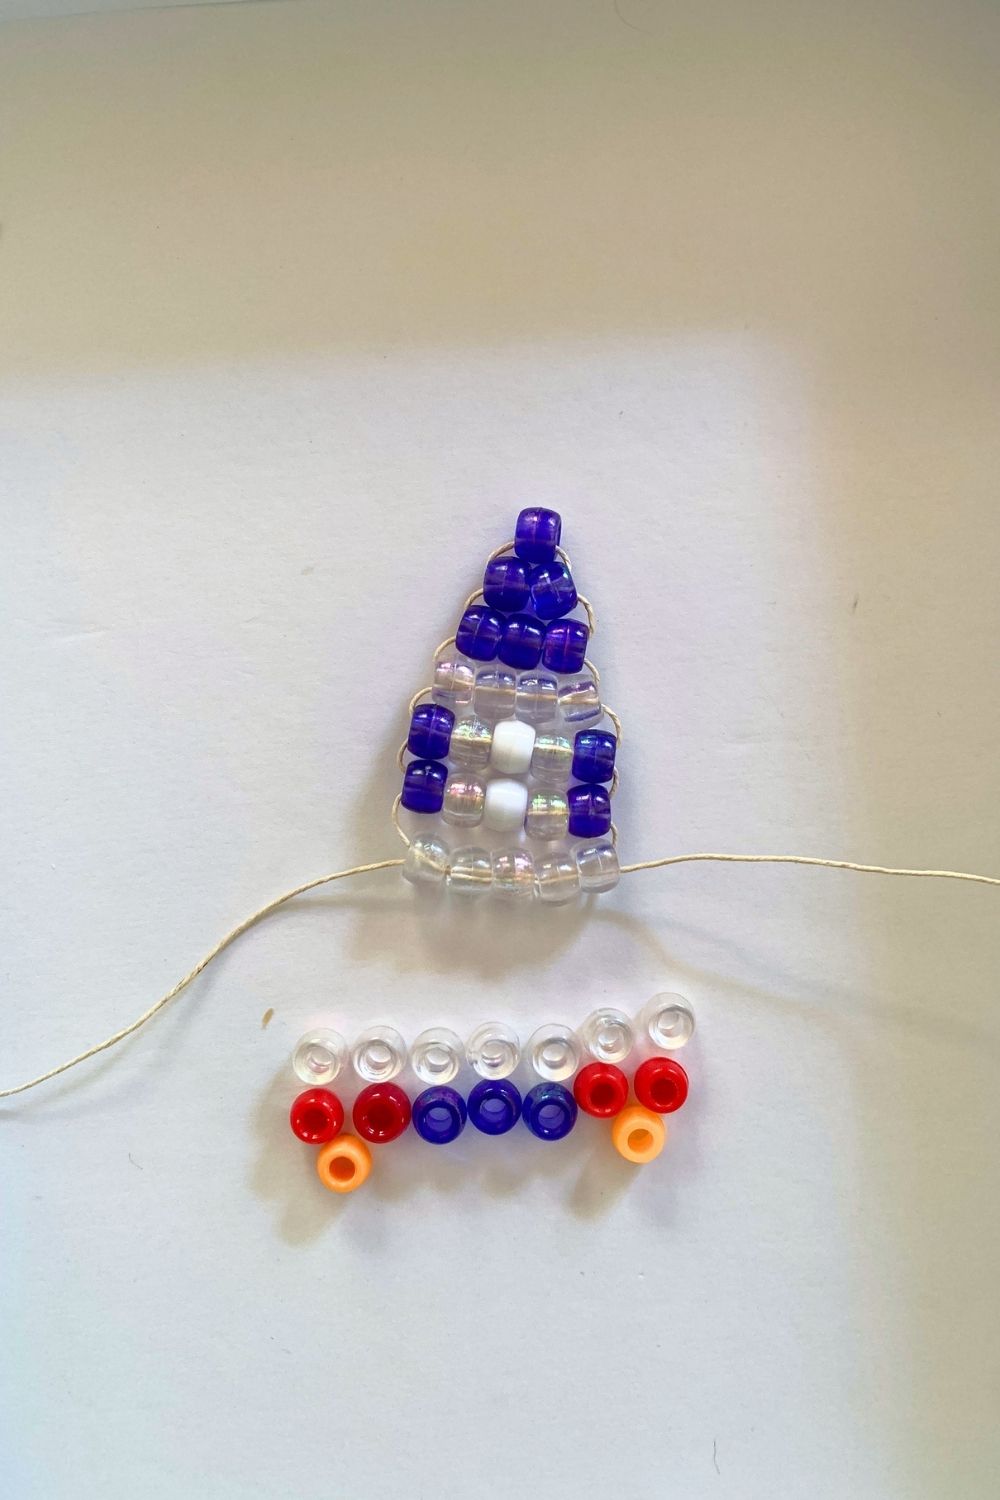
4. The rocket base.
Make one last row of 7 clear beads.

5. Rocket boosters.
For the rocket boosters and flames, add another row of 7:
- 2 red, 3 blue, 2 red

To add the tips of the flames, you’ll do the last row separately. Add an orange bead to each end, then skip one red bead and thread the cord through the next red and blue beads to meet in the center.


6. Tie the ends.
To tie off the ends of the cord, you can tie a knot around the center beads. If your rocket is a bit saggy, wave the cord up through the center beads and tie it there.
If the cord is long, you can trim the ends.

This pony bead rocket is the perfect activity for space-loving kids! It’s a great activity to do during space week or after reading a few books about space.

Printable instructions
Pony Bead Rocket

Materials
- pony beads in any colors
- jewelry cord
- keyring
Instructions
- Starting the rocket.
Cut a length of jewelry cord that's at least 32 inches long. Fold it in half and loop the end through the keyring if you're using one. Pull the cut ends through the loop and pull it snug against the keyring. Start with a single bead for the top. (If you're starting with a keyring, thread both cut ends of the cord through the first bead.) - The nose cone.
For the nose of the rocket, thread both cut ends through a row of 2 blue beads and pull them tight. Then add a row of 3 blue beads. Tighten every row as you go. - The rocket body.
For the first row of the rocket body, use 4 clear beads. For the next rows, there are 5 beads per row:
blue, clear, white, clear, blue
blue, clear, white, clear, blue
all clear beads - The rocket base.
Make one last row of 7 clear beads. - Rocket boosters.
For the rocket boosters and flames, add another row of 7: 2 red, 3 blue, 2 red. To add the tips of the flames, you'll do the last row separately. Add an orange bead to each end, then skip one red bead and thread the cord through the next red and blue beads to meet in the center. - Tie the ends.
To tie off the ends of the cord, you can tie a knot around the center beads. If your rocket is a bit saggy, wave the cord up through the center beads and tie it there.
Plan your summer with the DIY Summer Camp Planner!
Our step-by-step guide will help you organize a day, a week, or a whole summer of fun activities for your kids.