
Your child will love stringing colorful beads to decorate with wood bead garland. Perfect for reading nooks, bedrooms, and summer parties!

Disclosure: As an Amazon Associate and member of other affiliate programs we earn from qualifying purchases. Read more.
Wood bead garland is such a cute and easy DIY decoration to make. This looks festive just about anywhere you want to hang it! Make it as long or shot as you like. The beads also make fun necklaces and bracelets for dress-up jewelry.
Become a Happy Camper!
Sign up to receive our monthly email newsletter
and get a free printable 30 Day Reading Calendar!
How to make wood bead garland
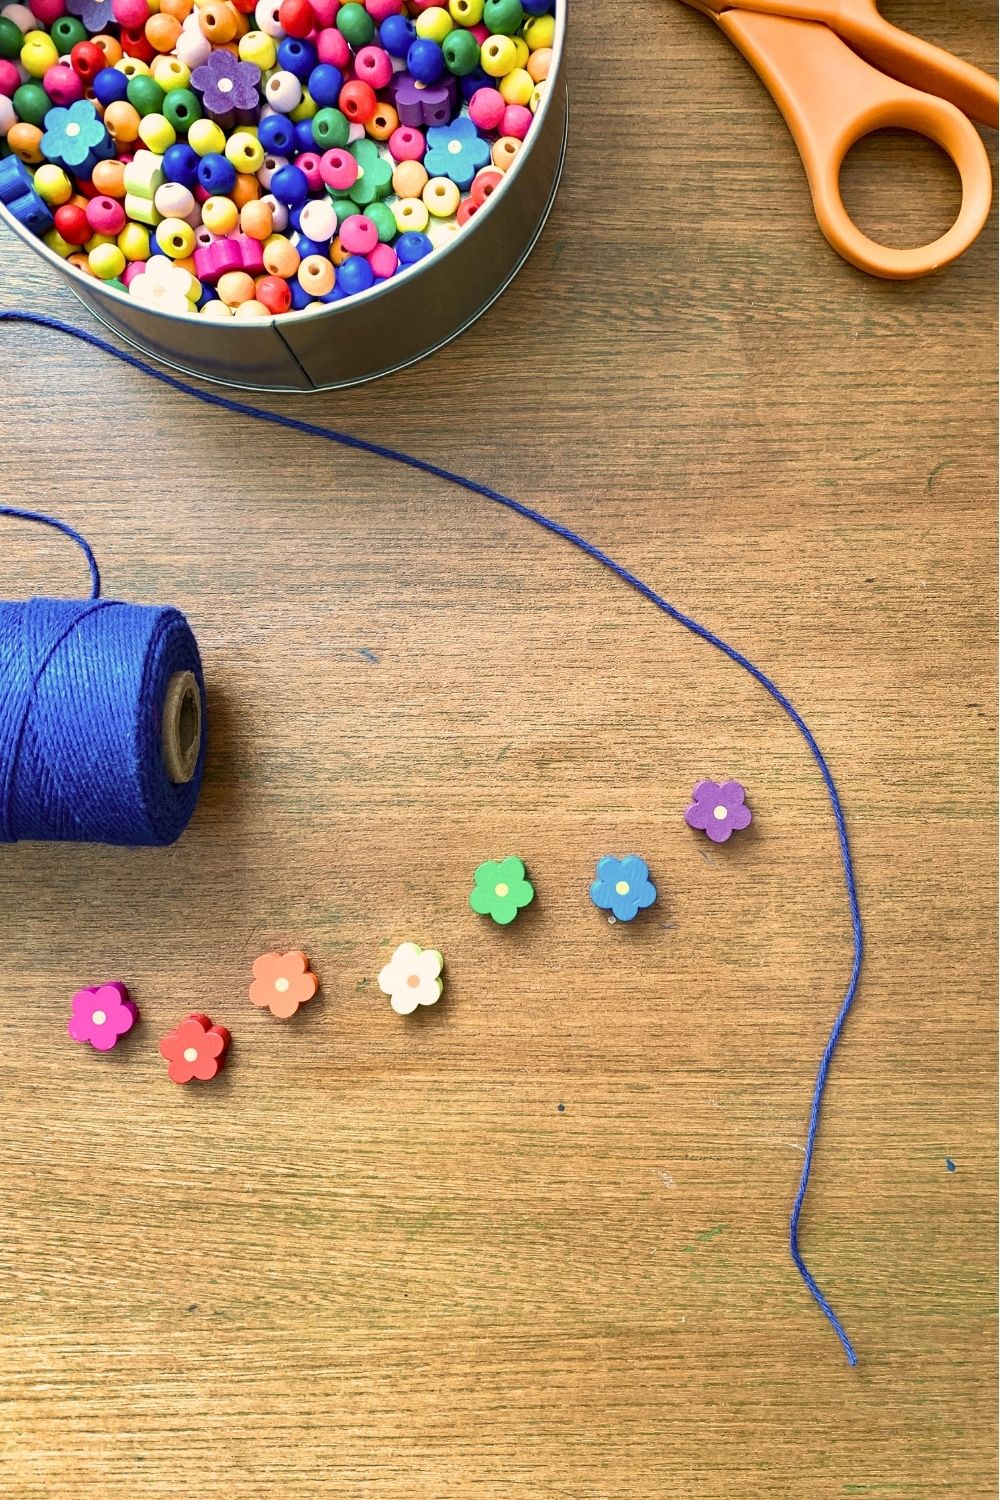
Supplies
- multicolor flower wood beads (Order in bulk on Amazon.com)
- round wood beads (Order in bulk on Amazon.com)
- 1mm bead cord
- scissors

Instructions
1. Cut cord and plan the pattern.
Measure and cut the cord to the length you like. Ours is about 6 feet long and used about one pack of each type of bead. Decide the pattern you’d like to use for your garland, or add them randomly. We went in rainbow order, using a flower bead for every fifth.
2. String the beads.
Tie a knot around the starting bead, then begin stringing them onto the cord. Continue until you’ve filled the length or run out of beads.

3. Tie the end.
The best way to secure both ends of the garland is to tie a knot of cord around the bead on both ends. Loop the end of the cord around the bead and tie an overhand knot, then a second knot.


Our garland has held up really well for over a year. The beads are smooth and don’t tangle. The cotton cord stretched a bit, but didn’t break even being moved around every few months.

We hope you love this easy handmade decoration! It’s easy to string these beads and add a bit of whimsy to any space. If you love whimsical decor, make this paper tube fish mobile too.

Printable instructions
Wood Bead Garland

Materials
- multicolor flower wood beads
- round wood beads
- 1mm bead cord
- scissors
Instructions
- Cut cord and plan the pattern.
Measure and cut the cord to the length you like. Ours is about 6 feet long and used about one pack of each type of bead. Decide the pattern you'd like to use for your garland, or add them randomly. We went in rainbow order, using a flower bead for every fifth. - String the beads.
Tie a knot around the starting bead, then begin stringing them onto the cord. Continue until you've filled the length or run out of beads. - Tie the end.
The best way to secure both ends of the garland is to tie a knot of cord around the bead on both ends. Loop the end of the cord around the bead and tie an overhand knot, then a second knot.
Plan your summer with the DIY Summer Camp Planner!

Our step-by-step guide will help you organize a day, a week, or a whole summer of fun activities for your kids.
