
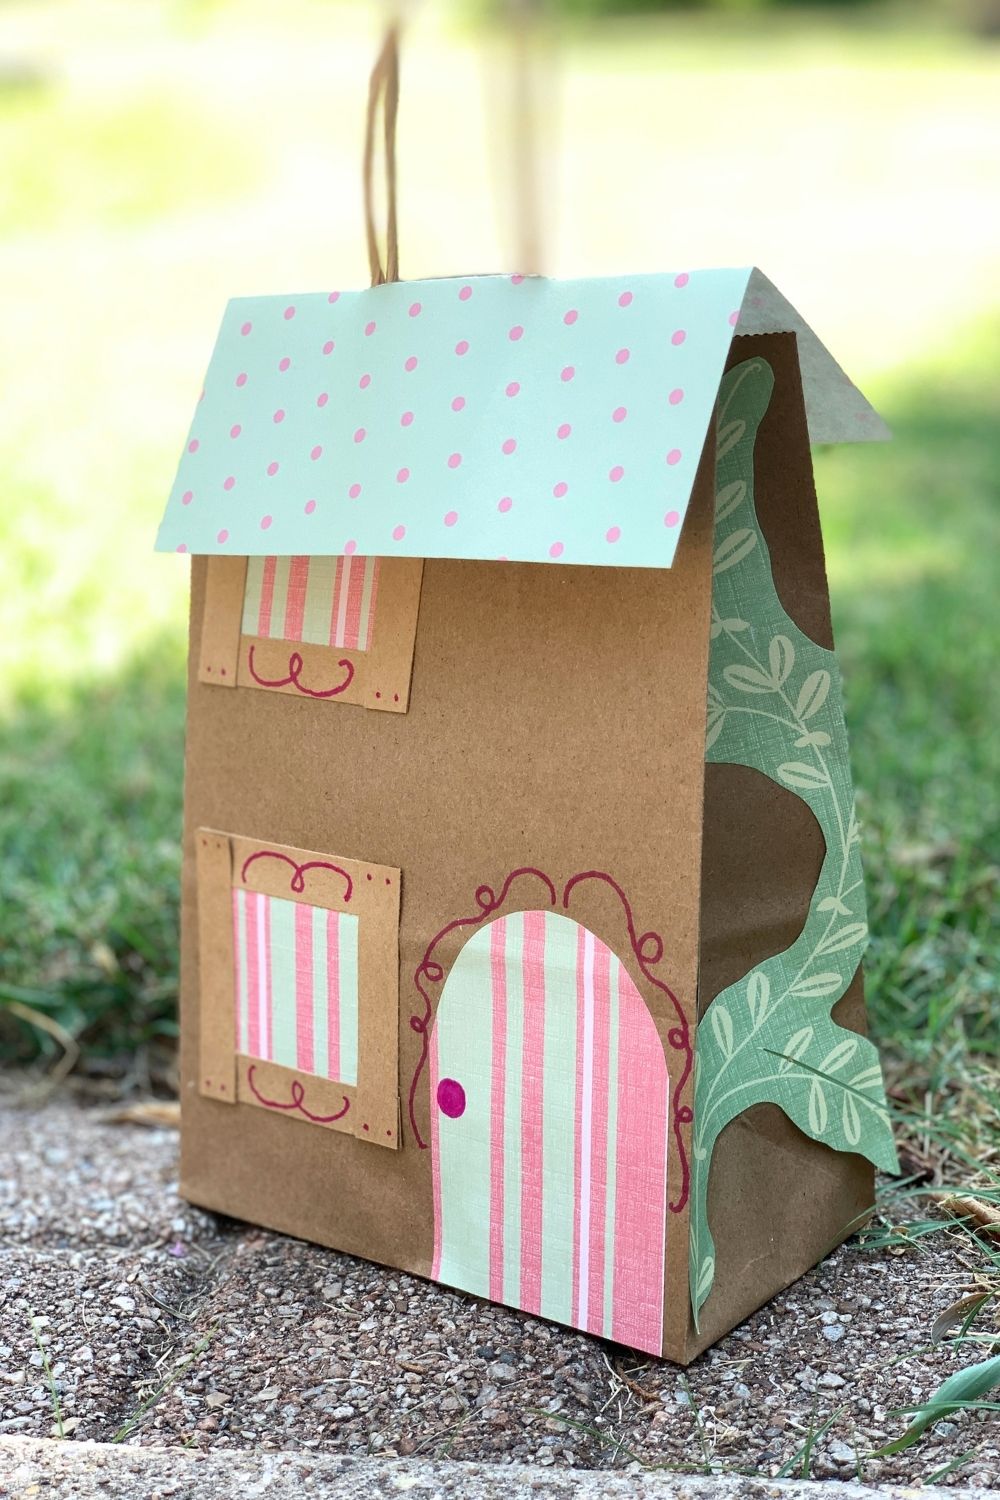
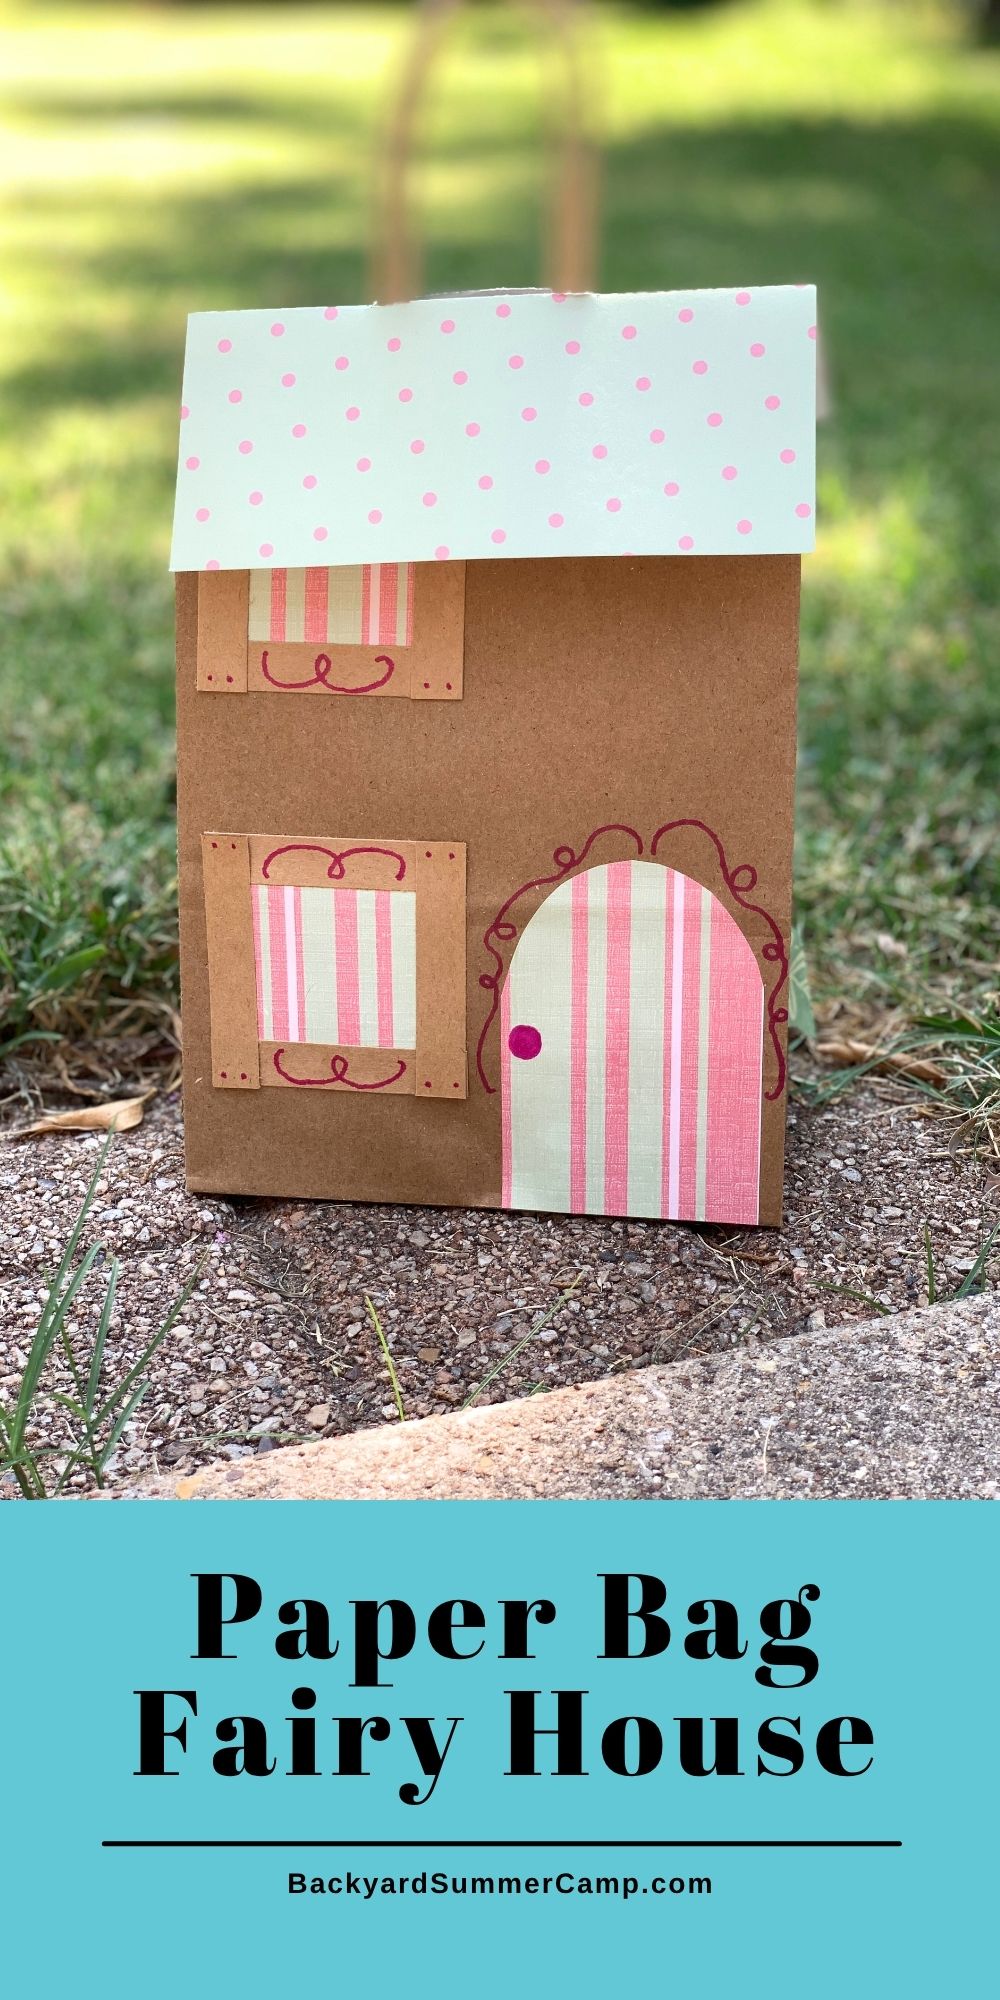
Make your own fairy house or play set for dolls and toy figures. Turn a basic paper gift bag into a paper bag house.
Disclosure: As an Amazon Associate and member of other affiliate programs we earn from qualifying purchases. Read more.
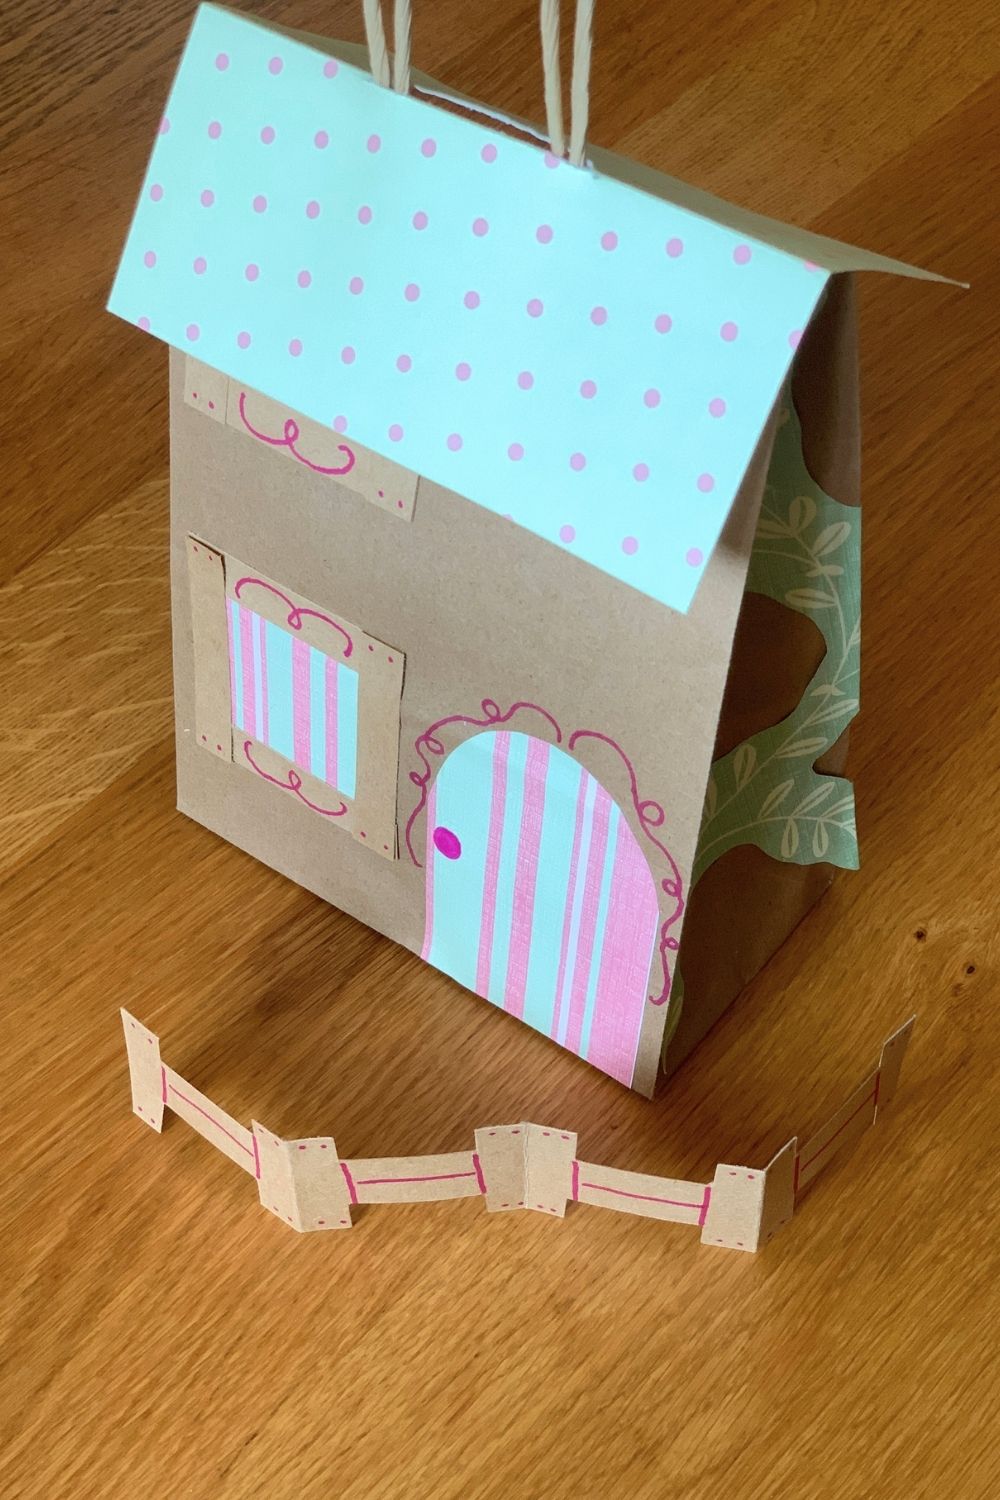
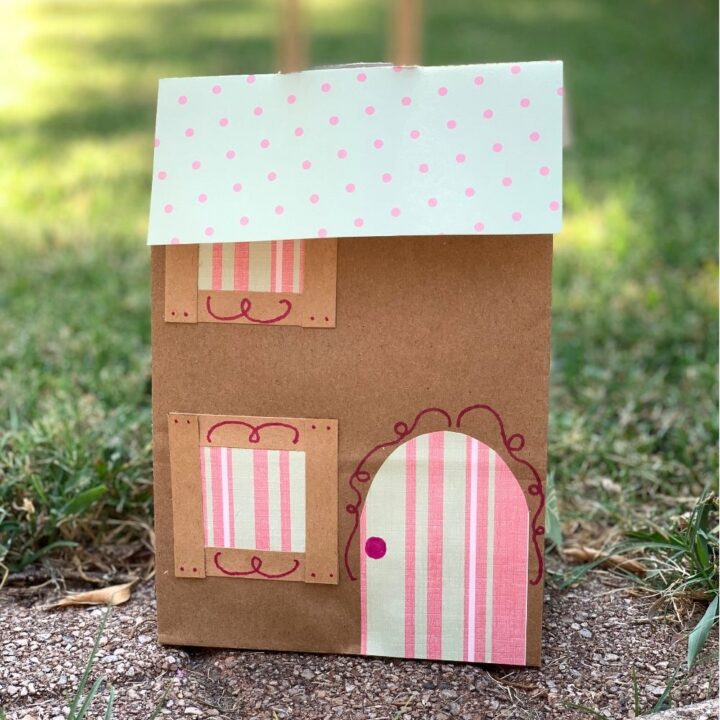
Our kids have a ton of little play figures. From Calico Critters and mini Squishmallows to all those blind bag characters, they all need a place to live! We repurposed a gift bag into a cute little house. You can make this a fairy house or cottage, a modern doll house, or even a tiny version of your own home.
The best thing about this doll house? It’s small and portable! Make dolls and accessories or use ones your kids already have. They all fit neatly inside the bag to take on the go.
Craft tips and variations
Like many of our craft ideas, this is open ended and you can customize it to fit your child’s creativity and use supplies you already have on hand.
- If you have craft scissors with a shaped edge, give your roof a scallop or zig-zag edge.
- We mostly used paper, but you might also have fun using stickers, stencils, or even just drawing some details. Craft foam would add interesting texture.
- Pipe cleaner might make a good fence. Paint rocks to look like mushrooms.
- Scrapbook paper comes in so many different patterns. Look for prints that look like stone, brick, wood, and other house materials.
- Things will glue to a paper bag better than those plasticky ones.
Become a Happy Camper!
Sign up to receive our monthly email newsletter
and get a free printable 30 Day Reading Calendar!
How to make a paper bag house
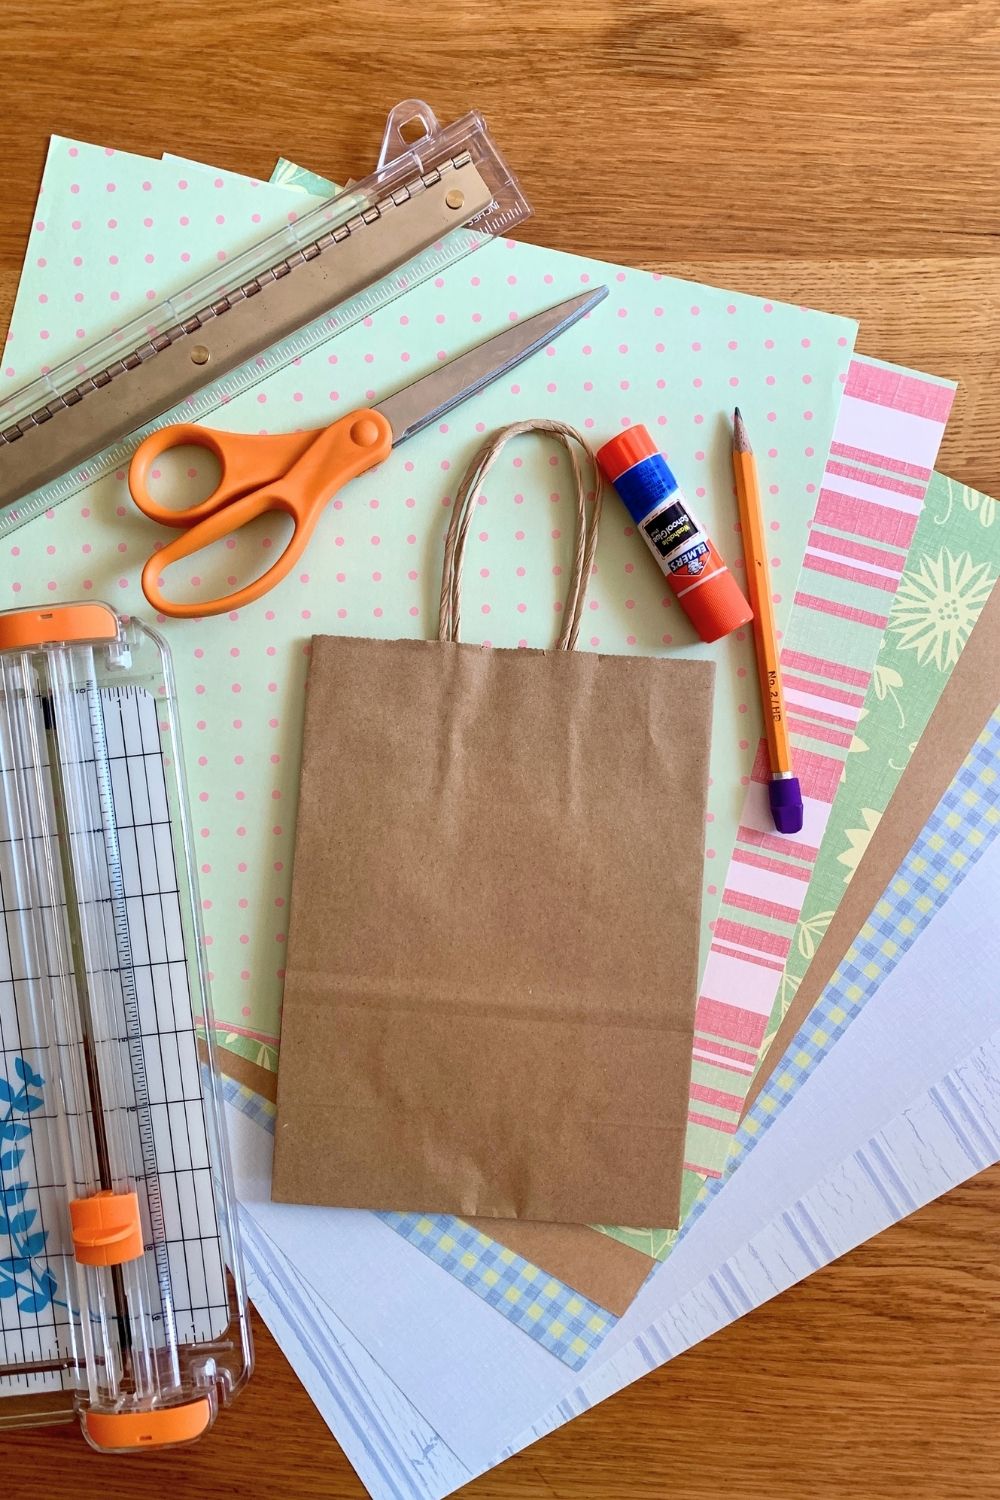
Supplies
- small paper gift bag
- assorted scrapbook or craft paper
- pencil
- ruler
- scissors
- paper trimmer (optional)
- gluestick
Instructions
1. Make a roof for the house.
Cut a rectangle of paper that’s the same width as your bag and square-ish.
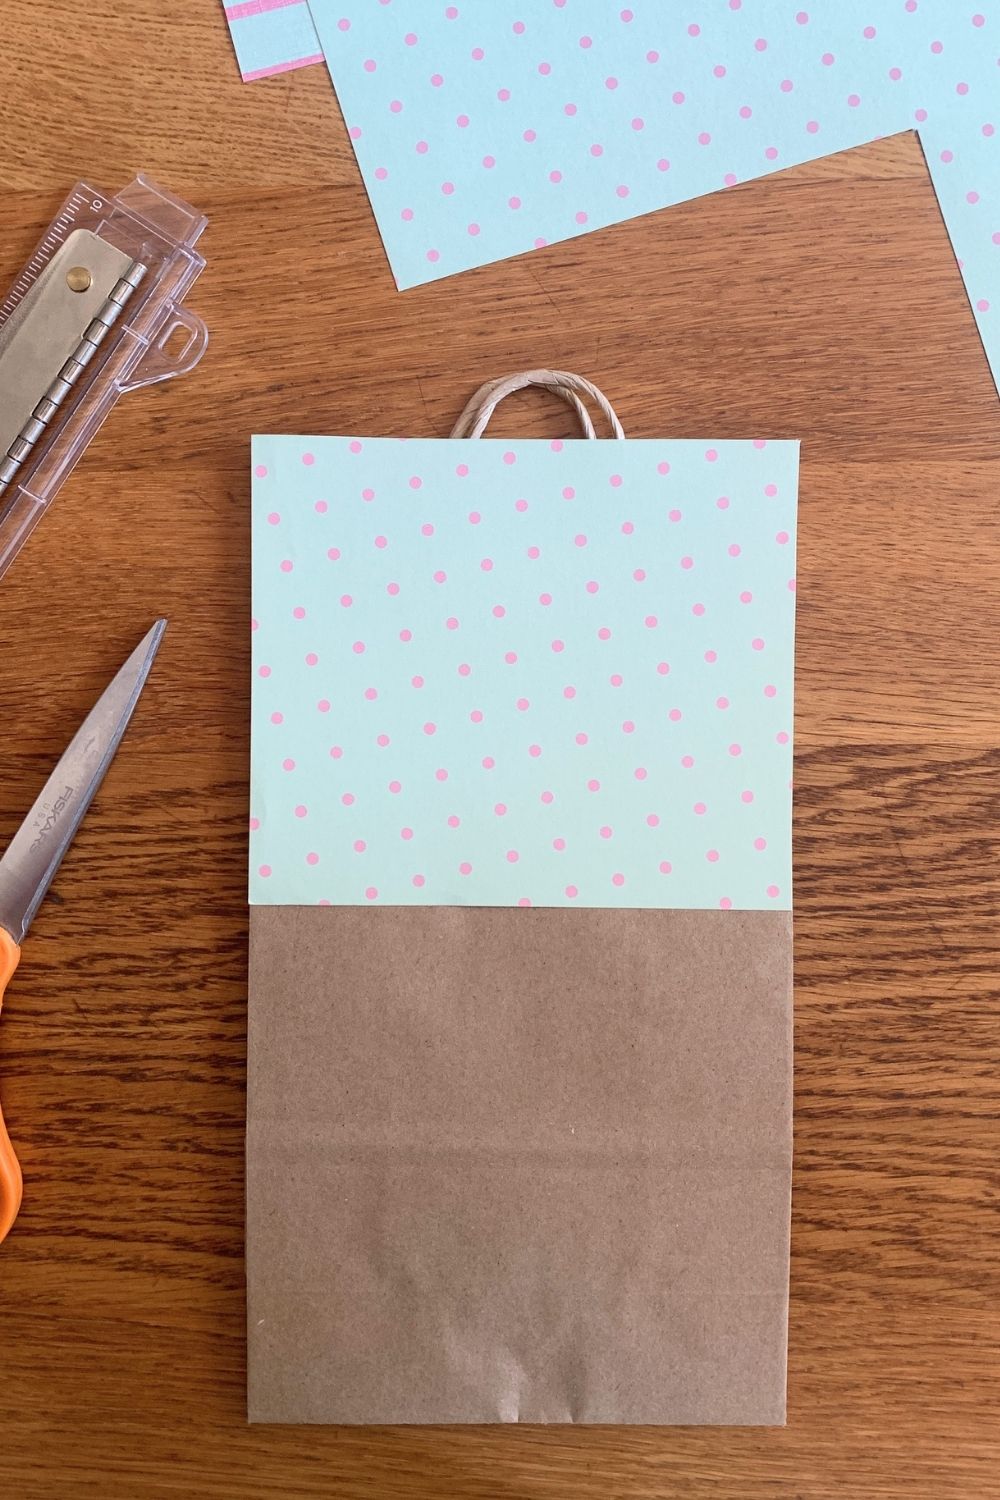
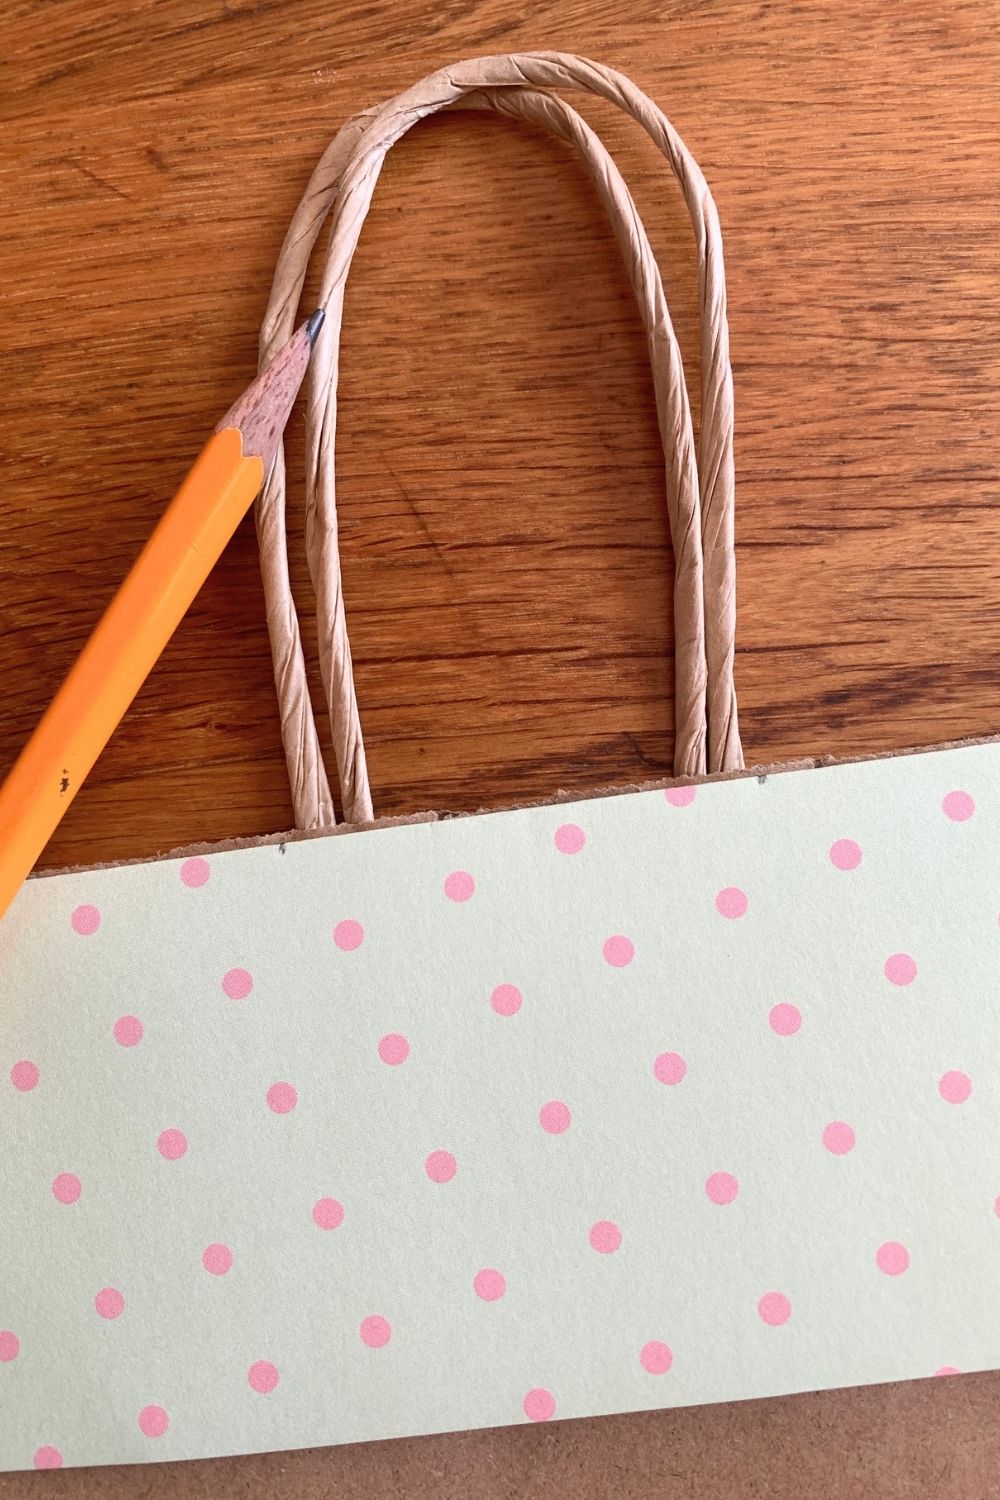
Fold the rectangle in half and mark where the handle lines up. Cut a slit in the roof so the handle will fit through.
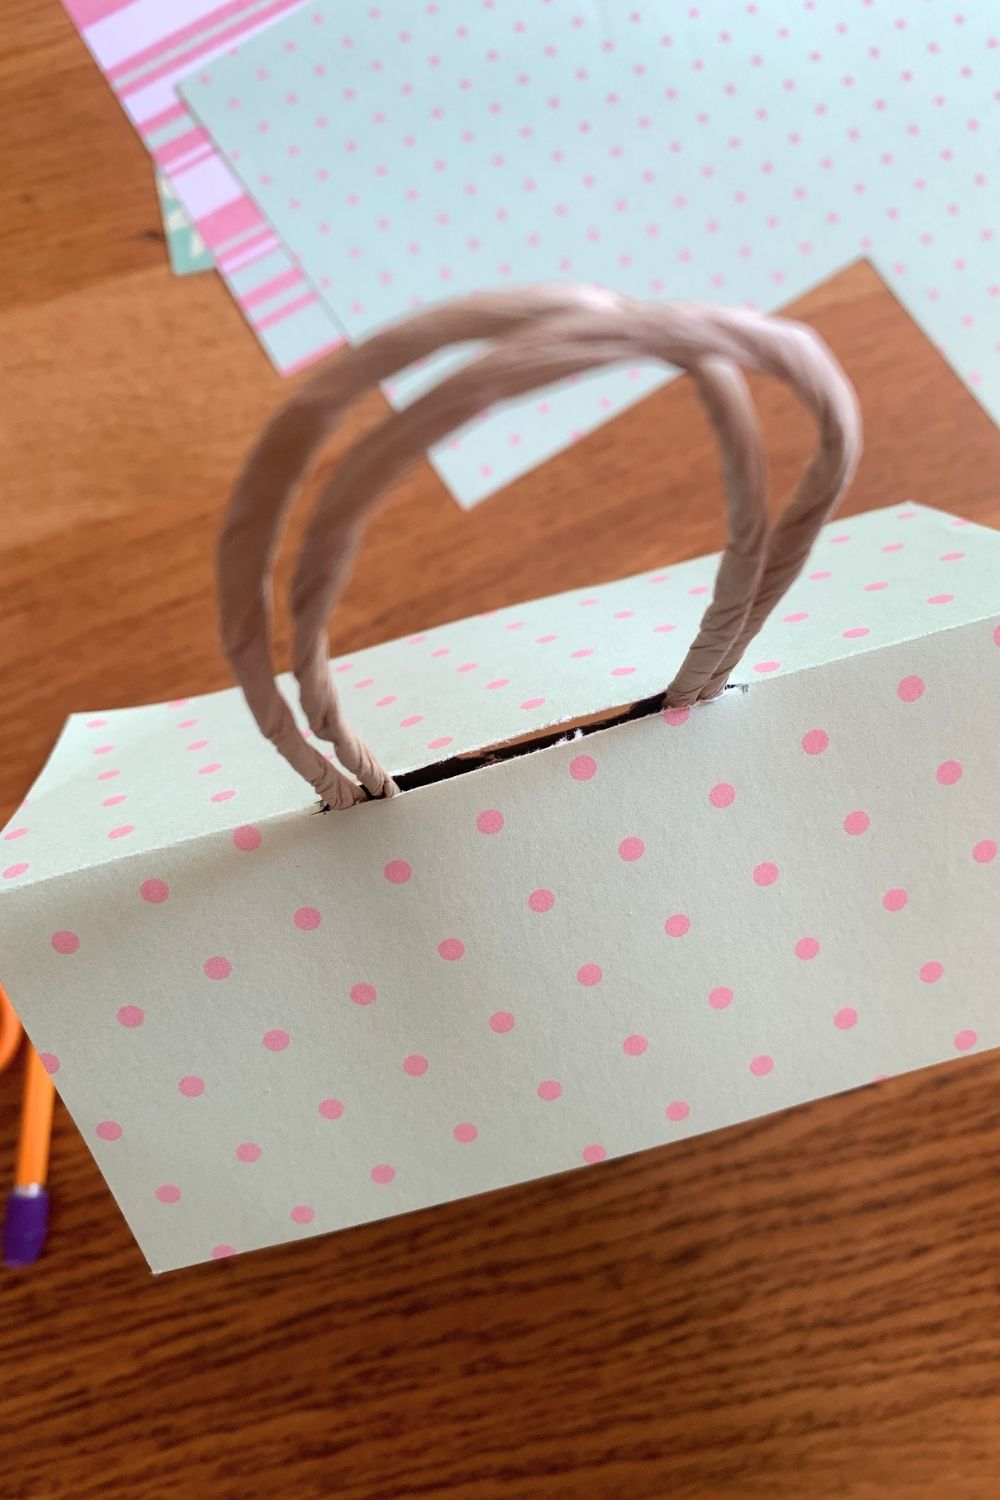
2. Add doors and windows.
Cut rectangles and squares to make doors and windows. We trimmed the door to be rounded at the top, then cut short strips of paper to create a frame for the windows.
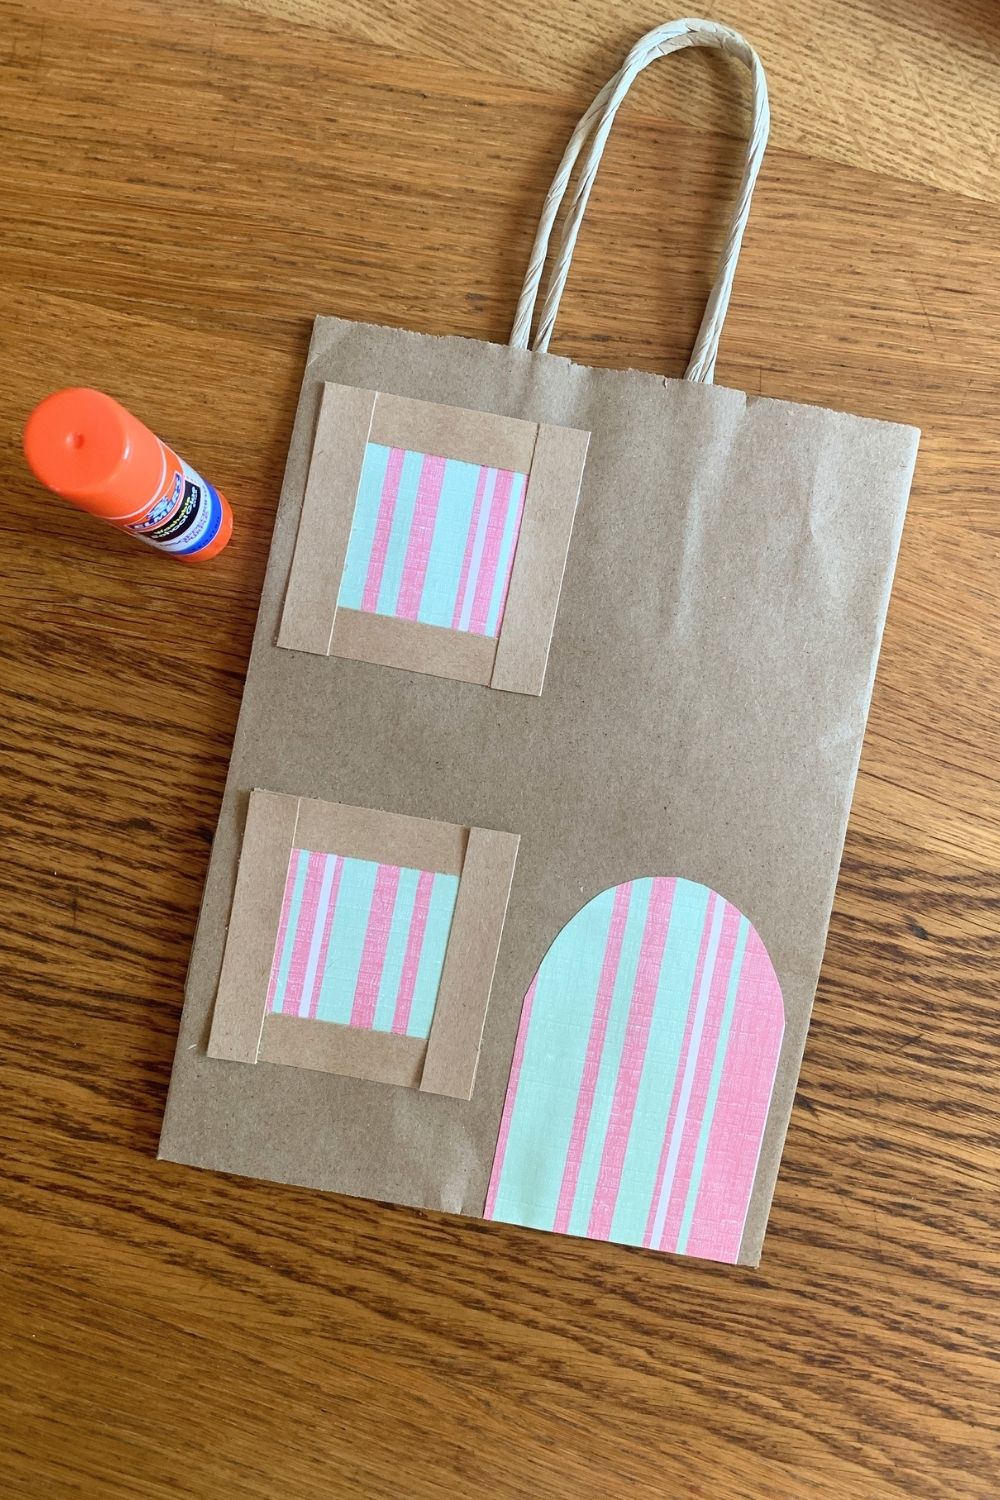
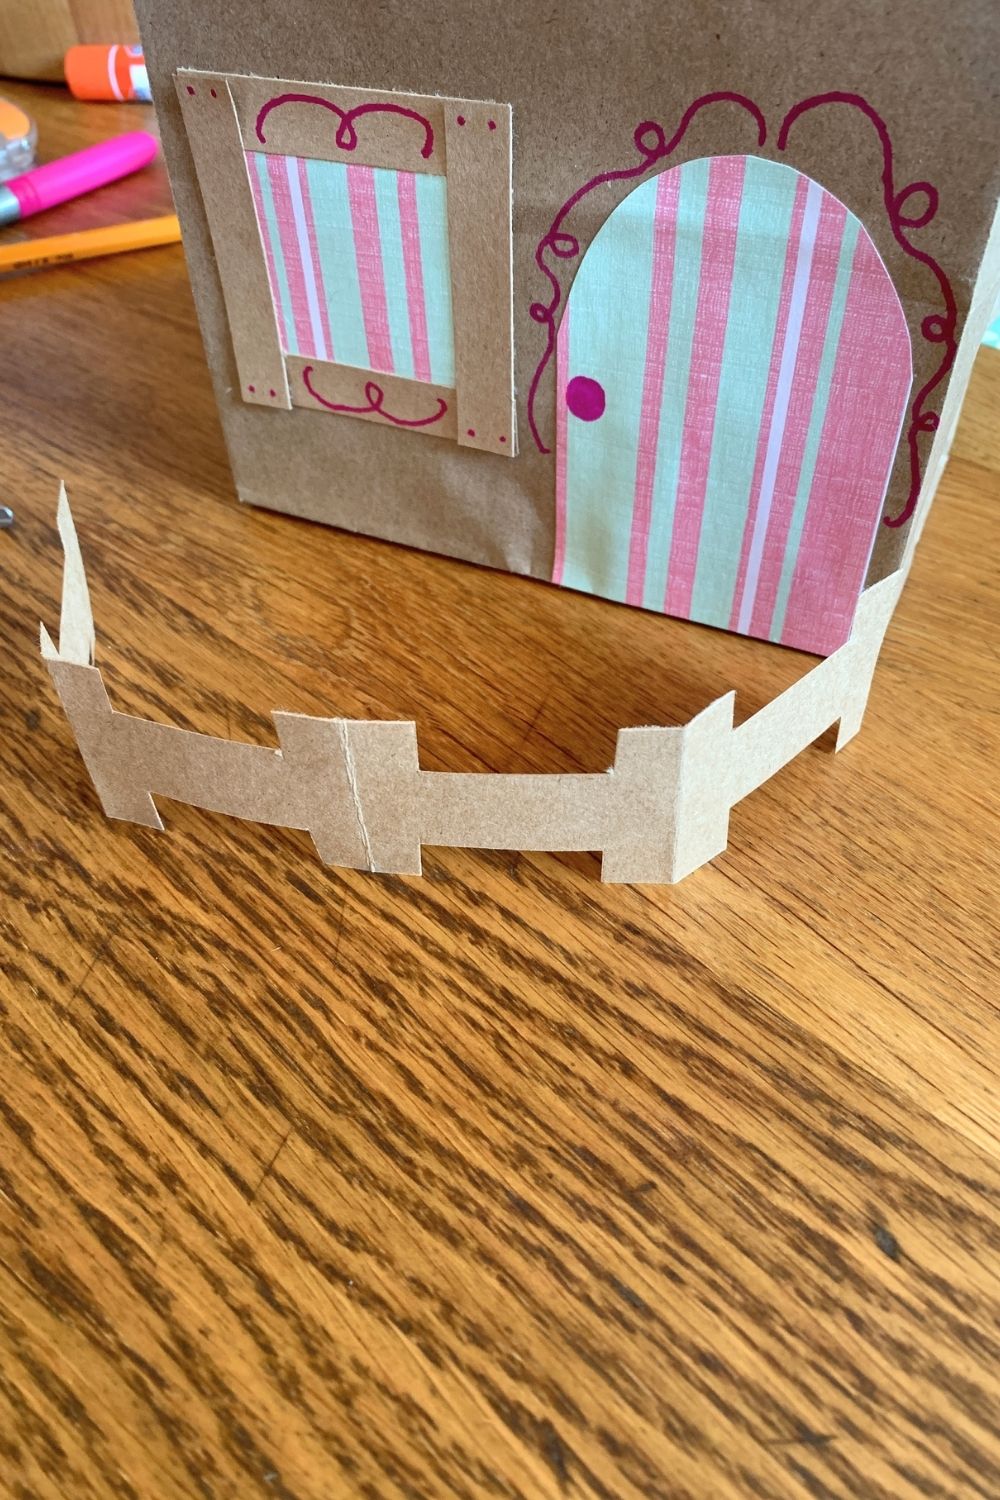
3. Add more details.
You can add as much or little decoration to your house as you like. Use crayons or markers to draw embellishments. Cut a paper fence
We found paper with plant patterns and cut around some pictures to add vines to the side of the house.
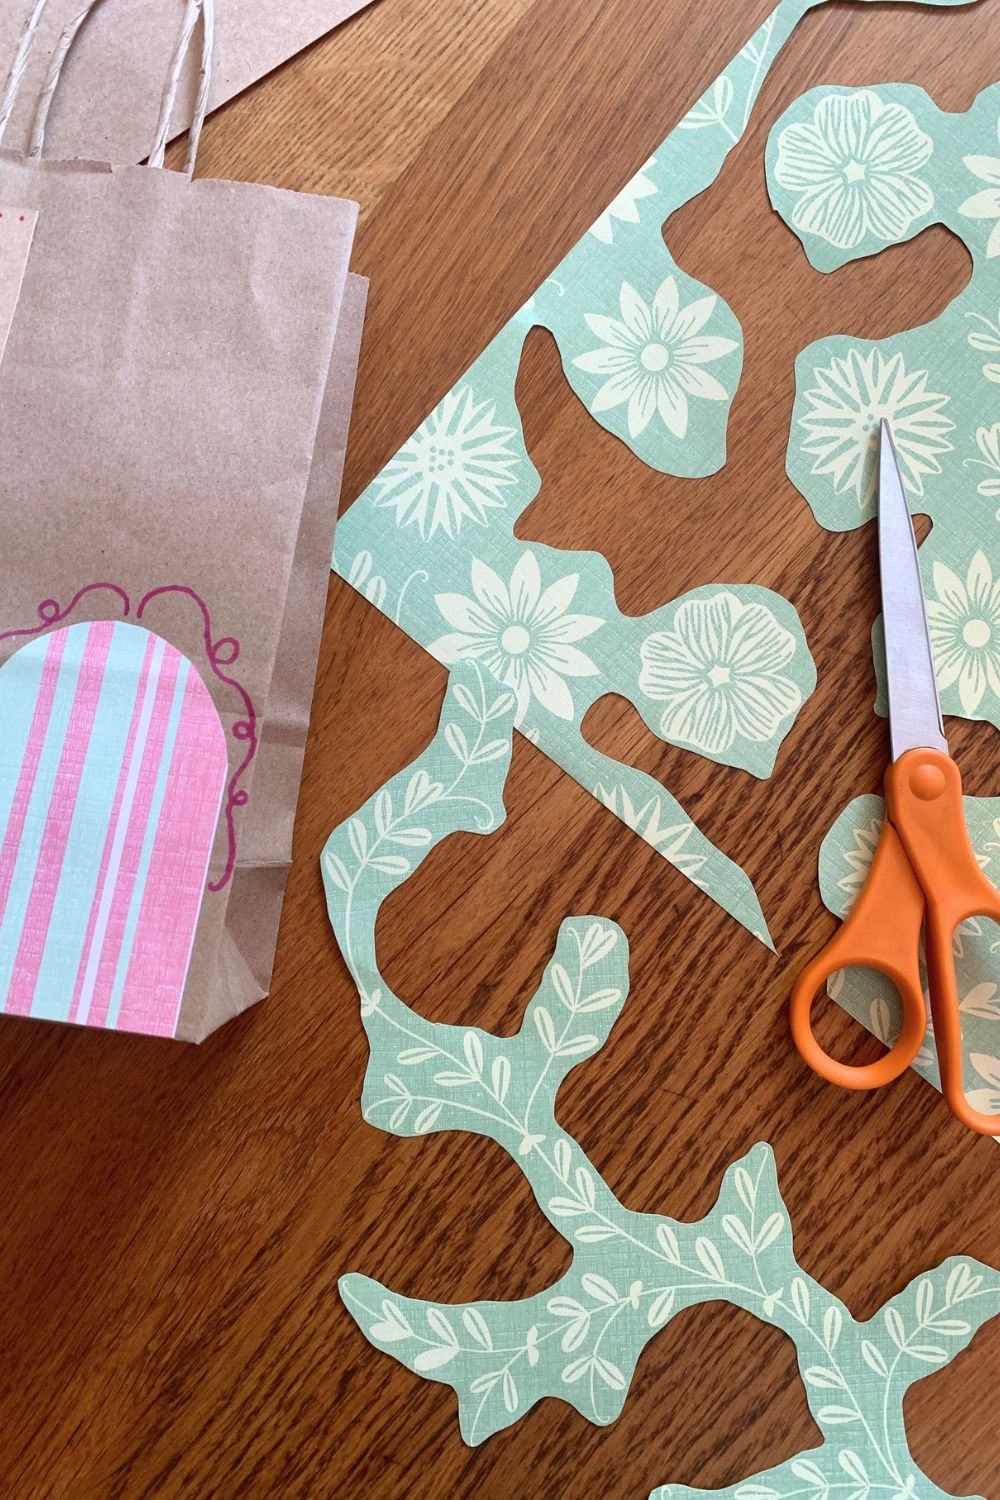
4. Asssemble the house.
Glue everything to the house and let it dry completely. After the glued pieces have dried, the house is ready for playtime! Slide the roof on and set up the fence or other accessories you made.
Printable instructions
Paper Bag House
Materials
- small paper gift bag
- assorted scrapbook or craft paper
- pencil
- ruler
- scissors
- paper trimmer (optional)
- gluestick
Tools
Instructions
- Make a roof for the house.
Cut a rectangle of paper that's the same width as your bag and square-ish. Fold the rectangle in half and mark where the handle lines up. Cut a slit in the roof so the handle will fit through. - Add doors and windows.
Cut rectangles and squares to make doors and windows. We trimmed the door to be rounded at the top, then cut short strips of paper to create a frame for the windows. - Add more details.
You can add as much or little decoration to your house as you like. Use crayons or markers to draw embellishments. Cut a paper fence. We found paper with plant patterns and cut around some pictures to add vines to the side of the house. - Asssemble the house.
Glue everything to the house and let it dry completely. After the glued pieces have dried, the house is ready for playtime! Slide the roof on and set up the fence or other accessories you made.
Plan your summer with the DIY Summer Camp Planner!
Our step-by-step guide will help you organize a day, a week, or a whole summer of fun activities for your kids.